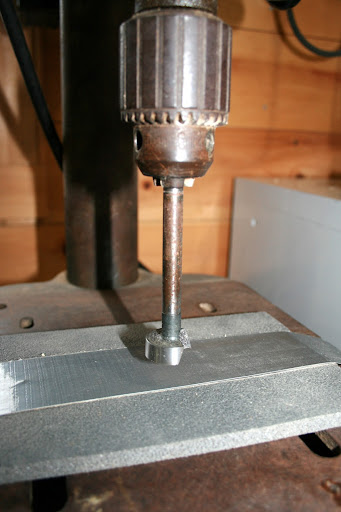
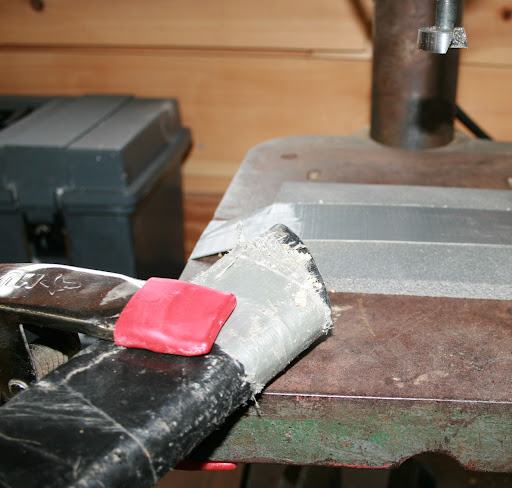
24 - Pad table and set drill press depth - about 1/2" - on a 1" Forstner bit.
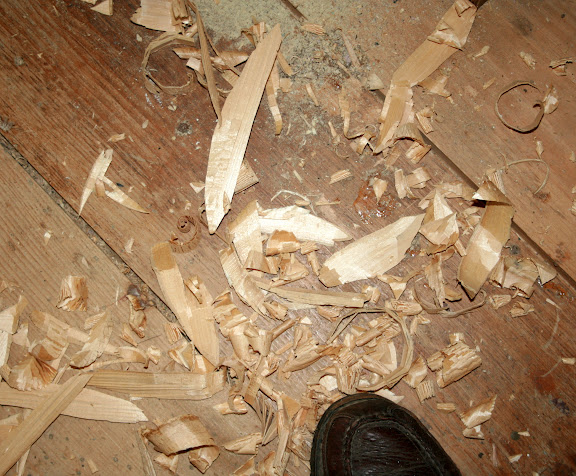
25 - I clamp my shop vac intake to the table to get most of the chips. Some need help finding the vac.
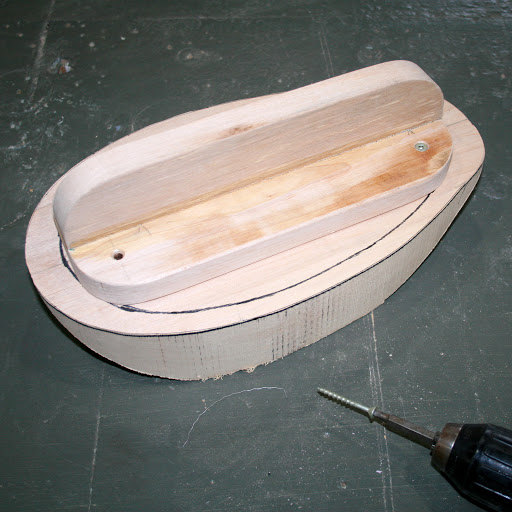
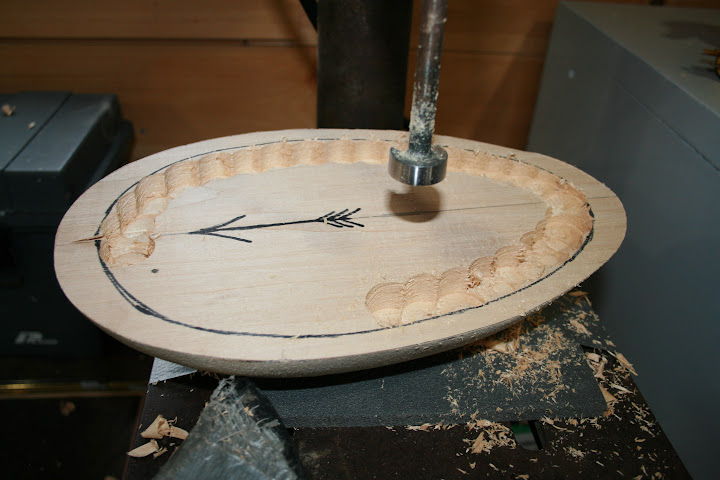
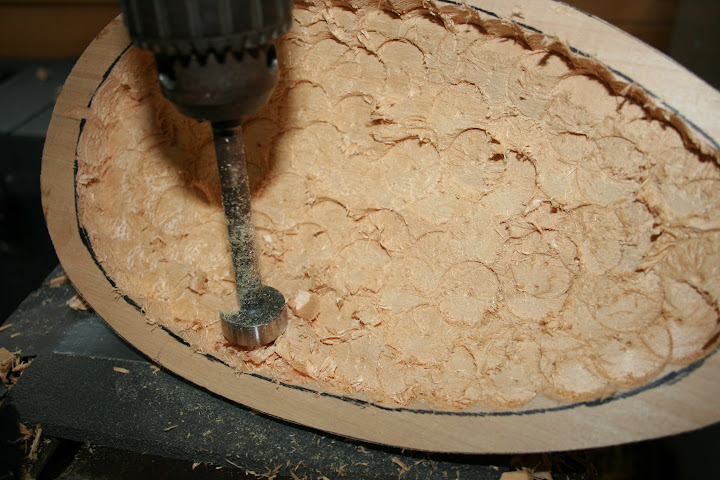
26 - Drill perimeter first - just go a safe depth for now. Drill center to full depth.
27 - Rock the bottom board up on its side to drill around the edges.
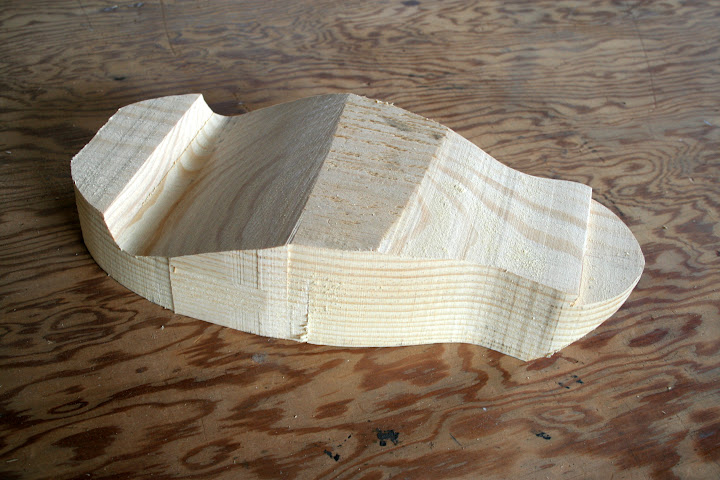
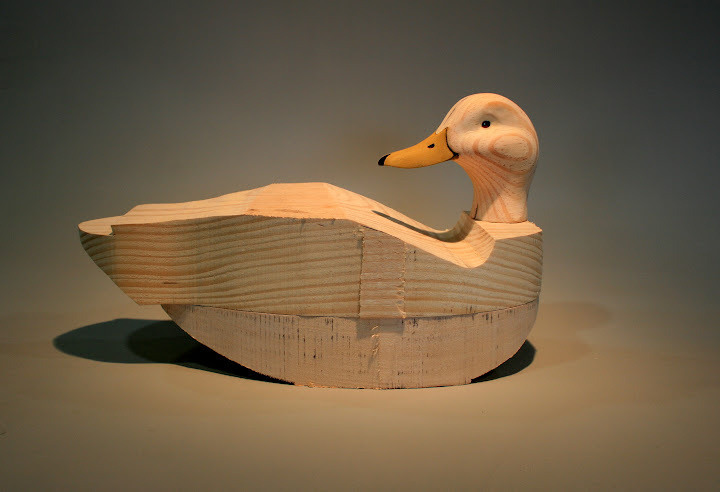
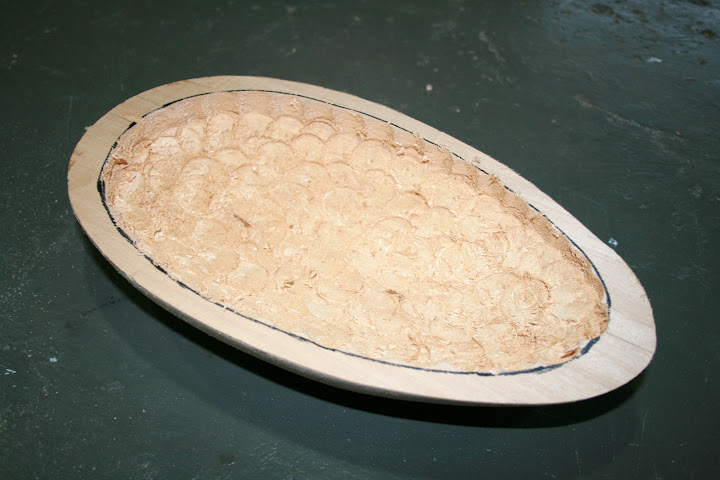
28 - Bottom board is finished.
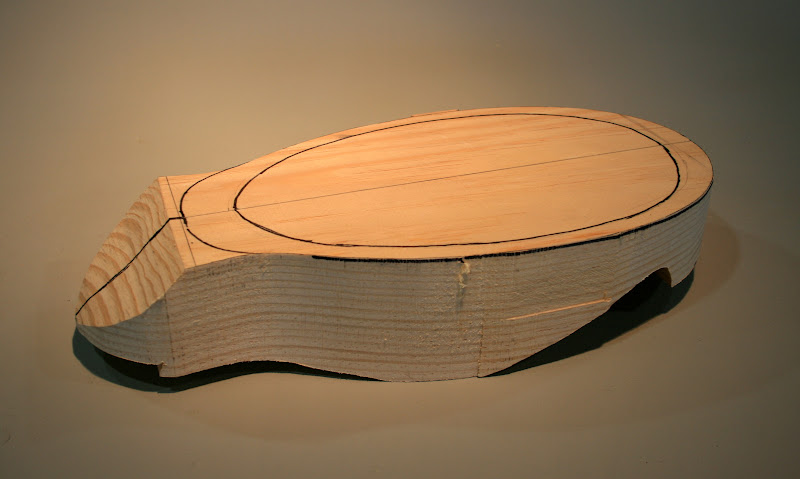
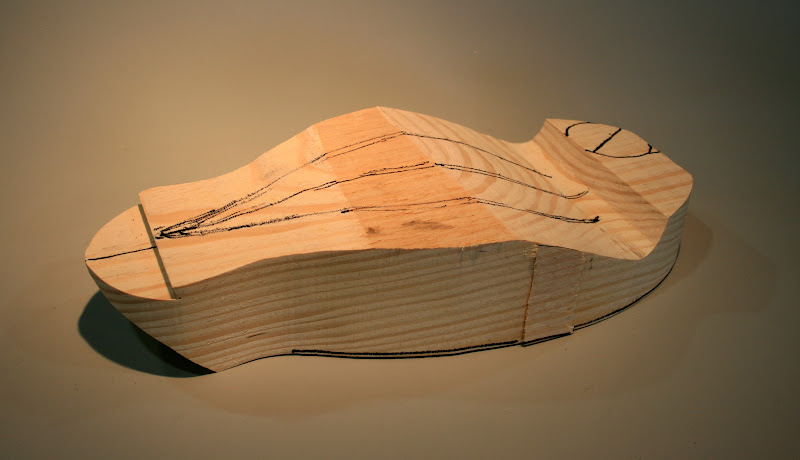
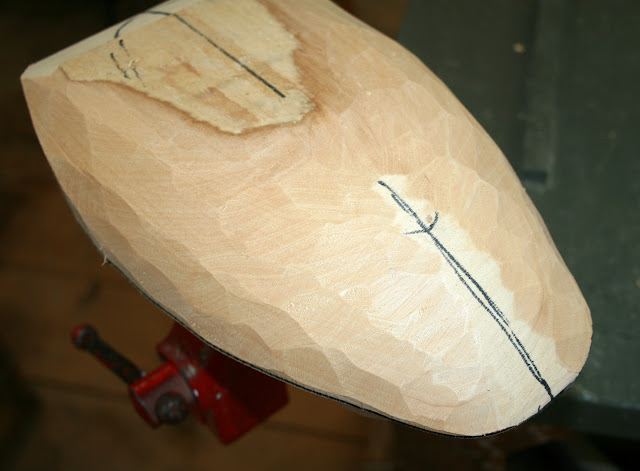
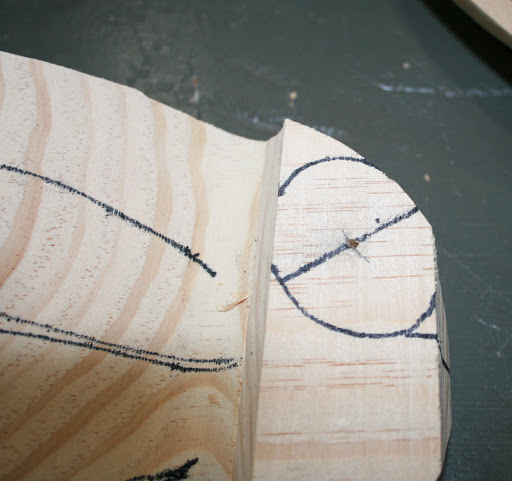
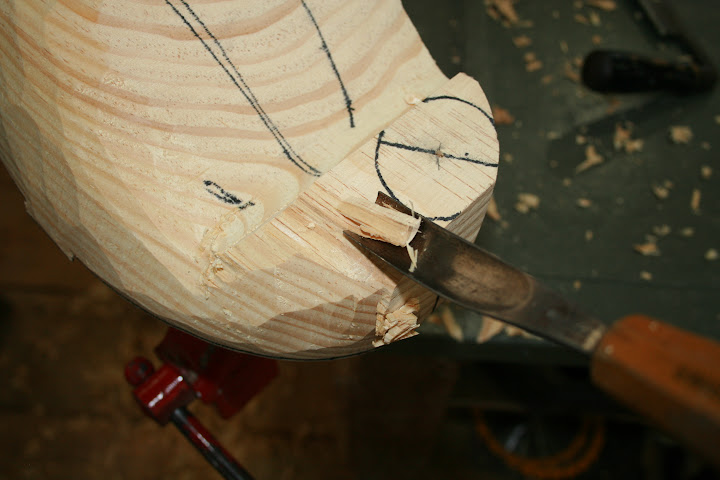
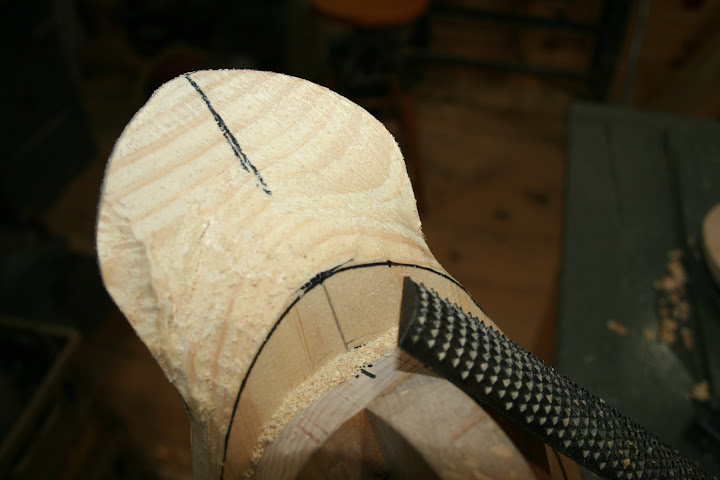
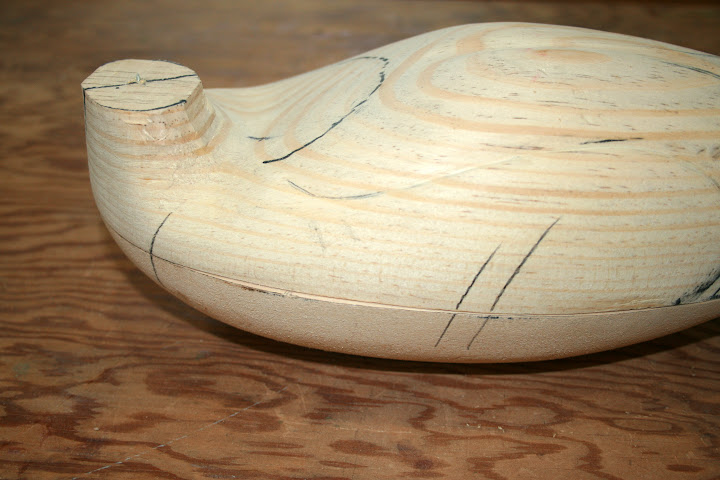
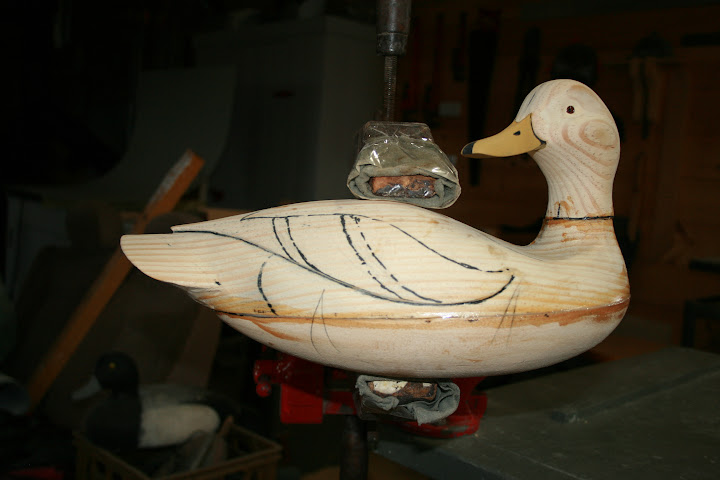
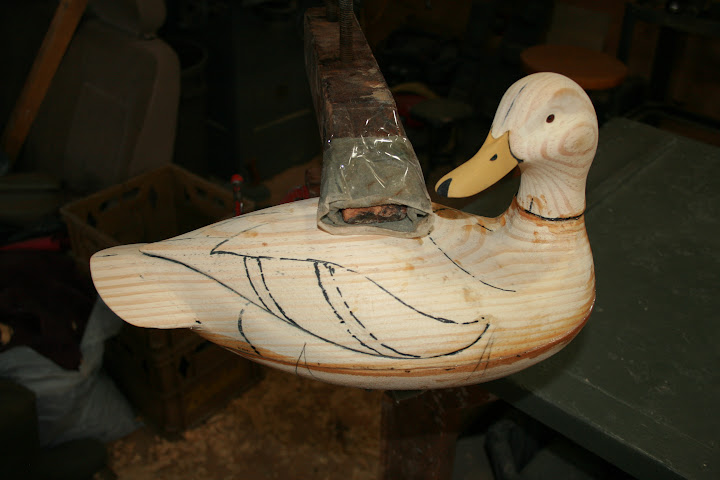
29 - Mark neck perimeter and angle of the head.
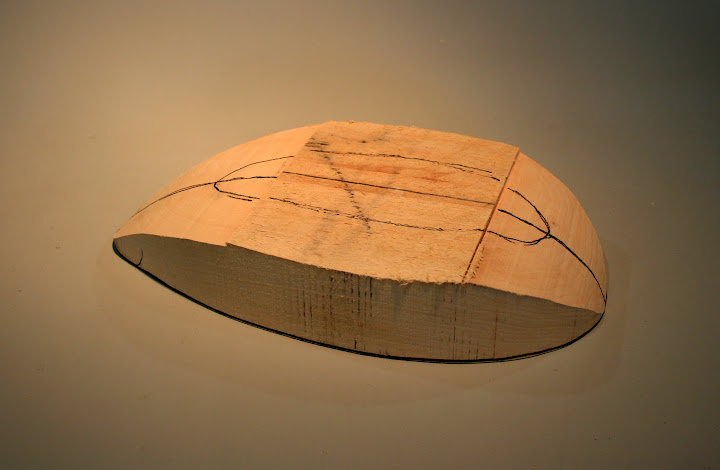
30 - Mark the edge of the tail.
31 - Mark the"stern" of the bottom board on the body.
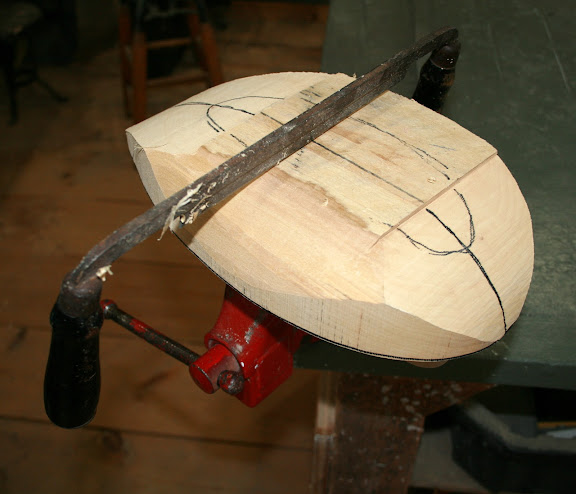
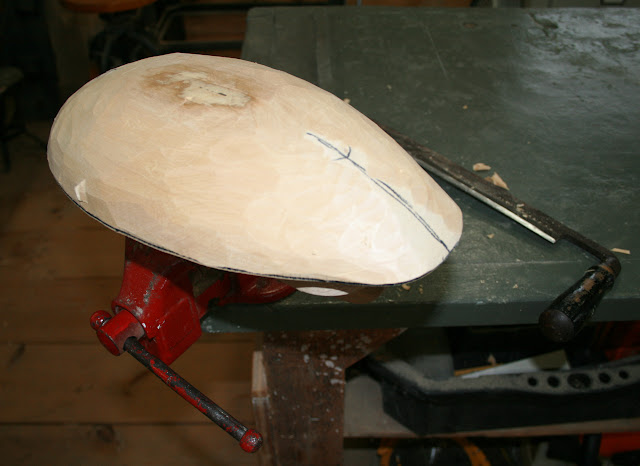
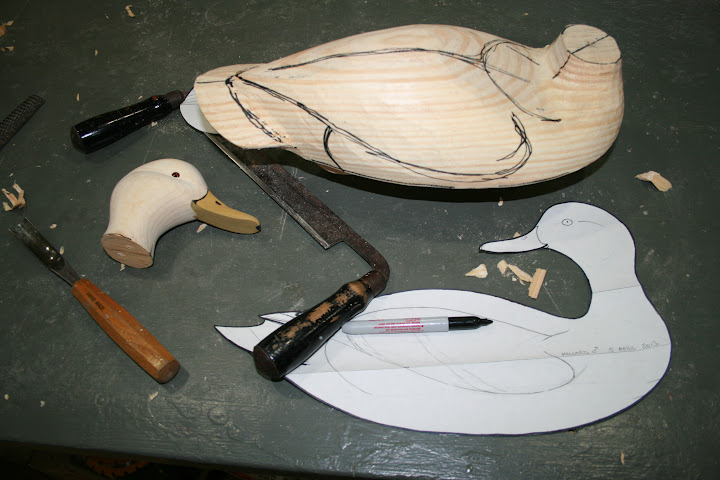
32 - Start shaping the body with the draw knife.
33 - Use the gouge around the neck - but leave plenty of "extra" for finer carving later.
34 - Use the gouge to hollow out between the primaries and the tail "deck".
35 - Hollow under the tail with the gouge.
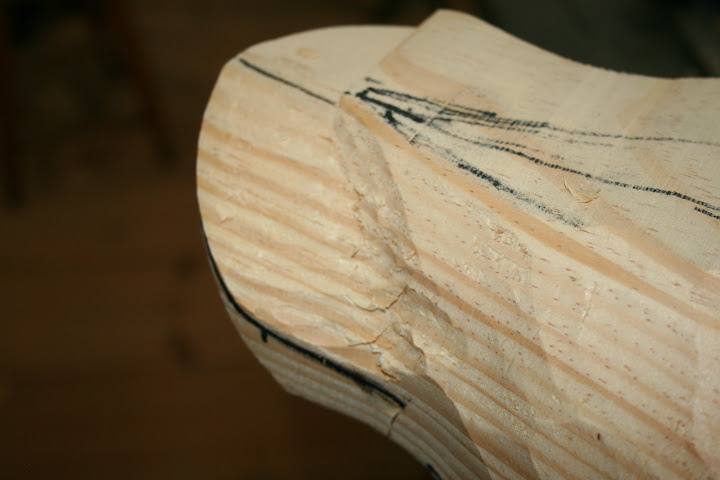
36 - Refine the neck area with a knife - but still leave some extra stock.
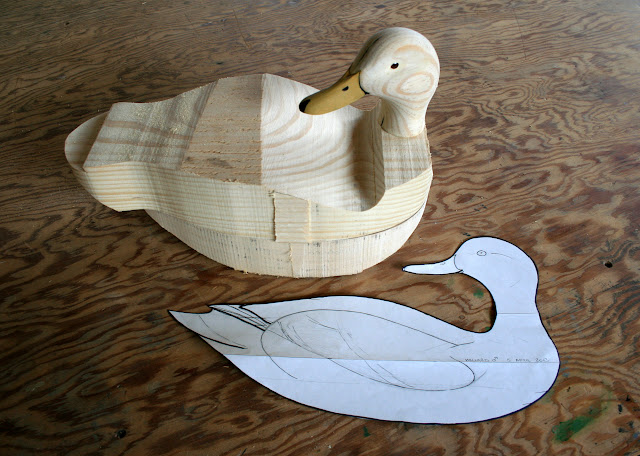
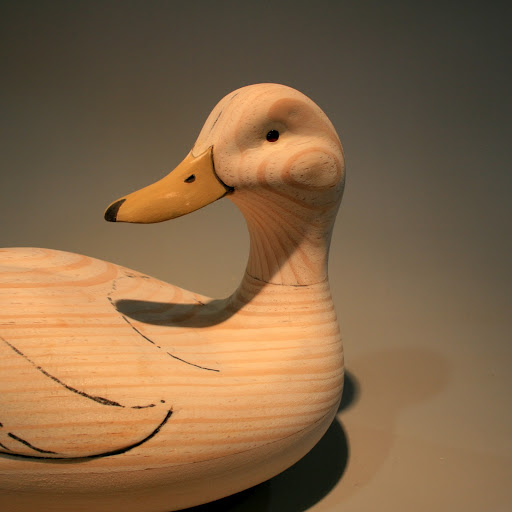
37 - Check for "the look".
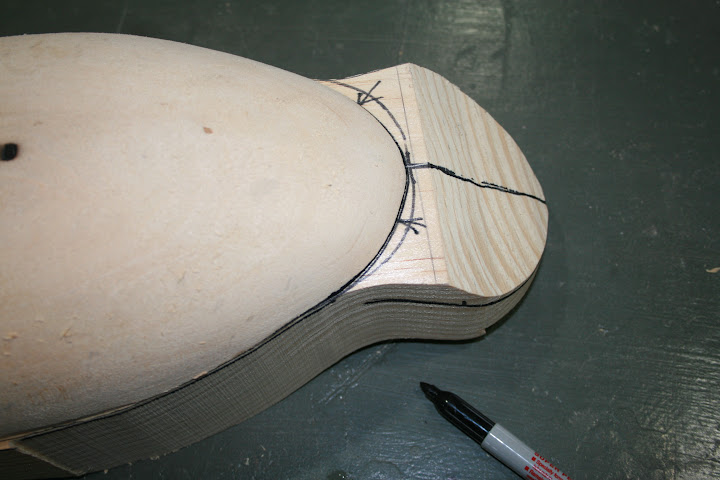
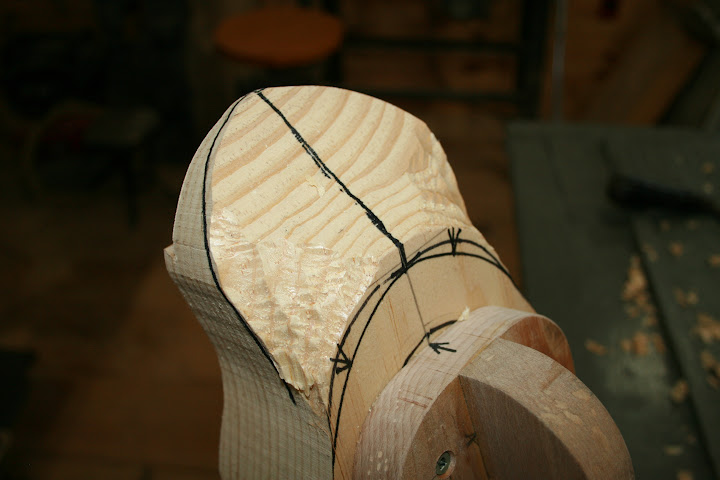
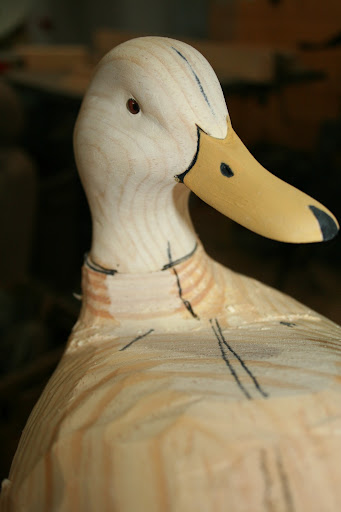
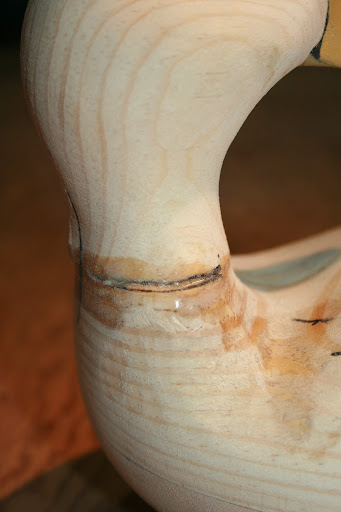
38 - Mark a reference line on outside of neck twist.
39 - Mark center line on front of neck (even though it's facing the stern....)
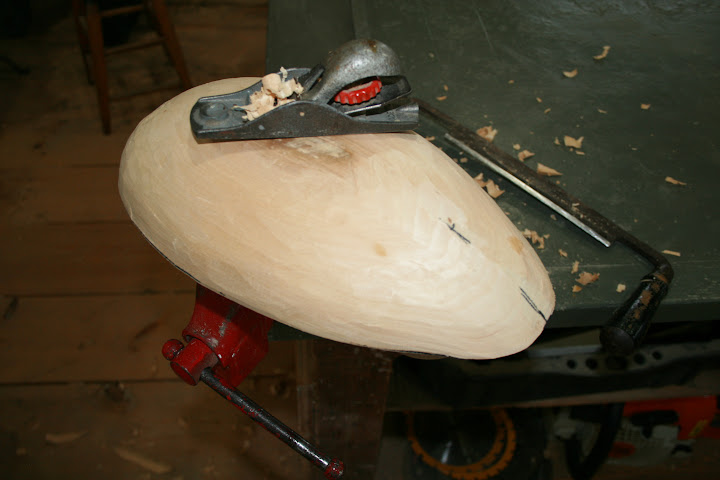
40 - Hollow more closely under tail with a coarse rasp.
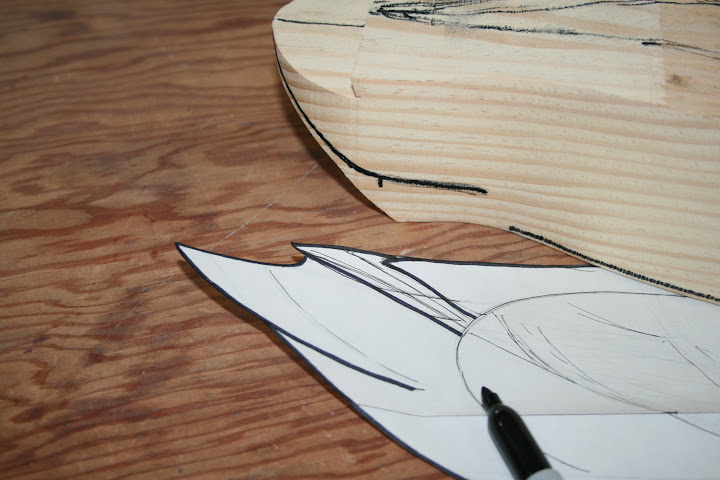
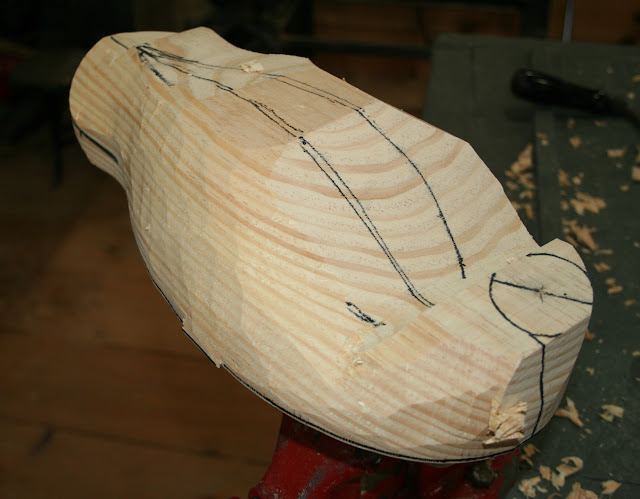
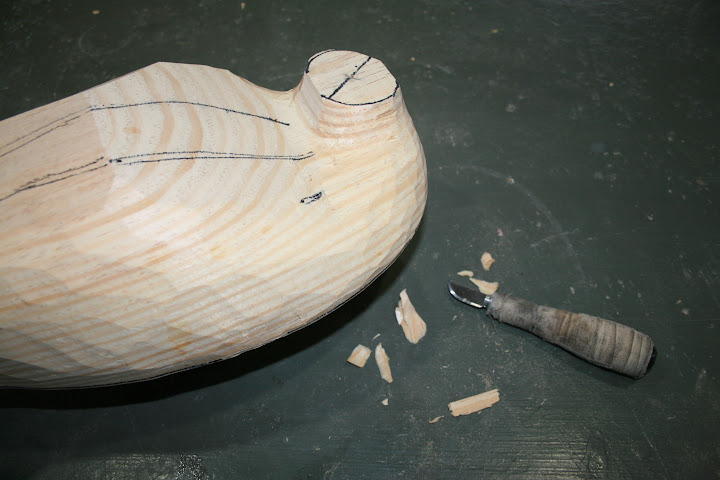
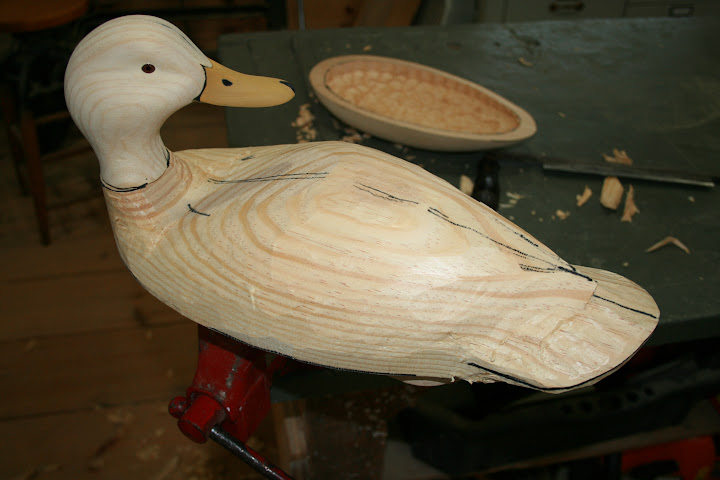
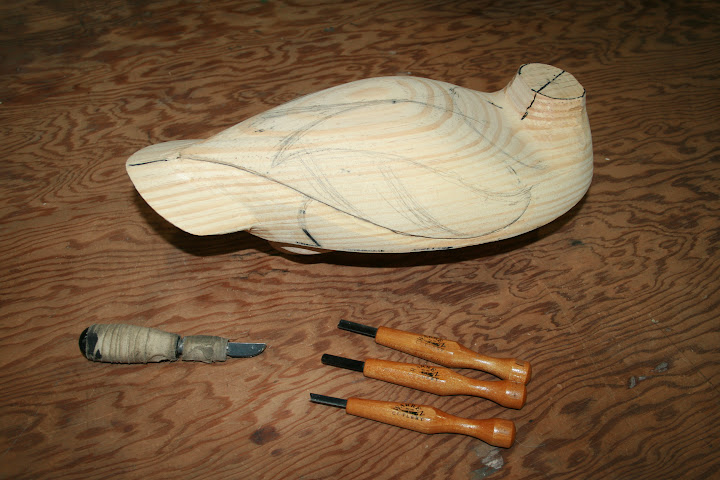
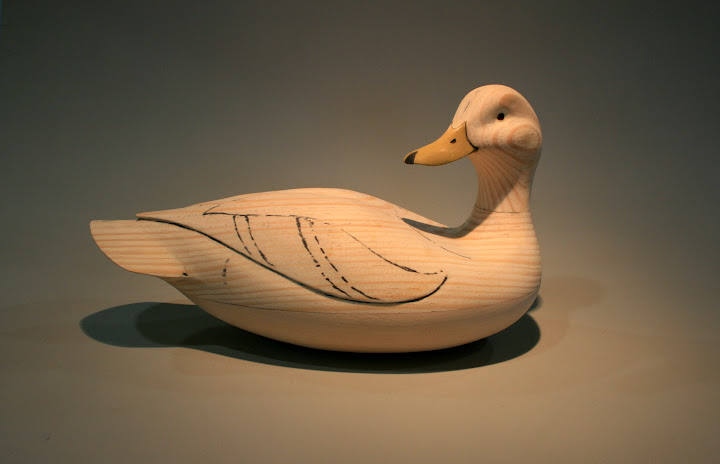
41 - Lay out wings, tail, side pockets, et cetera.
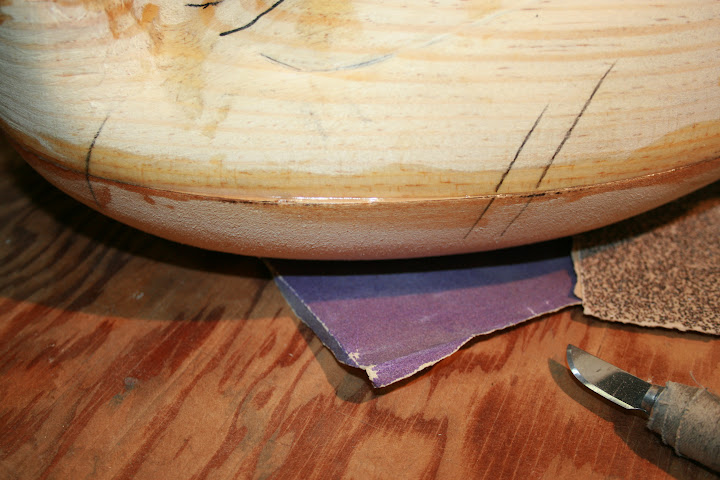
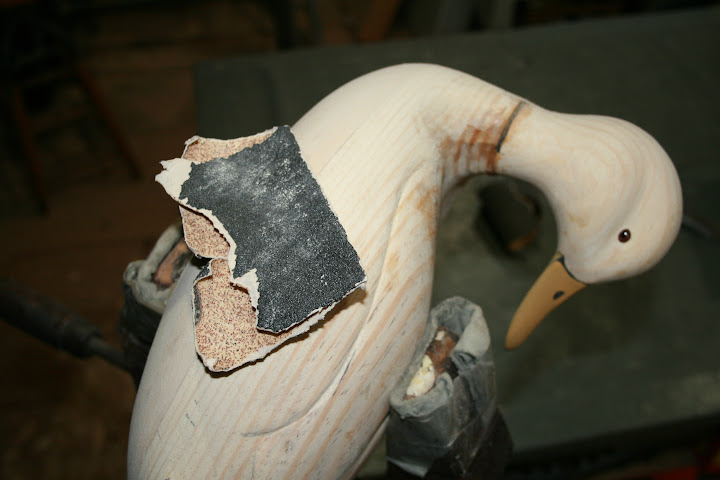
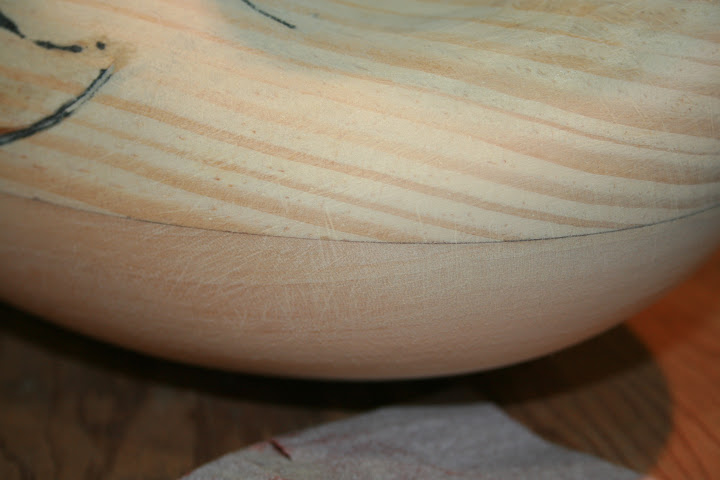
42 - Sand with coarse grit to final shapes.
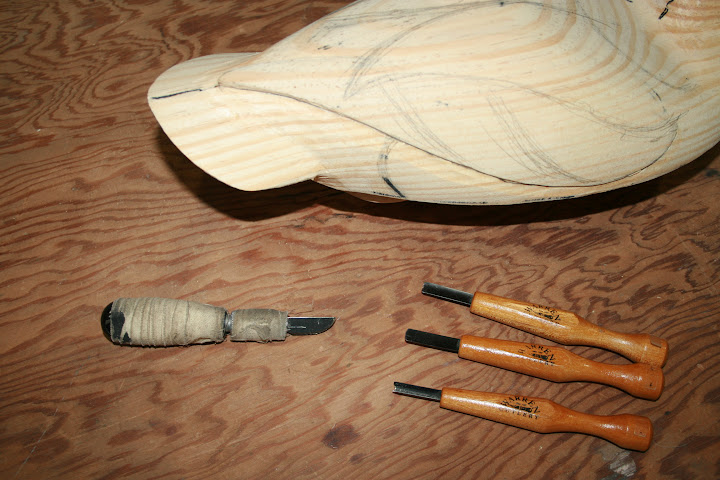
43 - Lay out lines for finer relief carving - with smaller tools.
44 - I use Warren Cutlery gouges and parting tools and my trusty X-acto # 22.
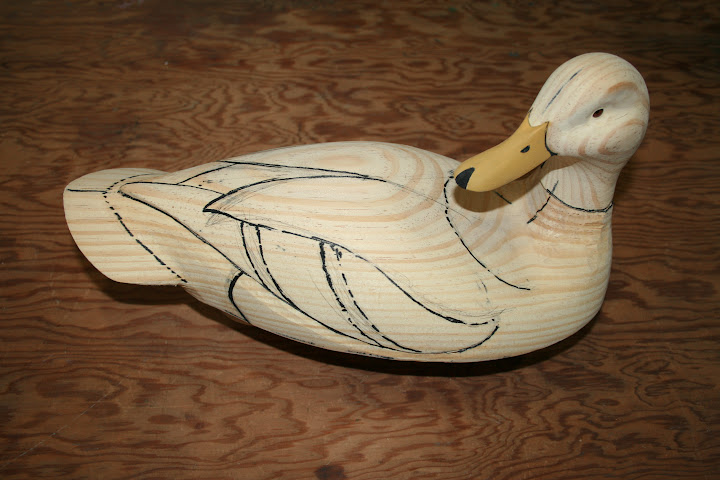
45 - Lay out detail areas once again!
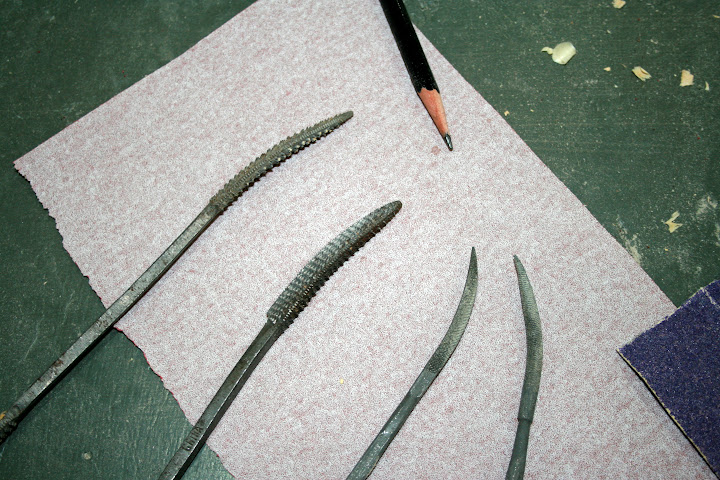
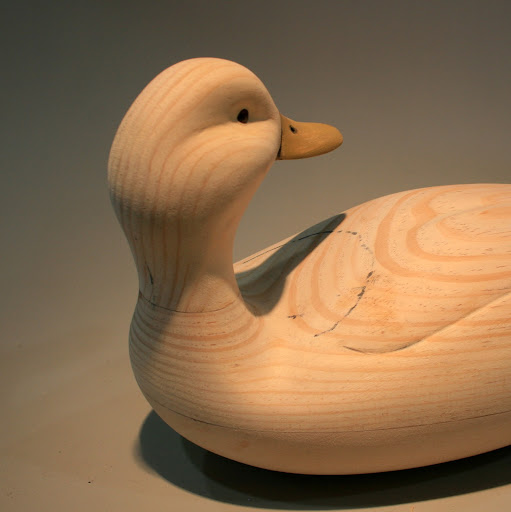
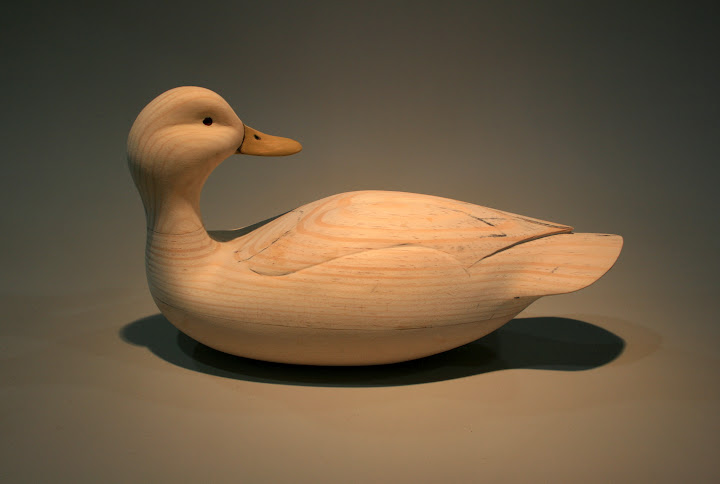
46 - Sand to 150 grit. I use coarse and fine riffler rasps along with sandpaper to smooth beneath primaries, at top of side pocket, et cetera.
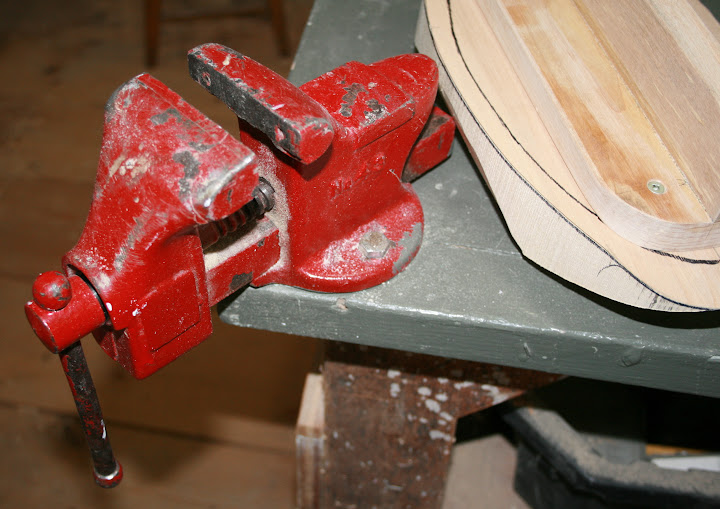
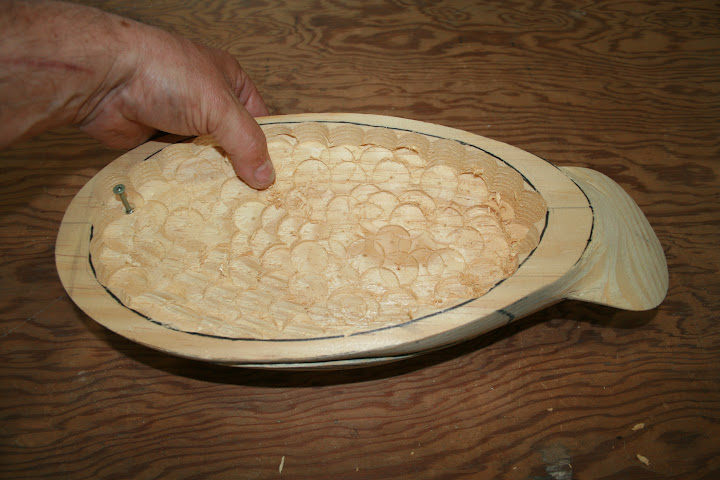
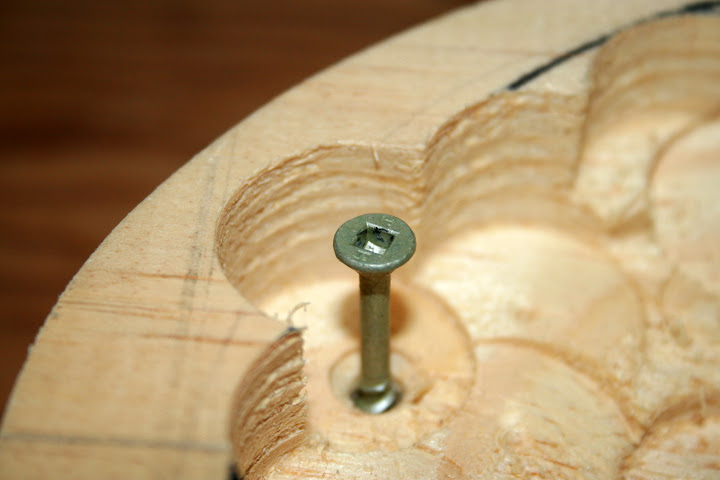
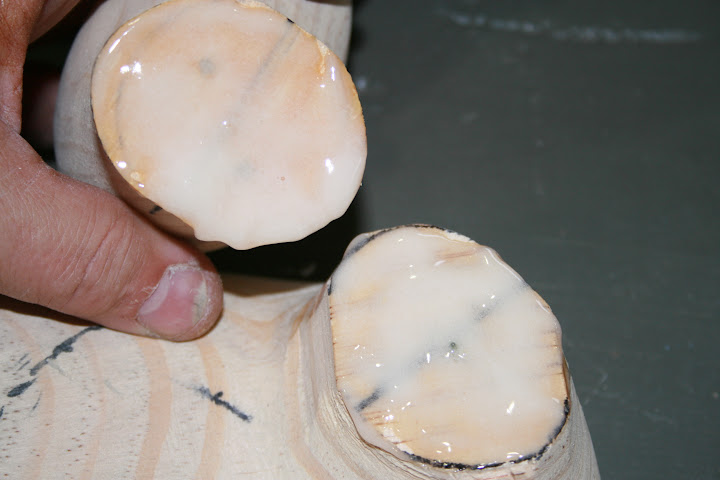
47 - High-tech "finger gauge" was used to check thickness during hollowing.
48 - Wall is thinner near hole for head screw - the only fastener in the bird.