Steve Sanford
Well-known member
All~
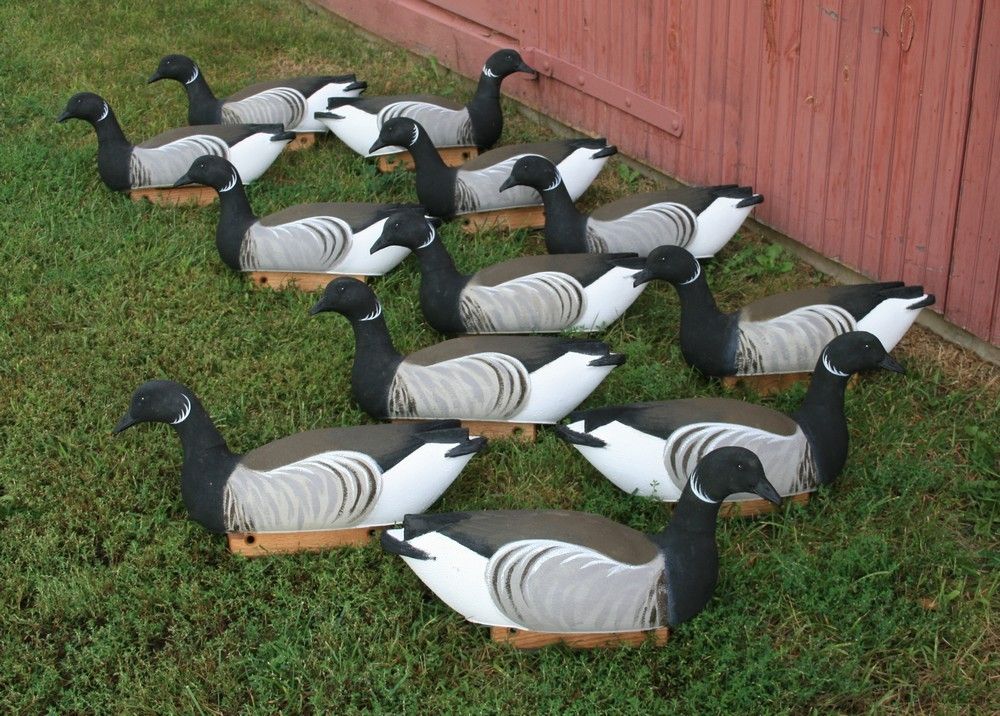
Member Bill Abbate hauled his rig up to Pencil Brook Boatworks earlier this summer. It came with a long list of to-dos, and a general instruction to do anything that needs some attention. At about the same time, Bill purchased some nice E. Allen Brant from member Dwight Flanders - who lives near me. The Brant also needed some TLC.
I worked on the Brant first - and posted my progress - and process - here at: http://www.duckboats.net/cgi-bin/forum/gforum.cgi?post=270784;search_string=E%20Allen%20Brant;#270784
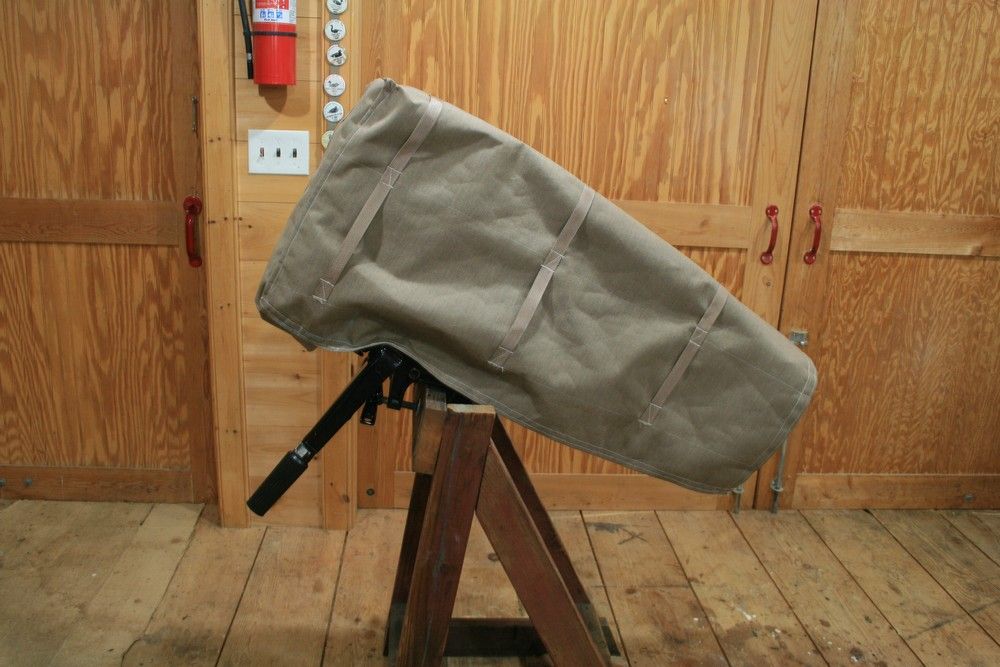
Bill had initially asked me to paint his 20 hp Merc - but I persuaded him that a motor cover - properly thatched - gave a better hide. Process was reported here at: http://www.duckboats.net/cgi-bin/forum/gforum.cgi?post=271050;search_string=Motor%20Cover;#271050
For this post, I thought I would just start with the "intake" process - an overview of the work ahead.
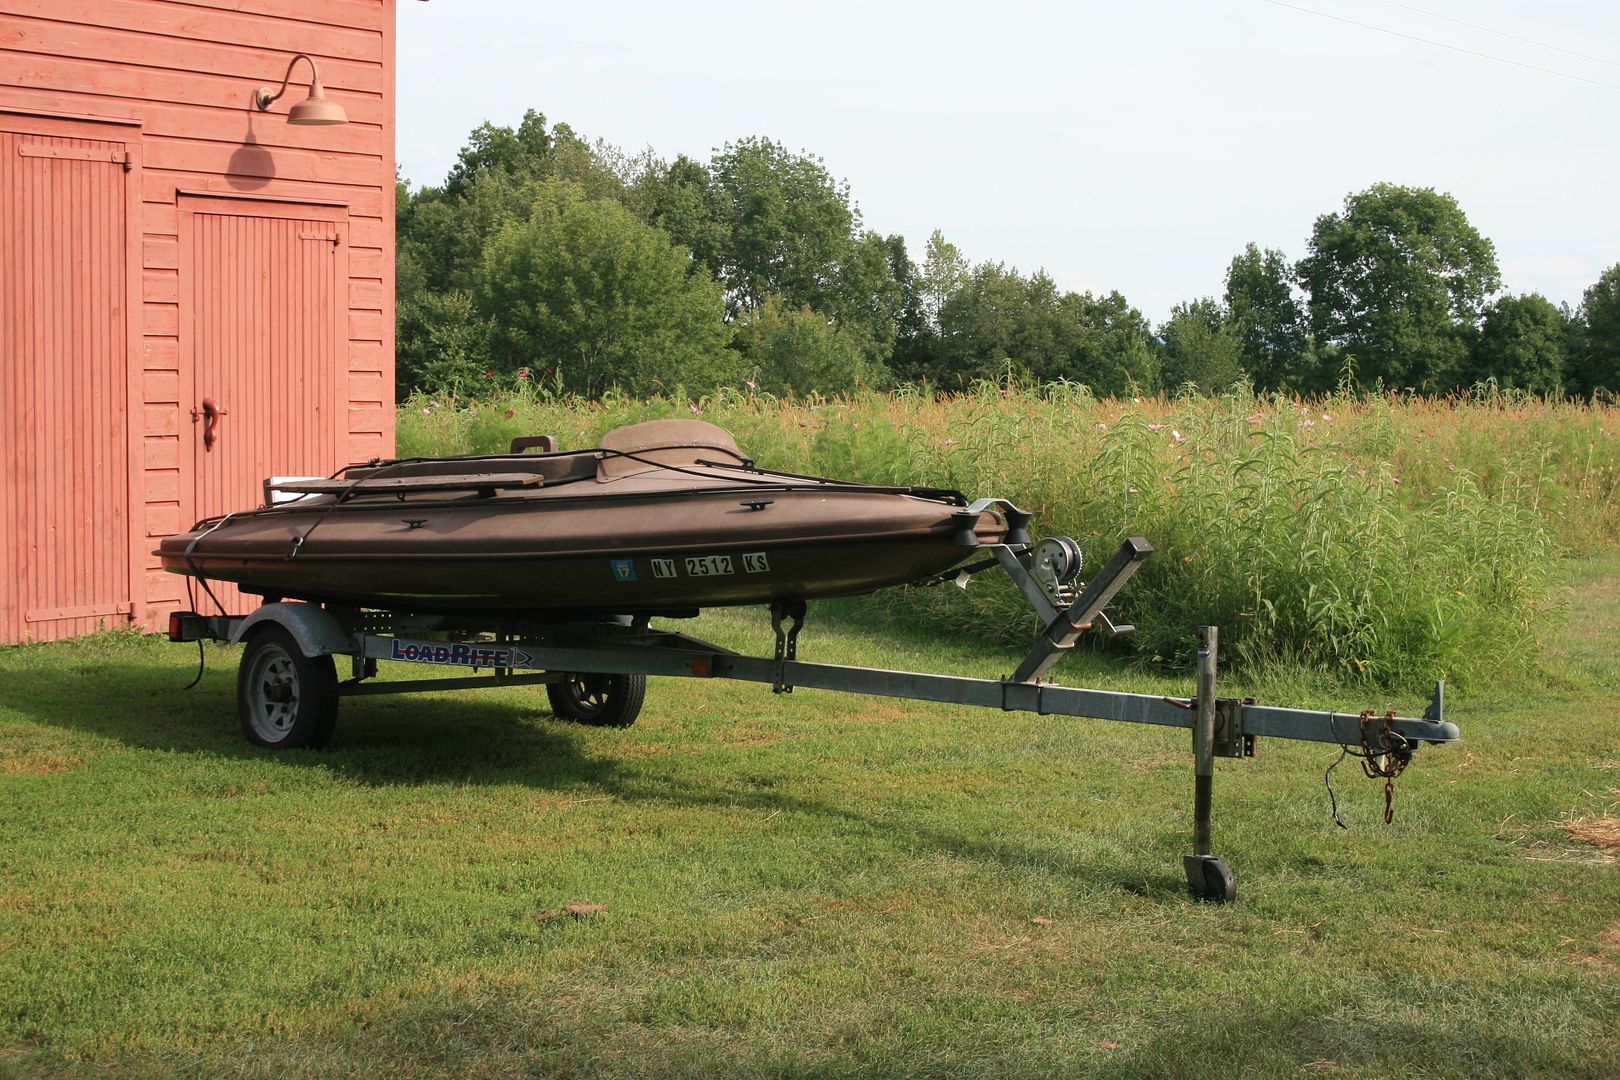
Here is how she arrived. The Merc and the flap boards were stowed inside for the journey north.
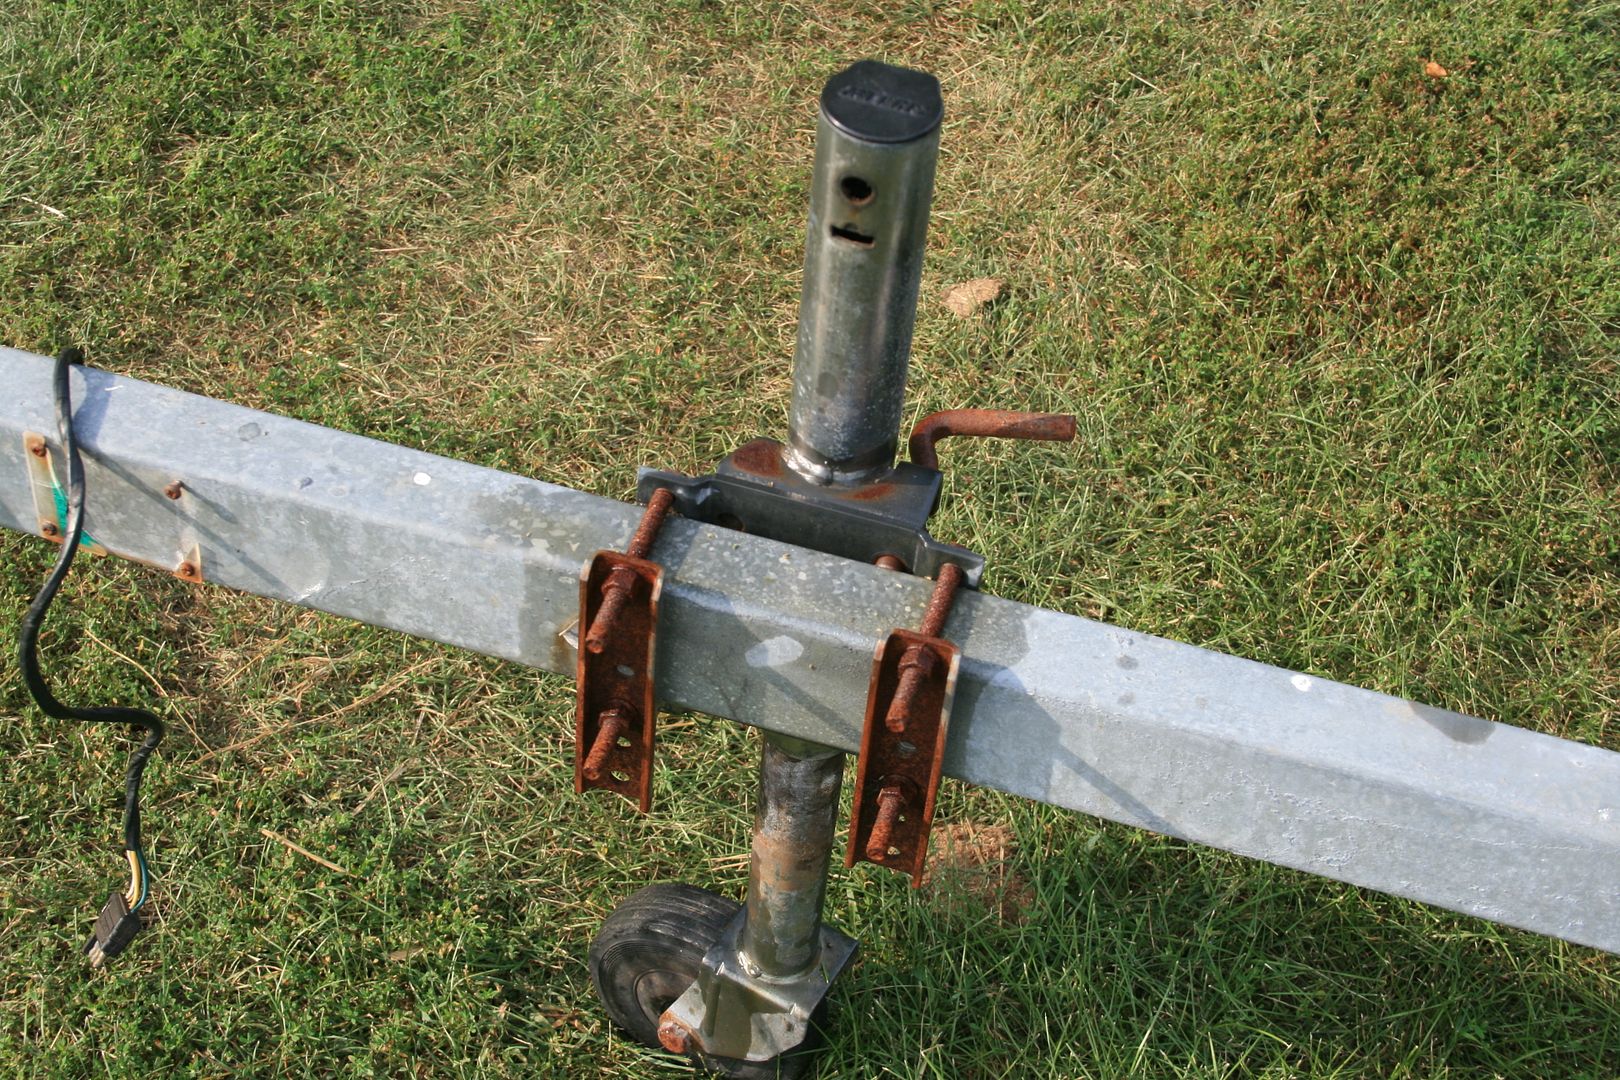
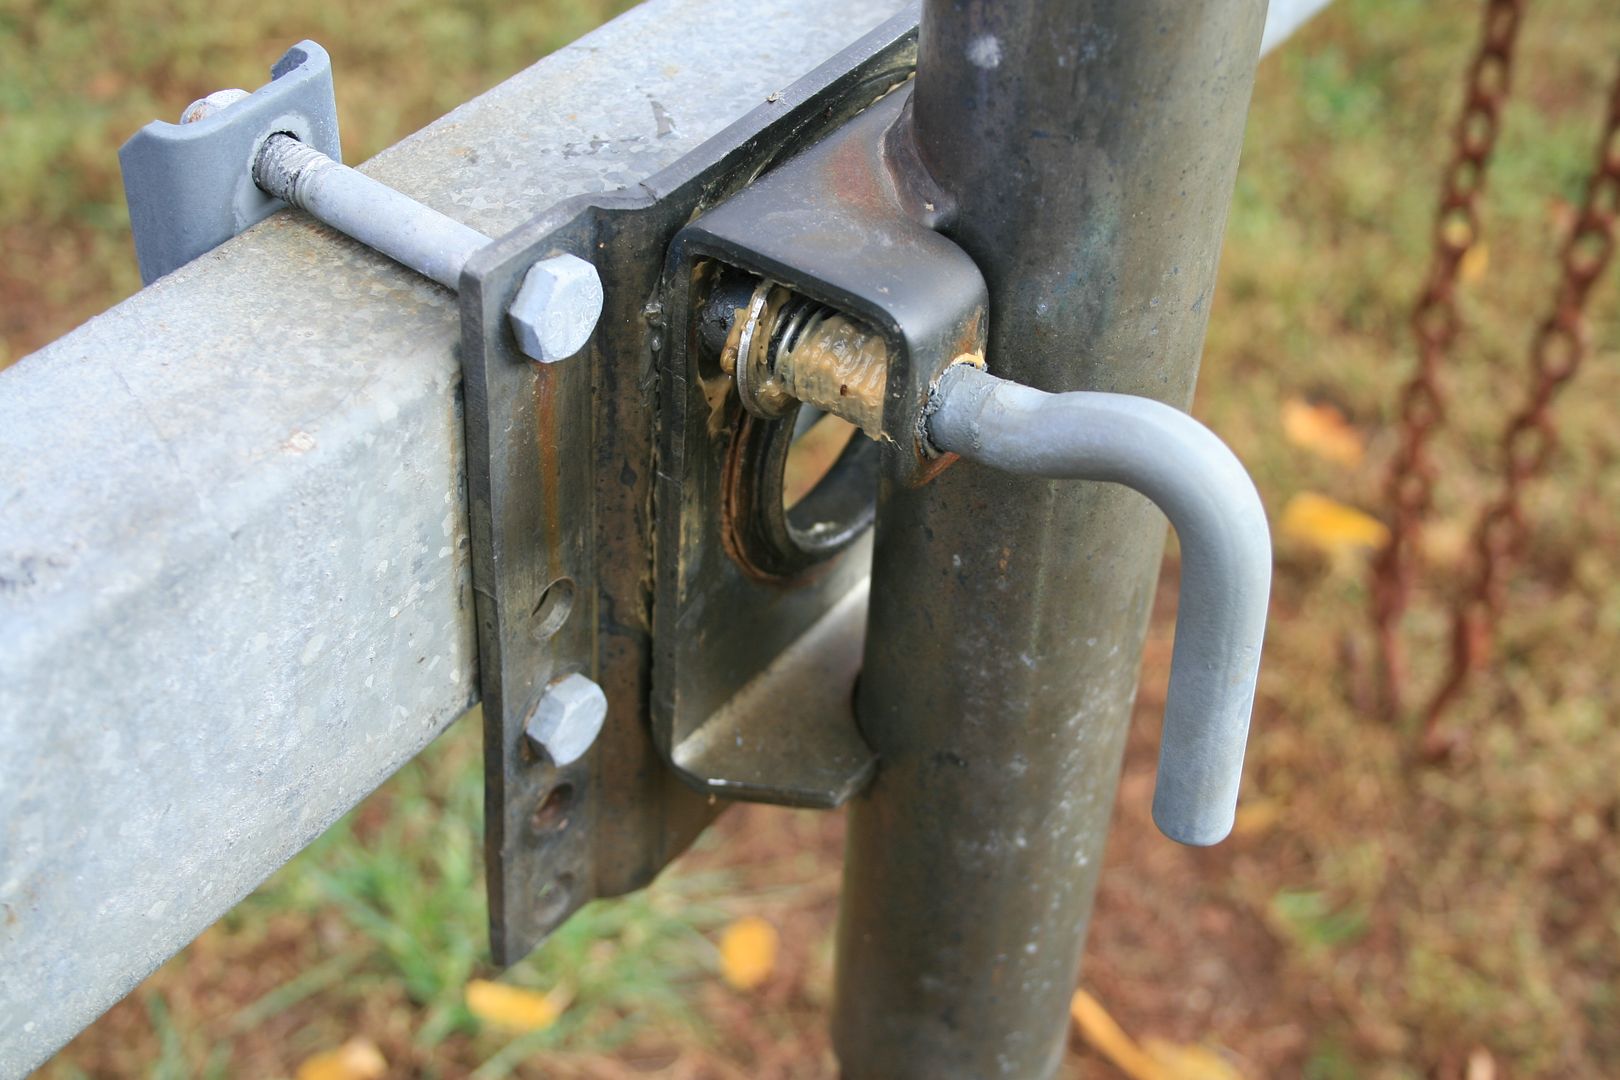
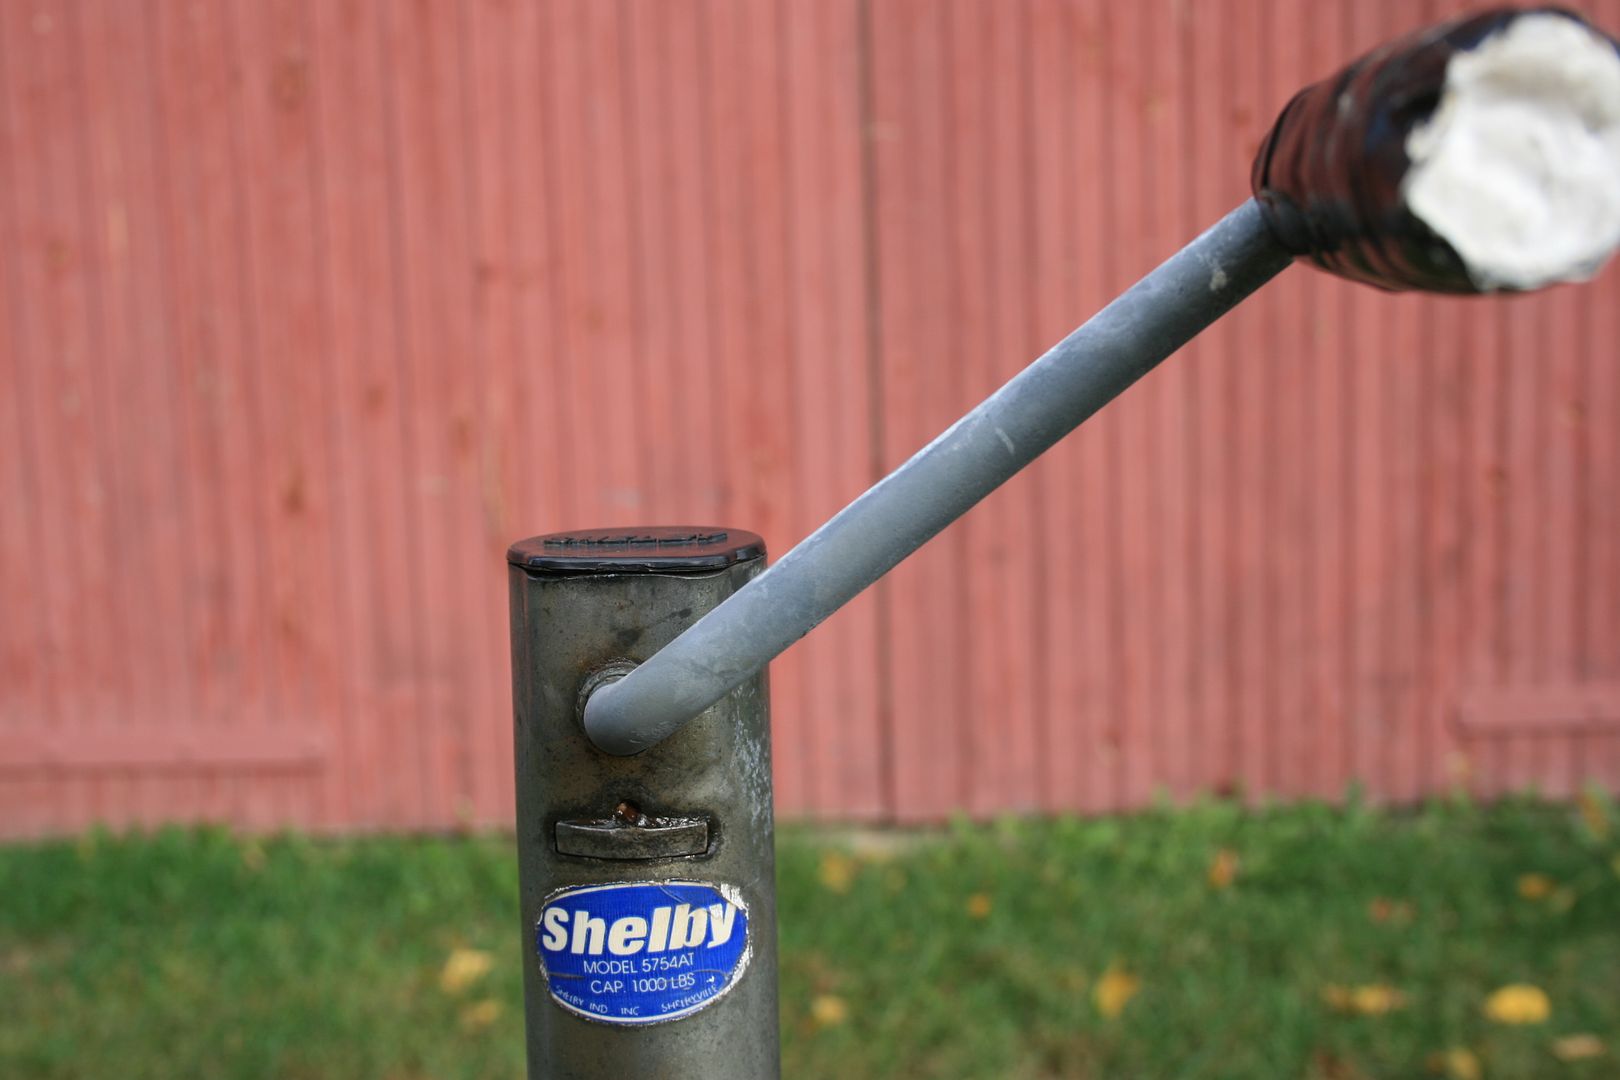
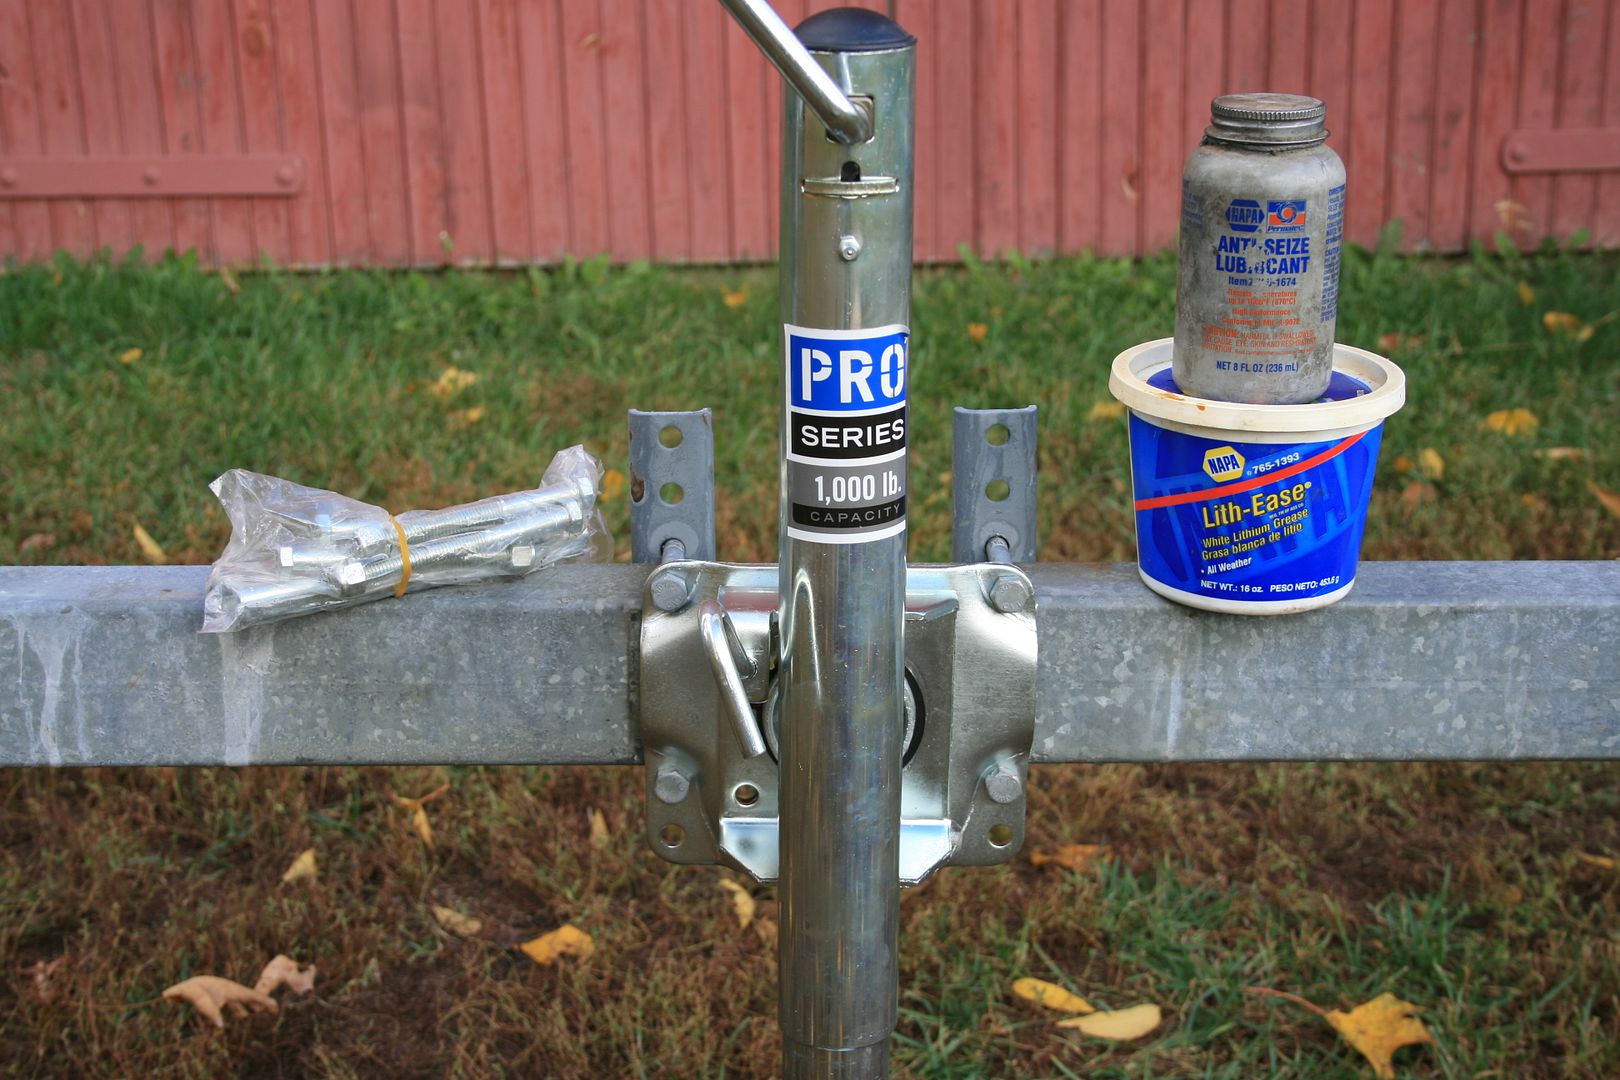
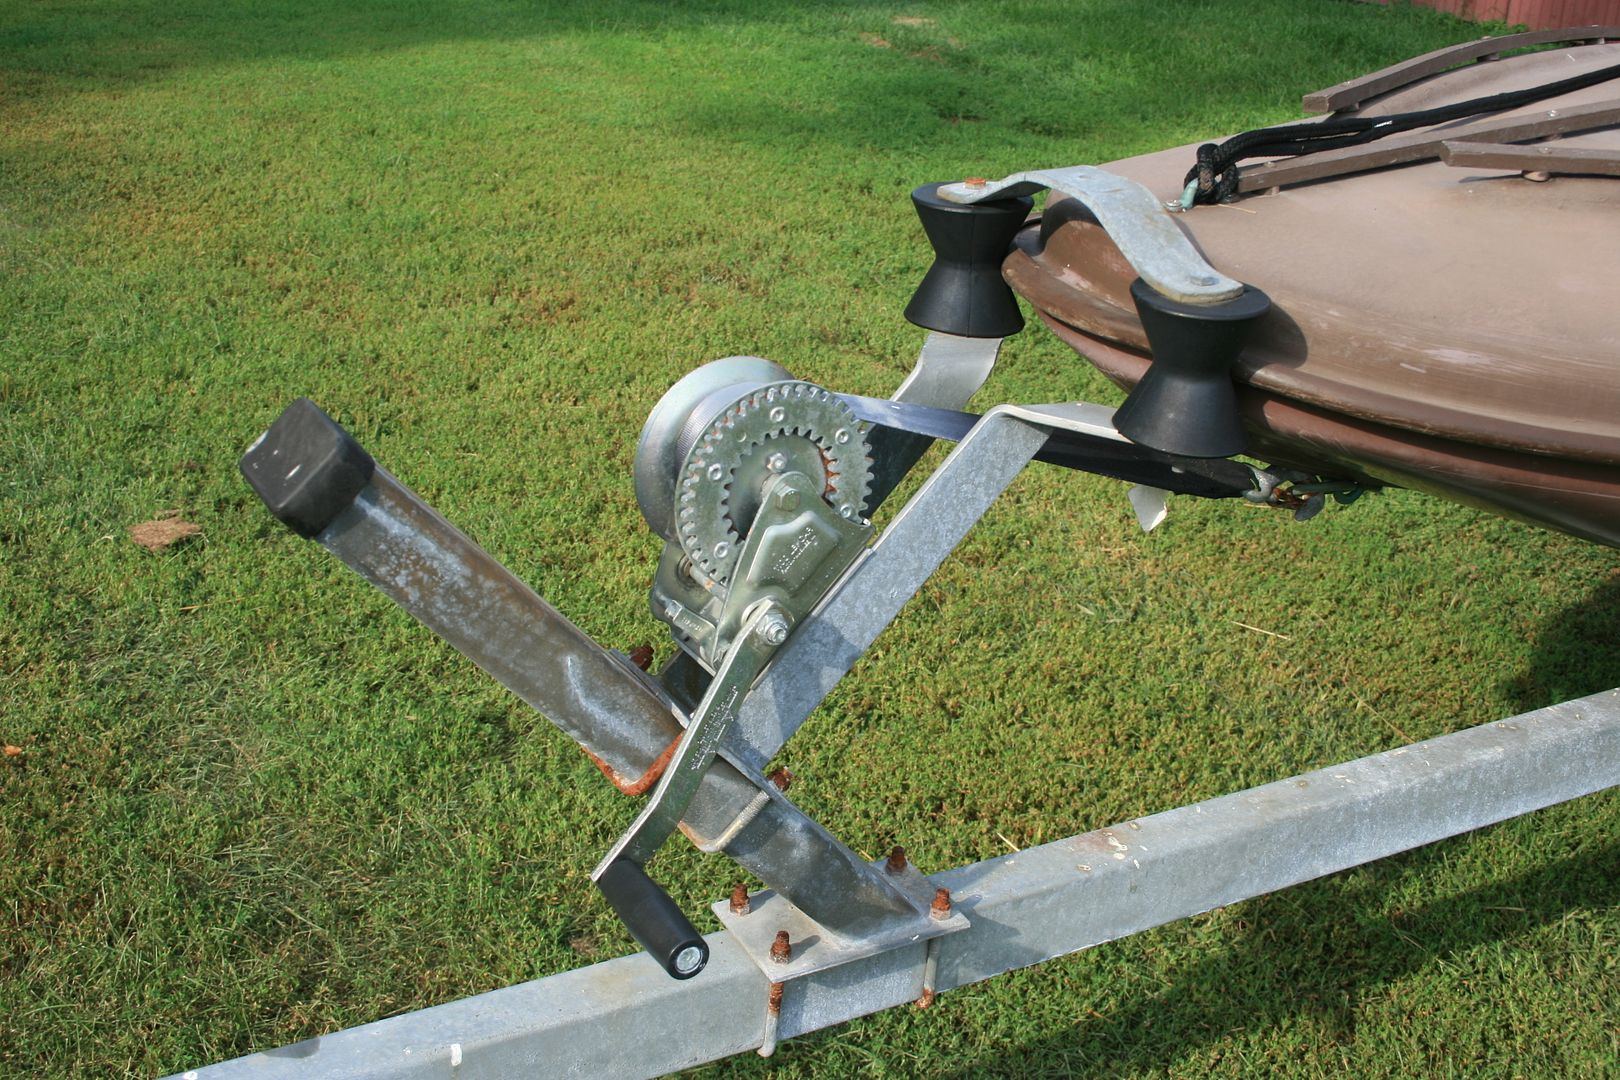
The jackstand had a couple of issues - handle was not connected and release pin was badly rusted. And a couple more surprises later on....

I really like that bow chock system - I've got to find one for my Sneakbox.
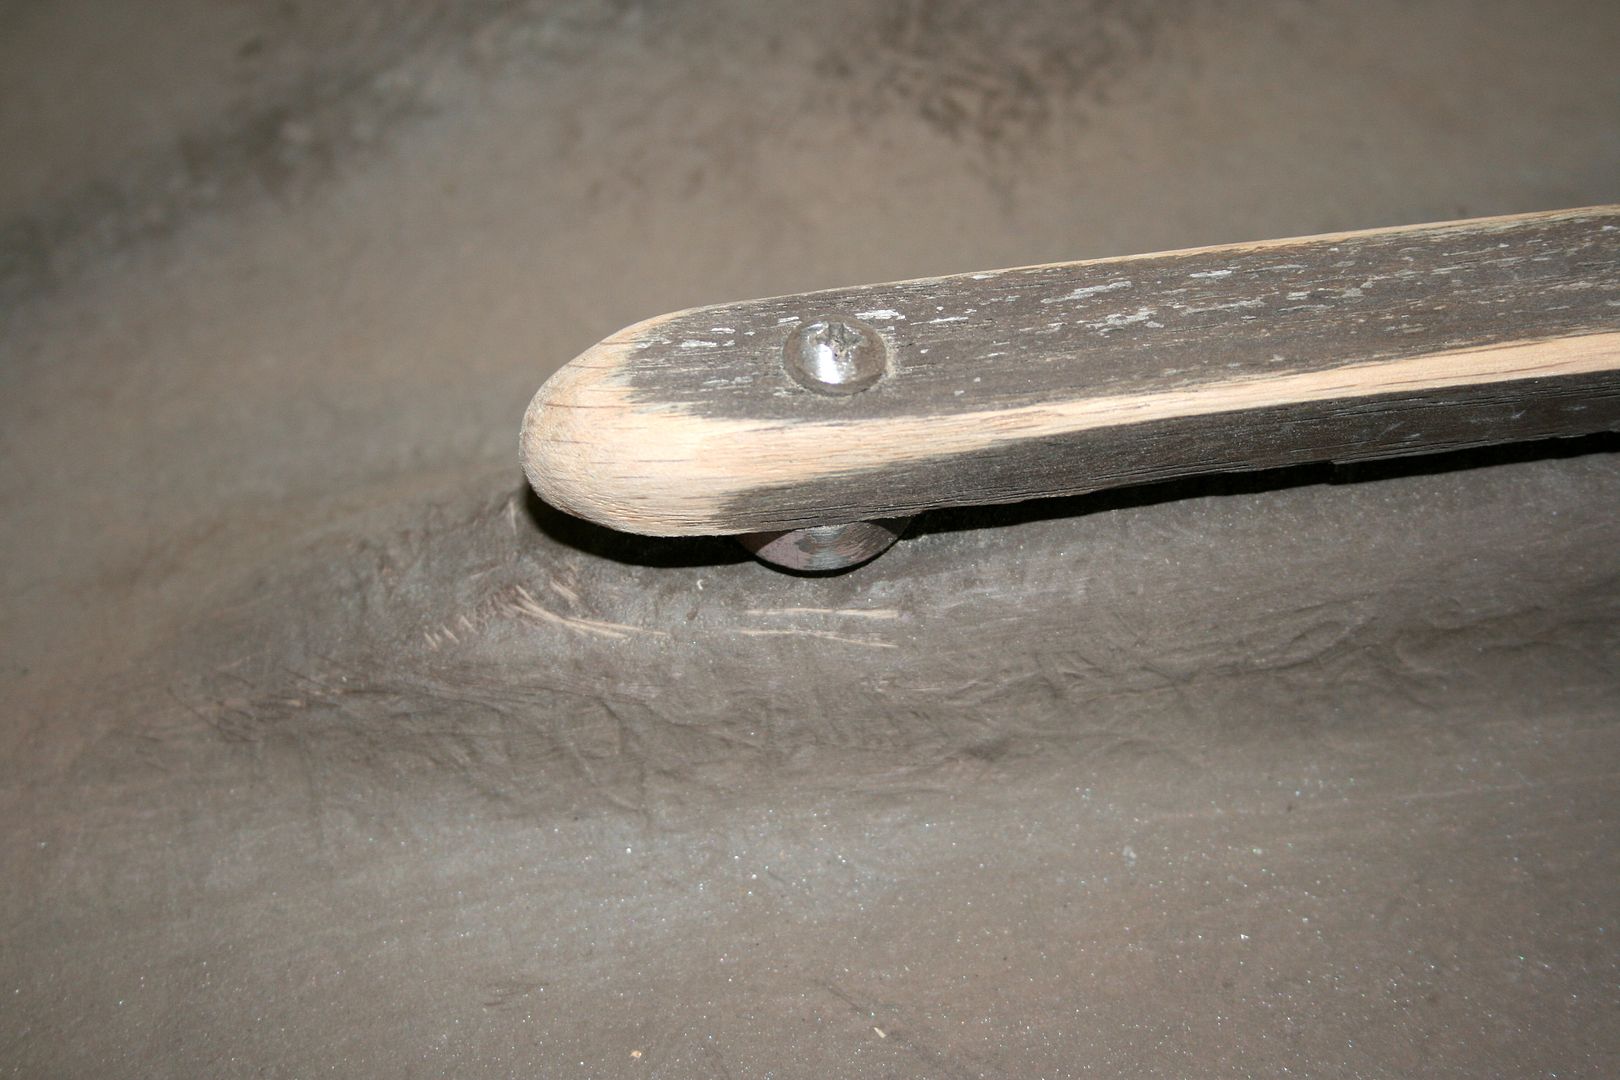
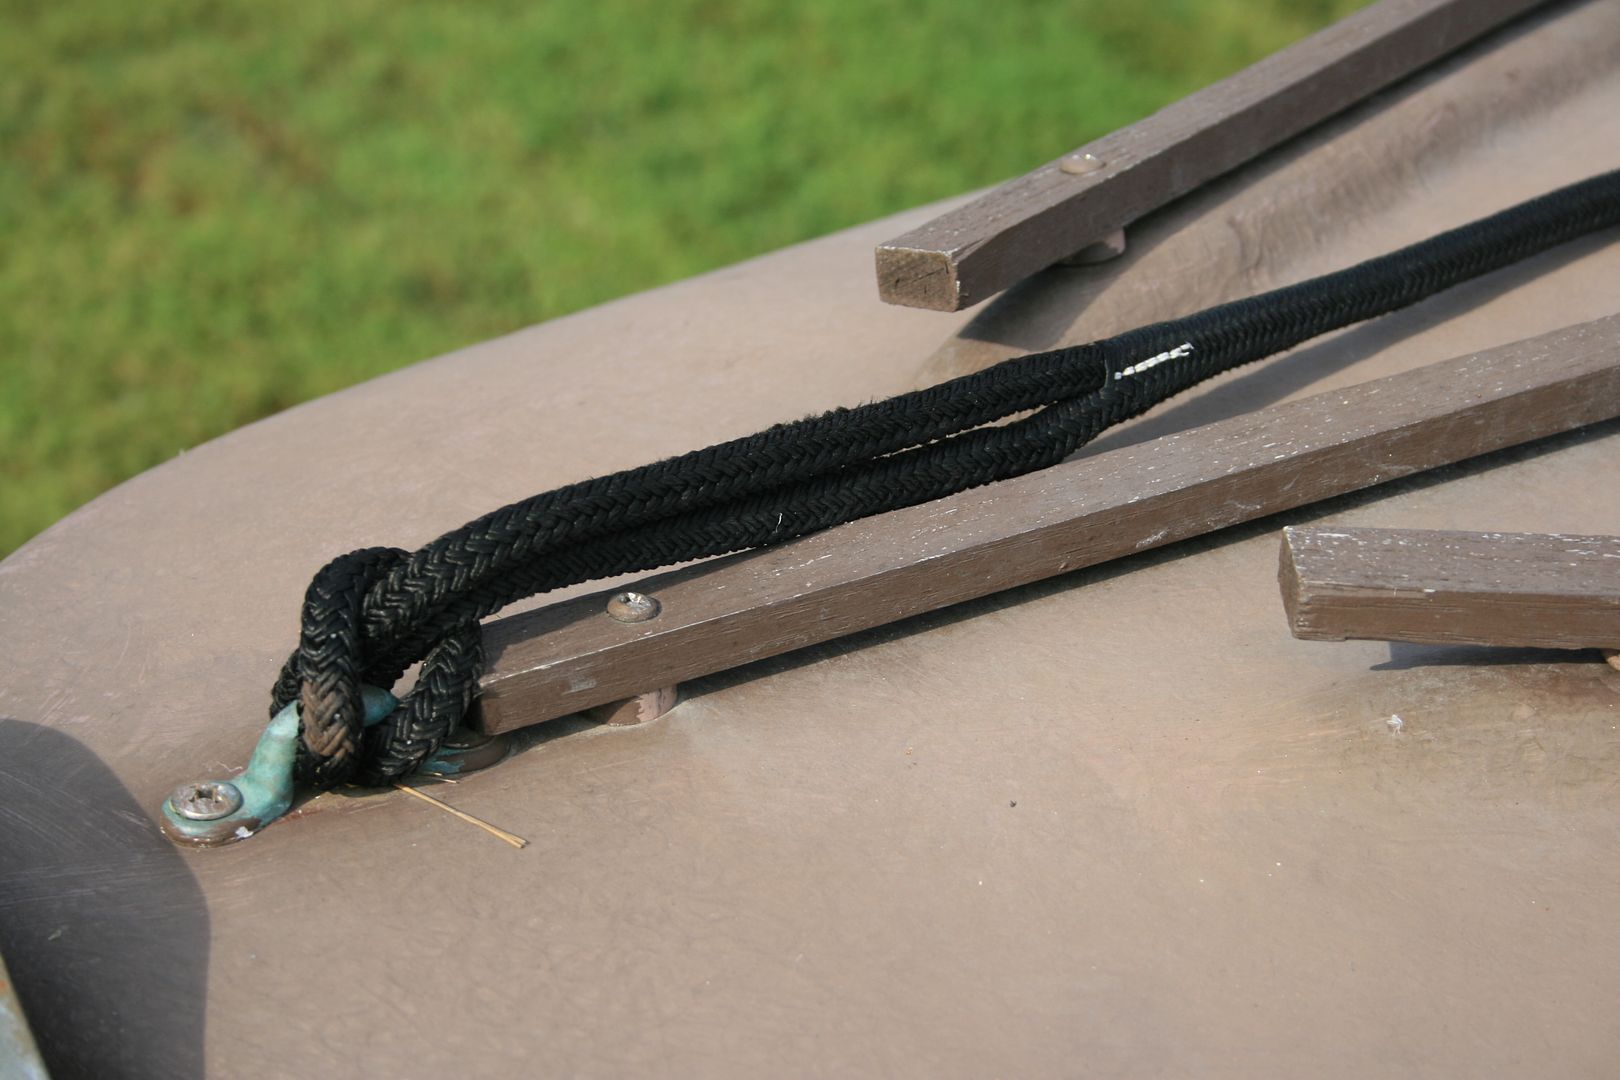
The thatch rails had overhanging ends - which could foul lines and such - and hard edges all around. Nylon spacers were used - I'm not sure about them yet.....
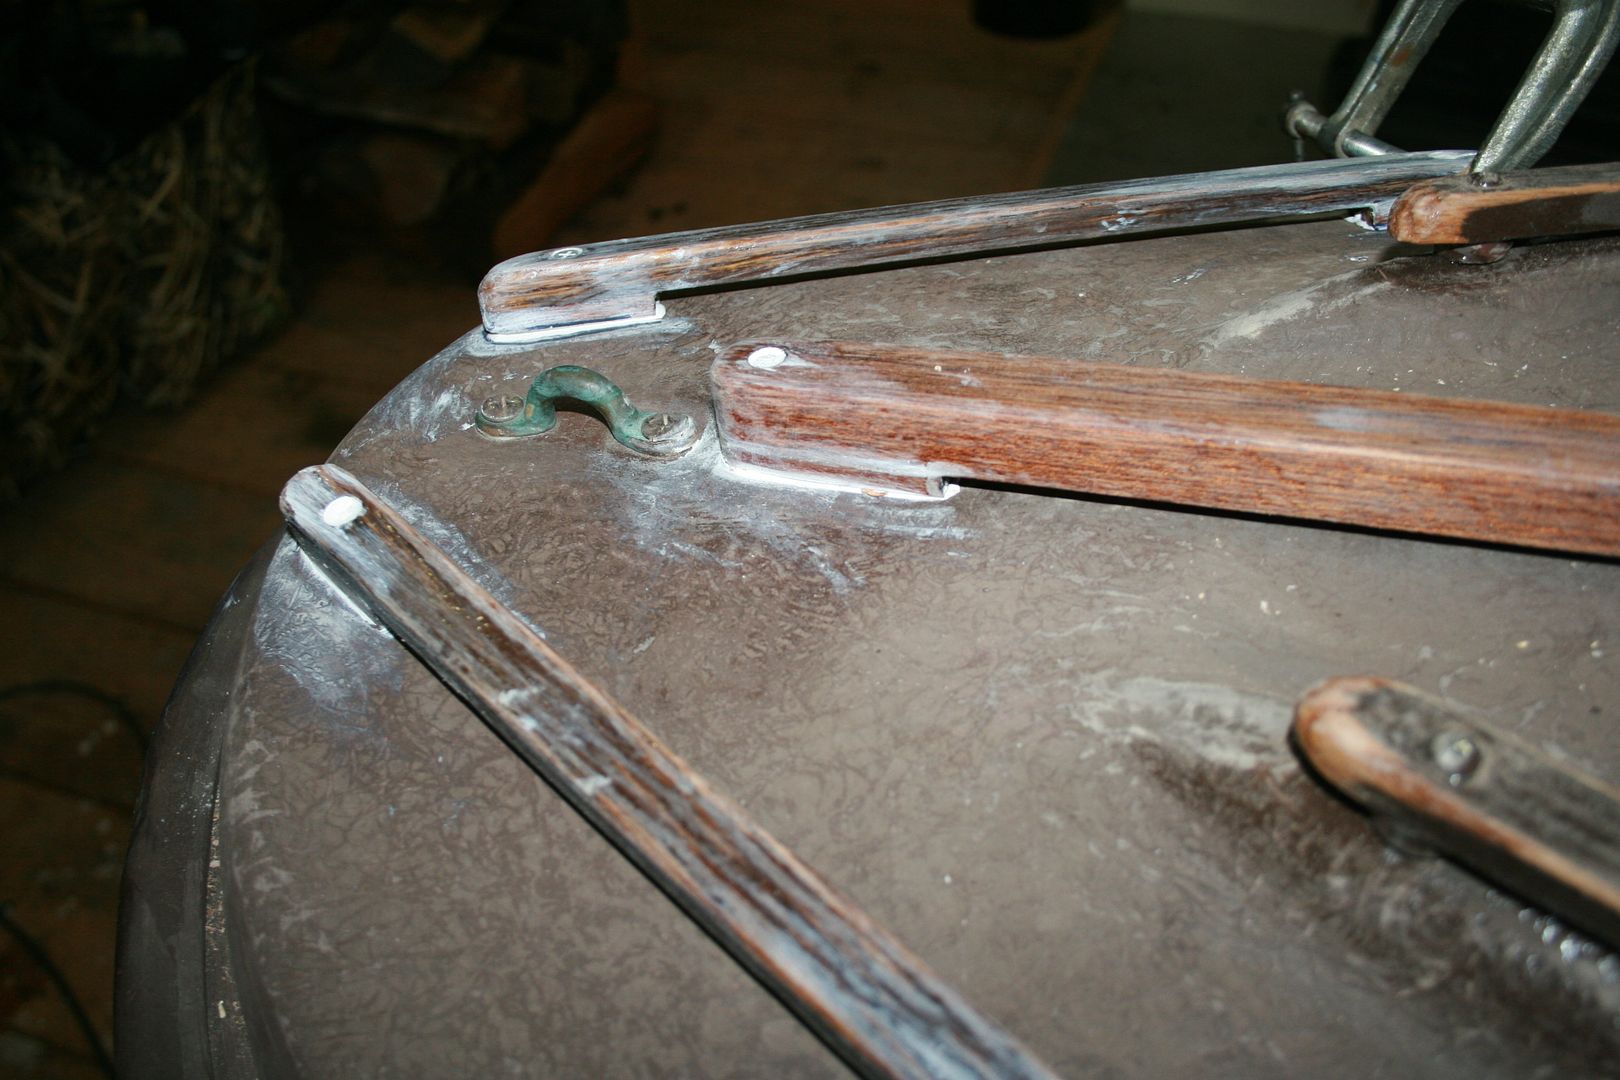
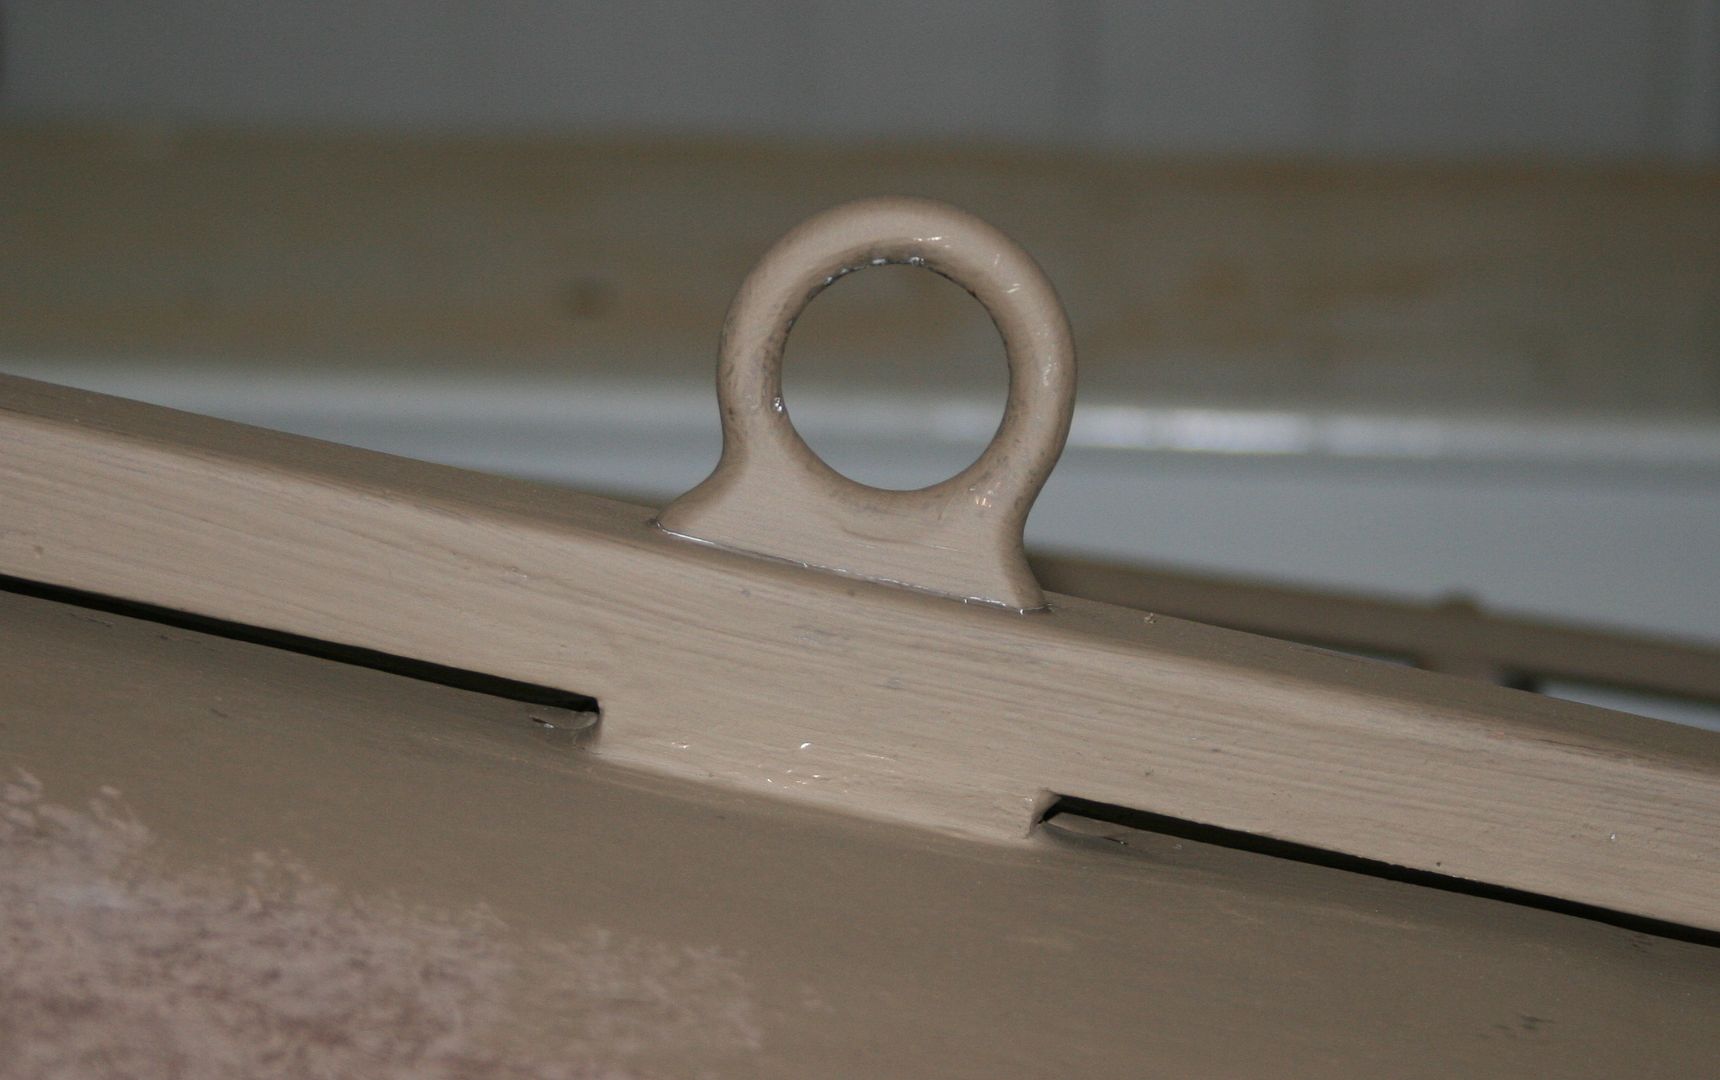
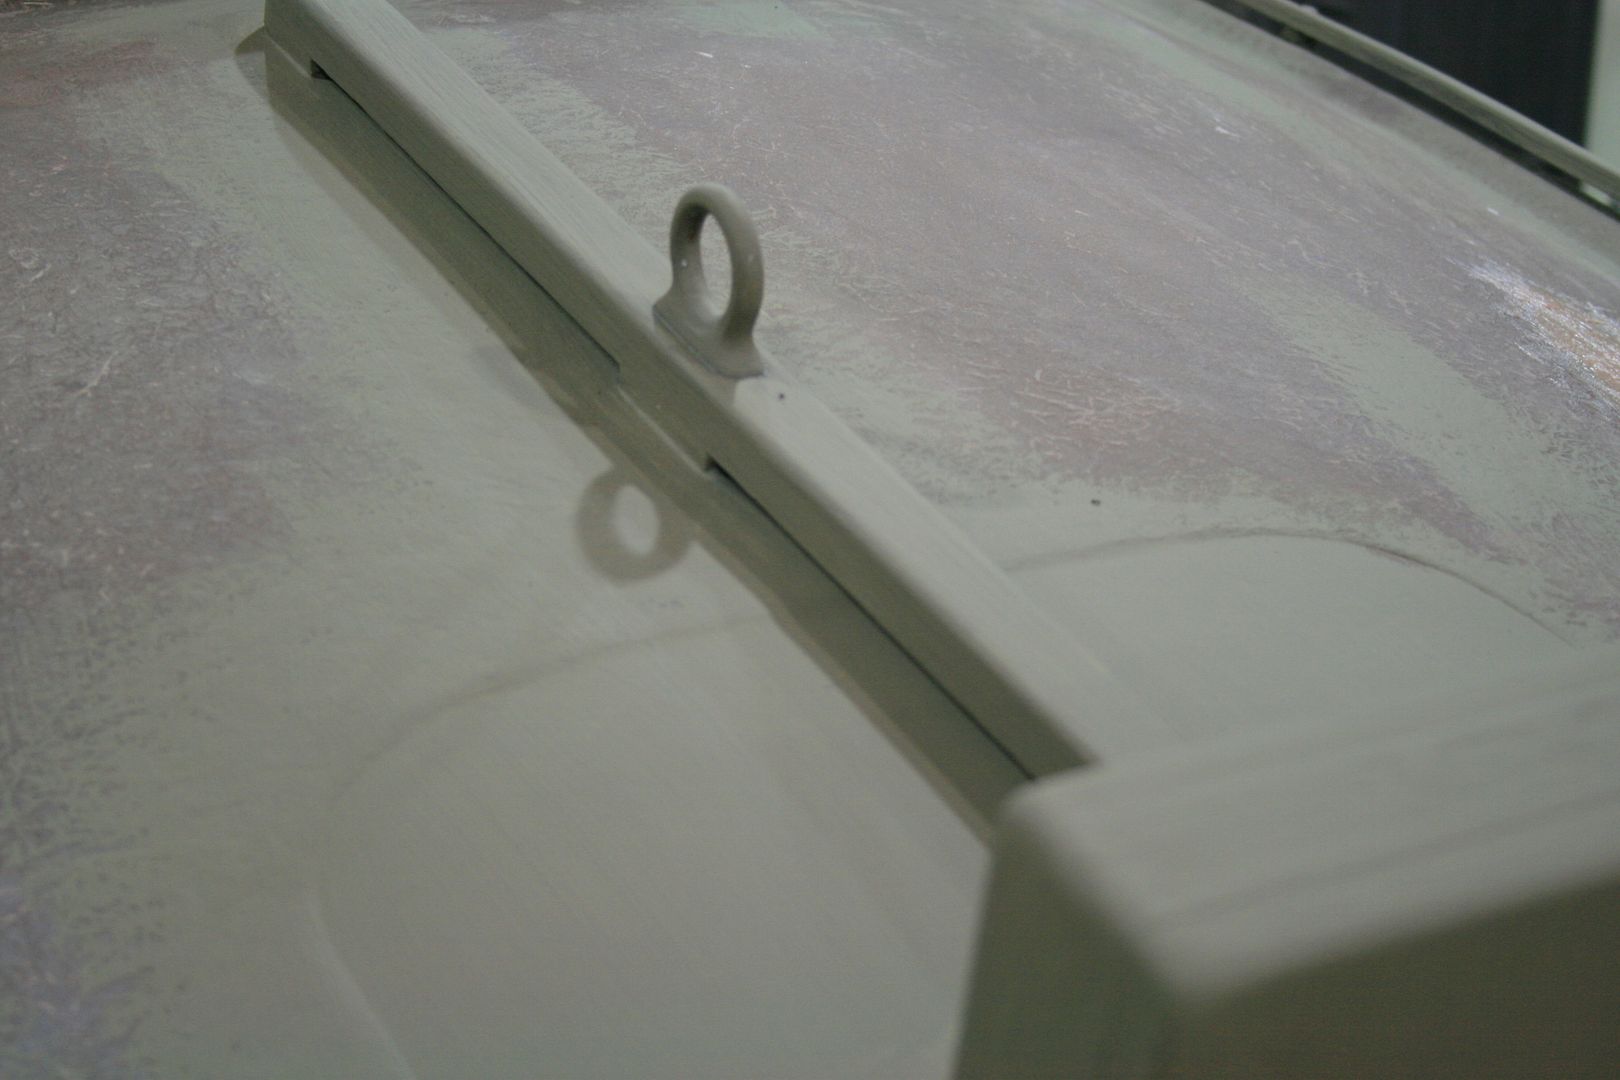
There is a nice bronze ring below the bow for towing and this heavy eye strap for the painter. Because the forward bulkhead prevents access to the eye strap fasteners, alas, I cannot find a reason to put a sleeping-duck bow handle here.....
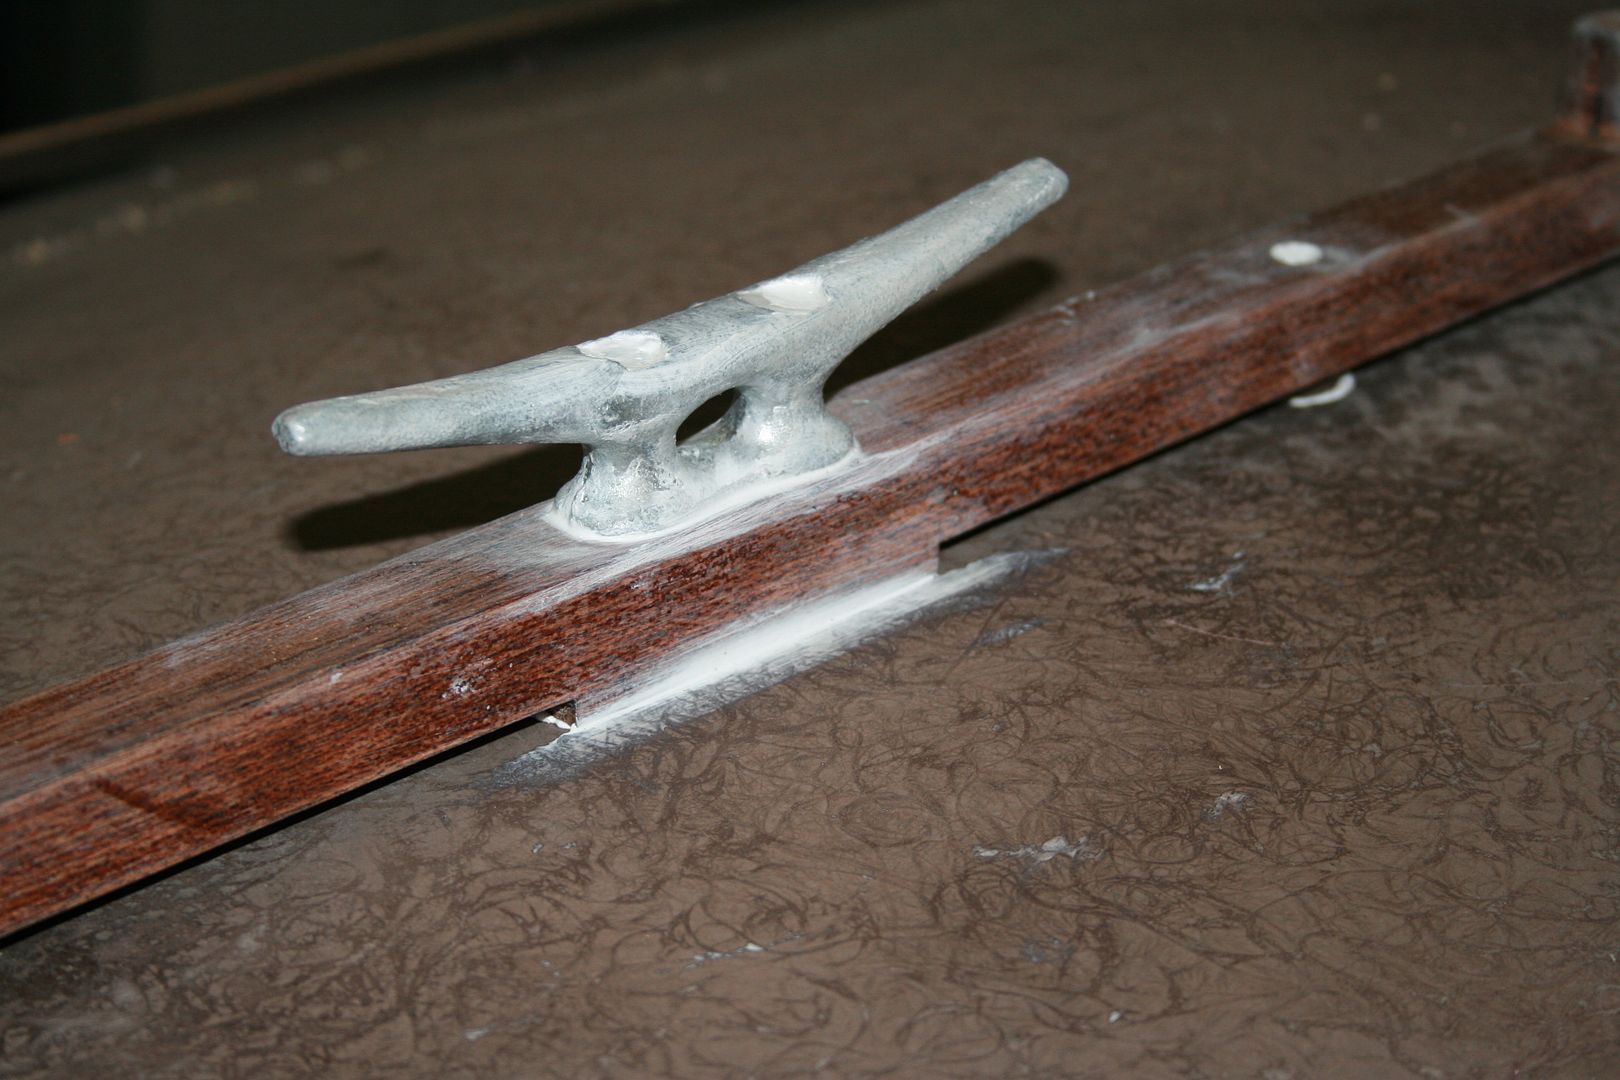
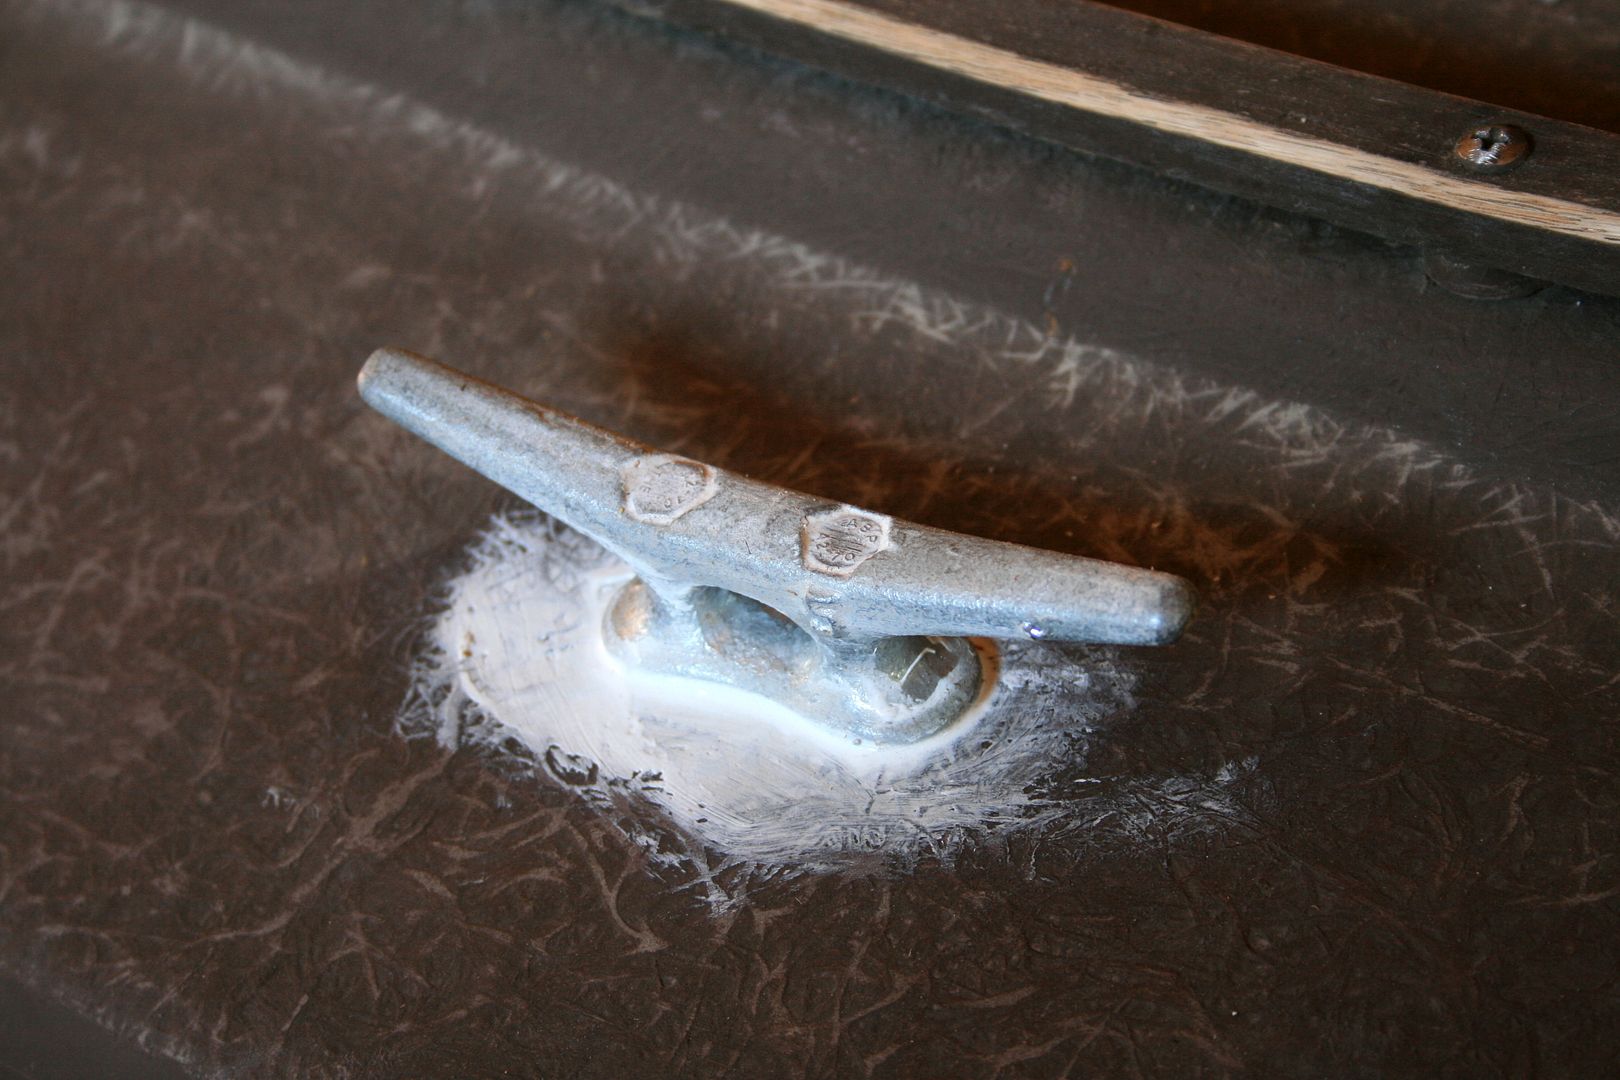
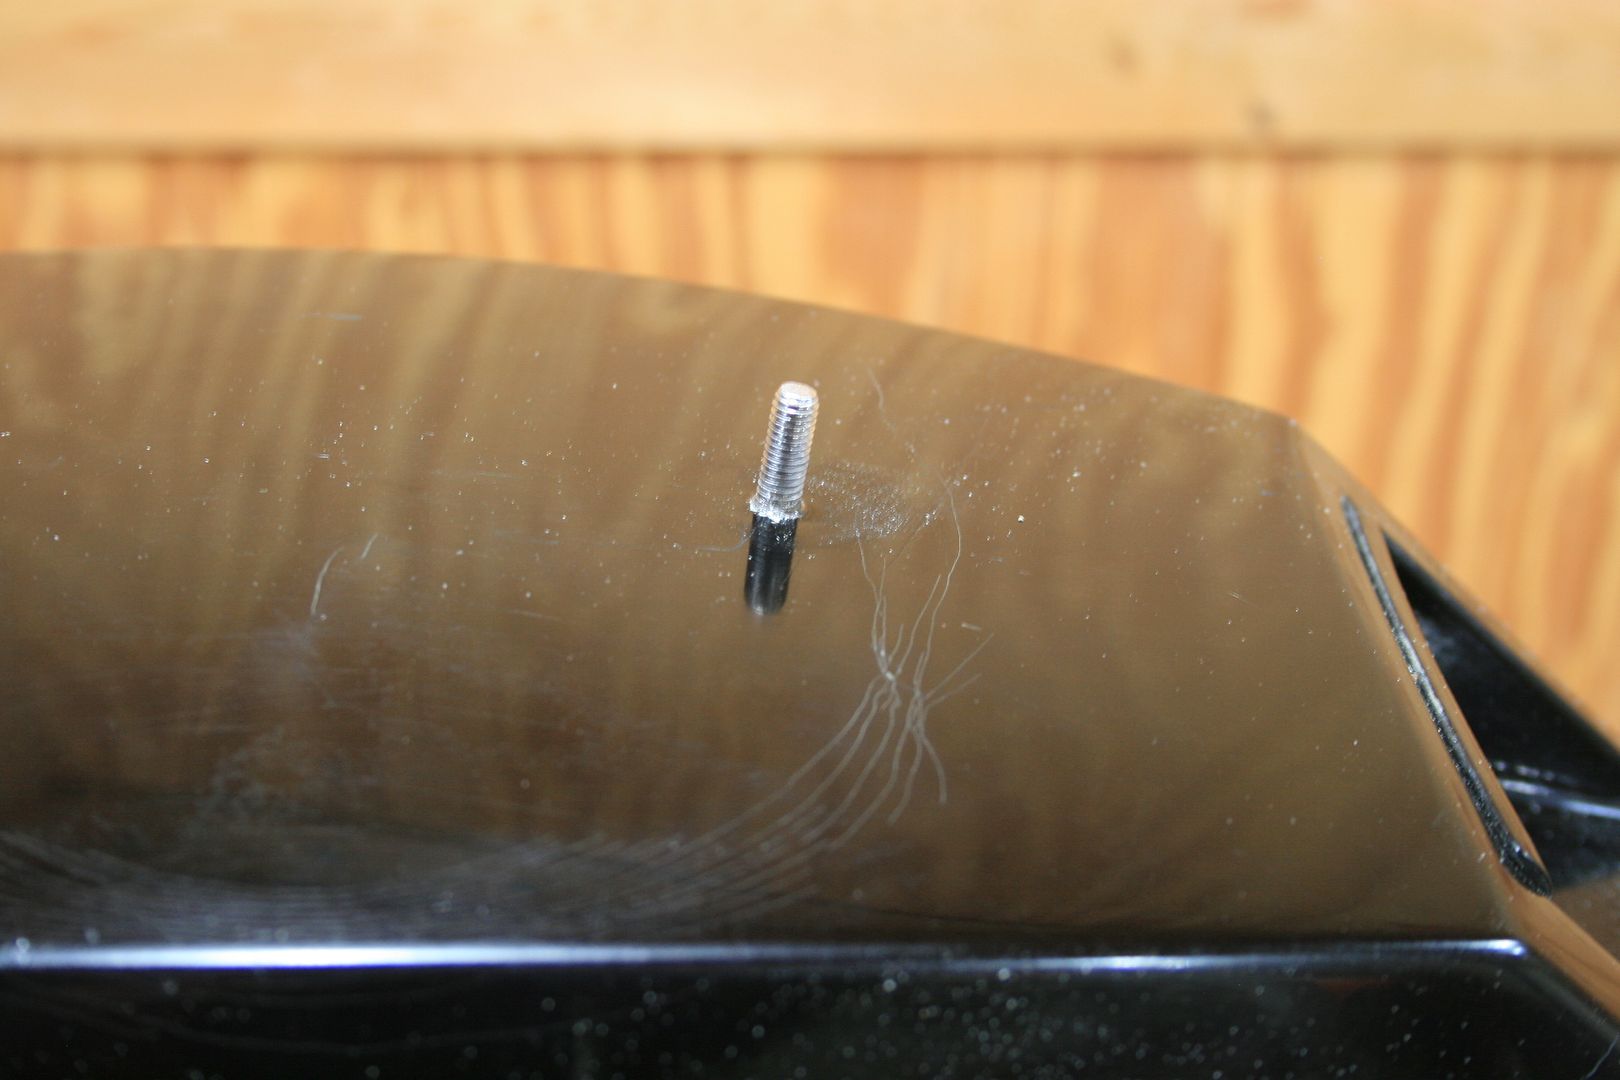
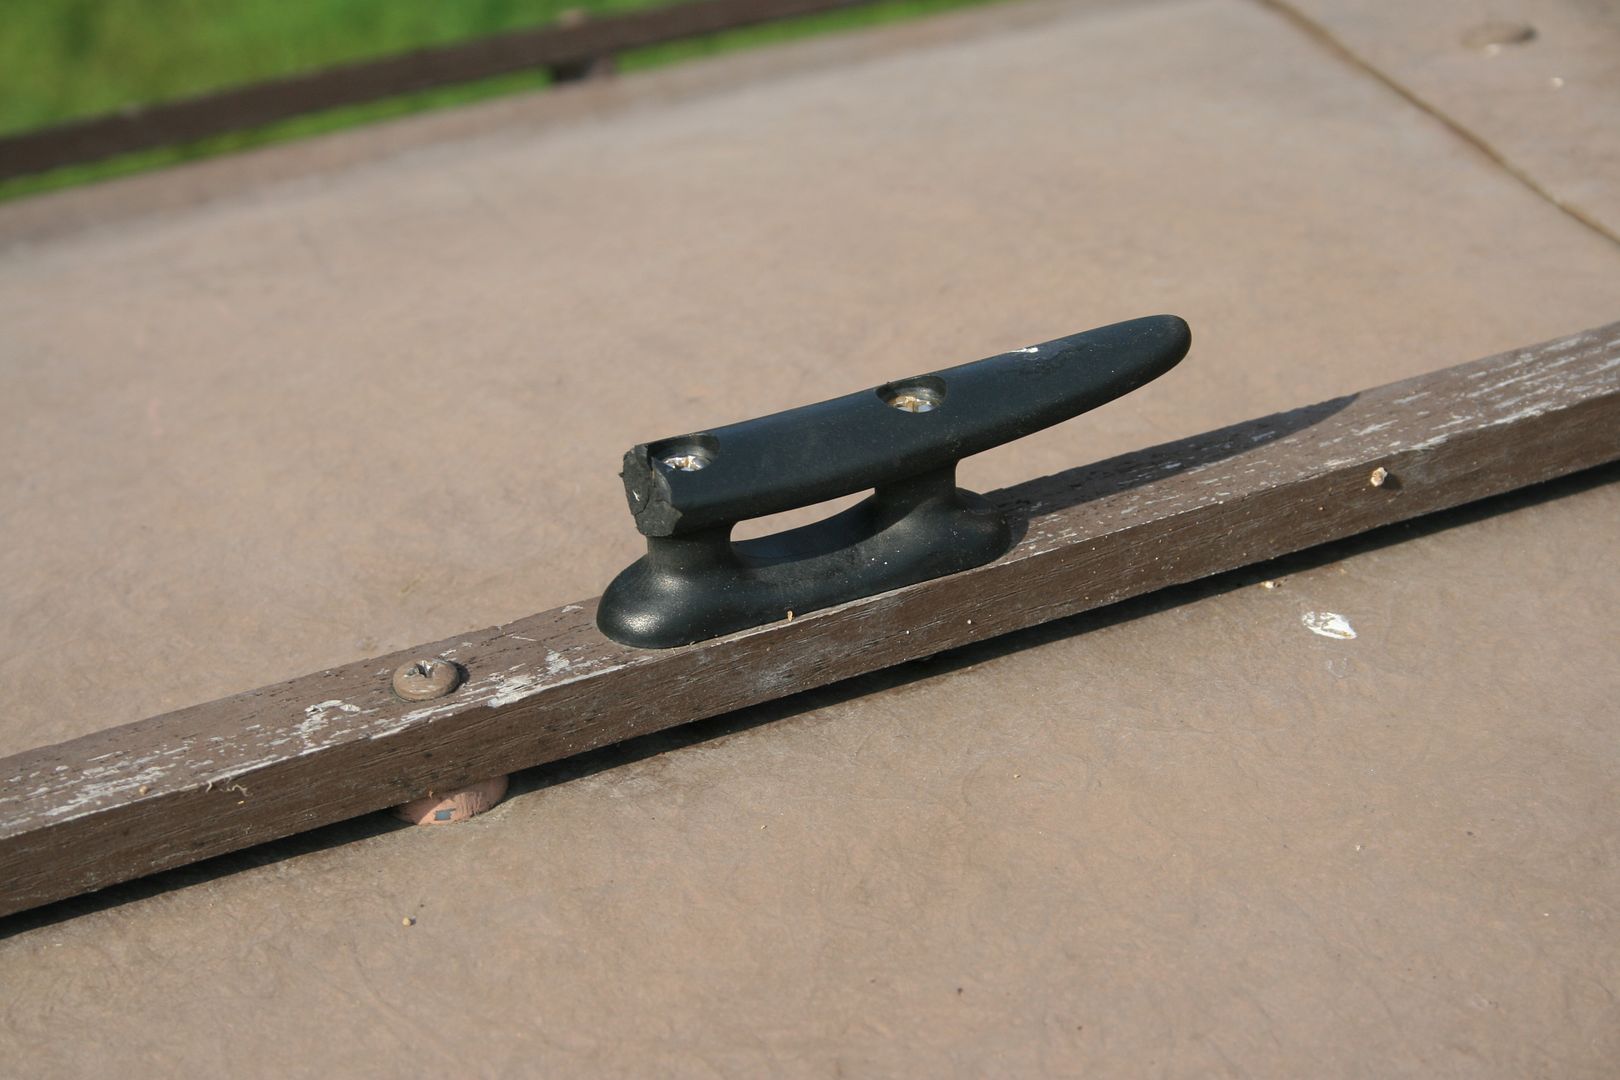
Just like a buck you would not shoot - the foredeck cleat had dropped one horn.
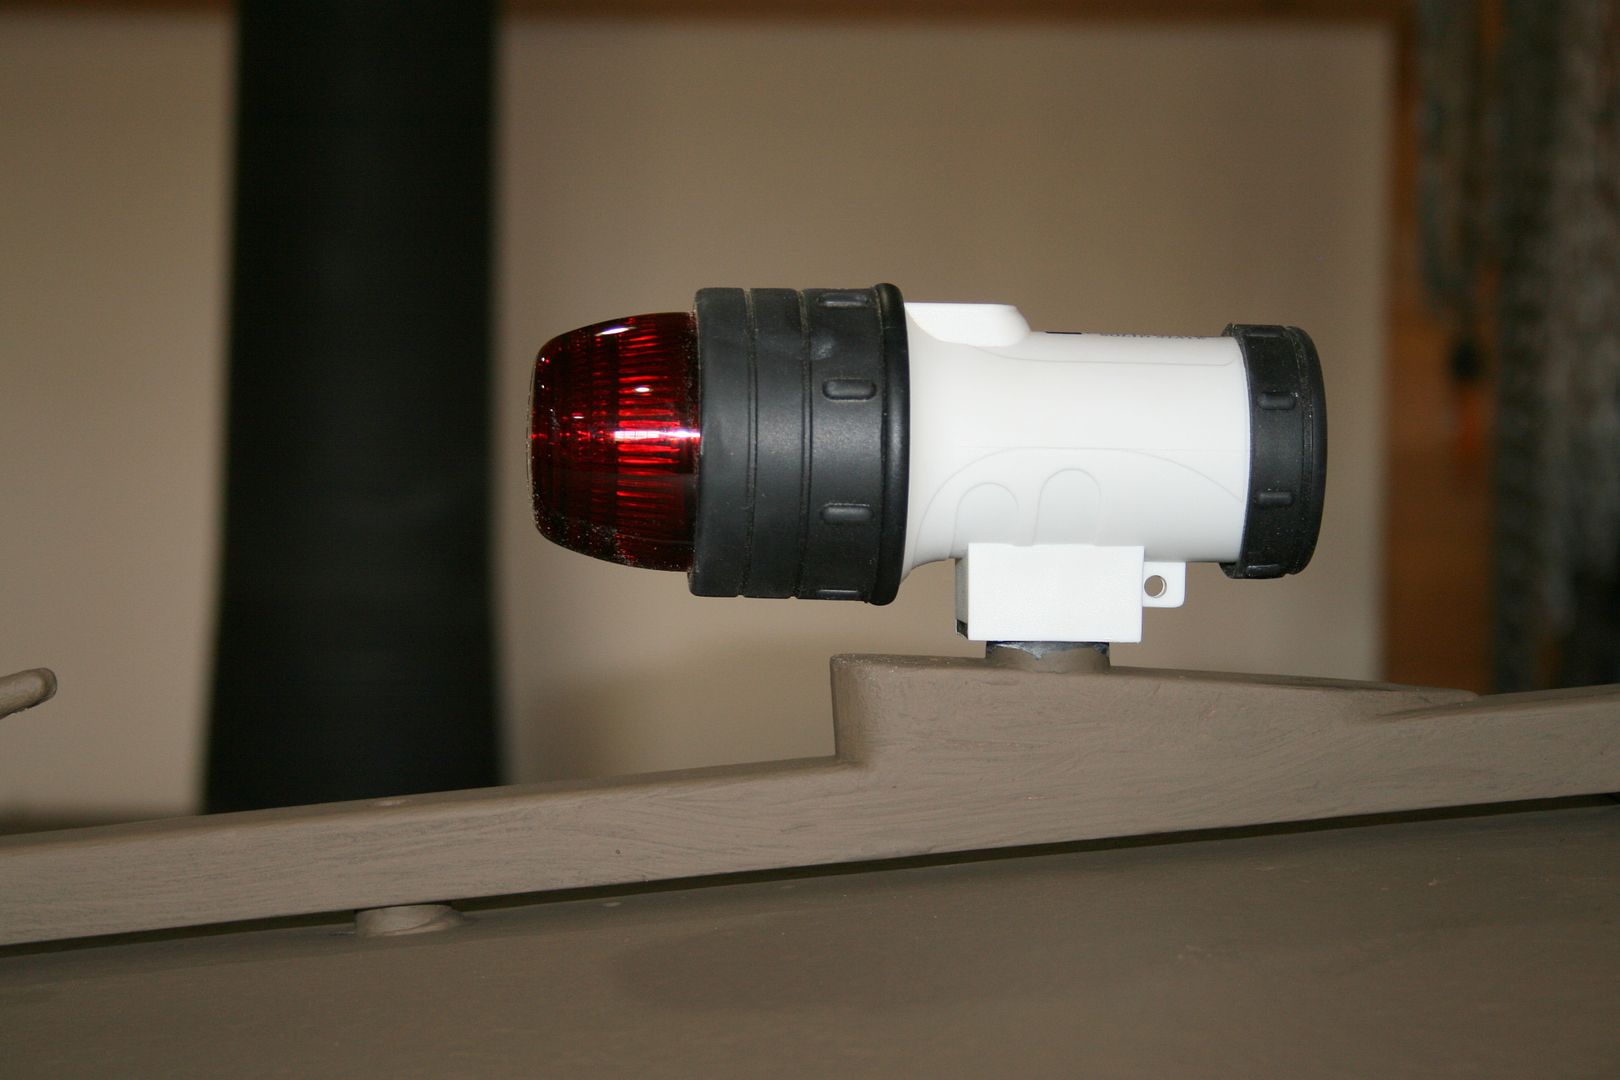
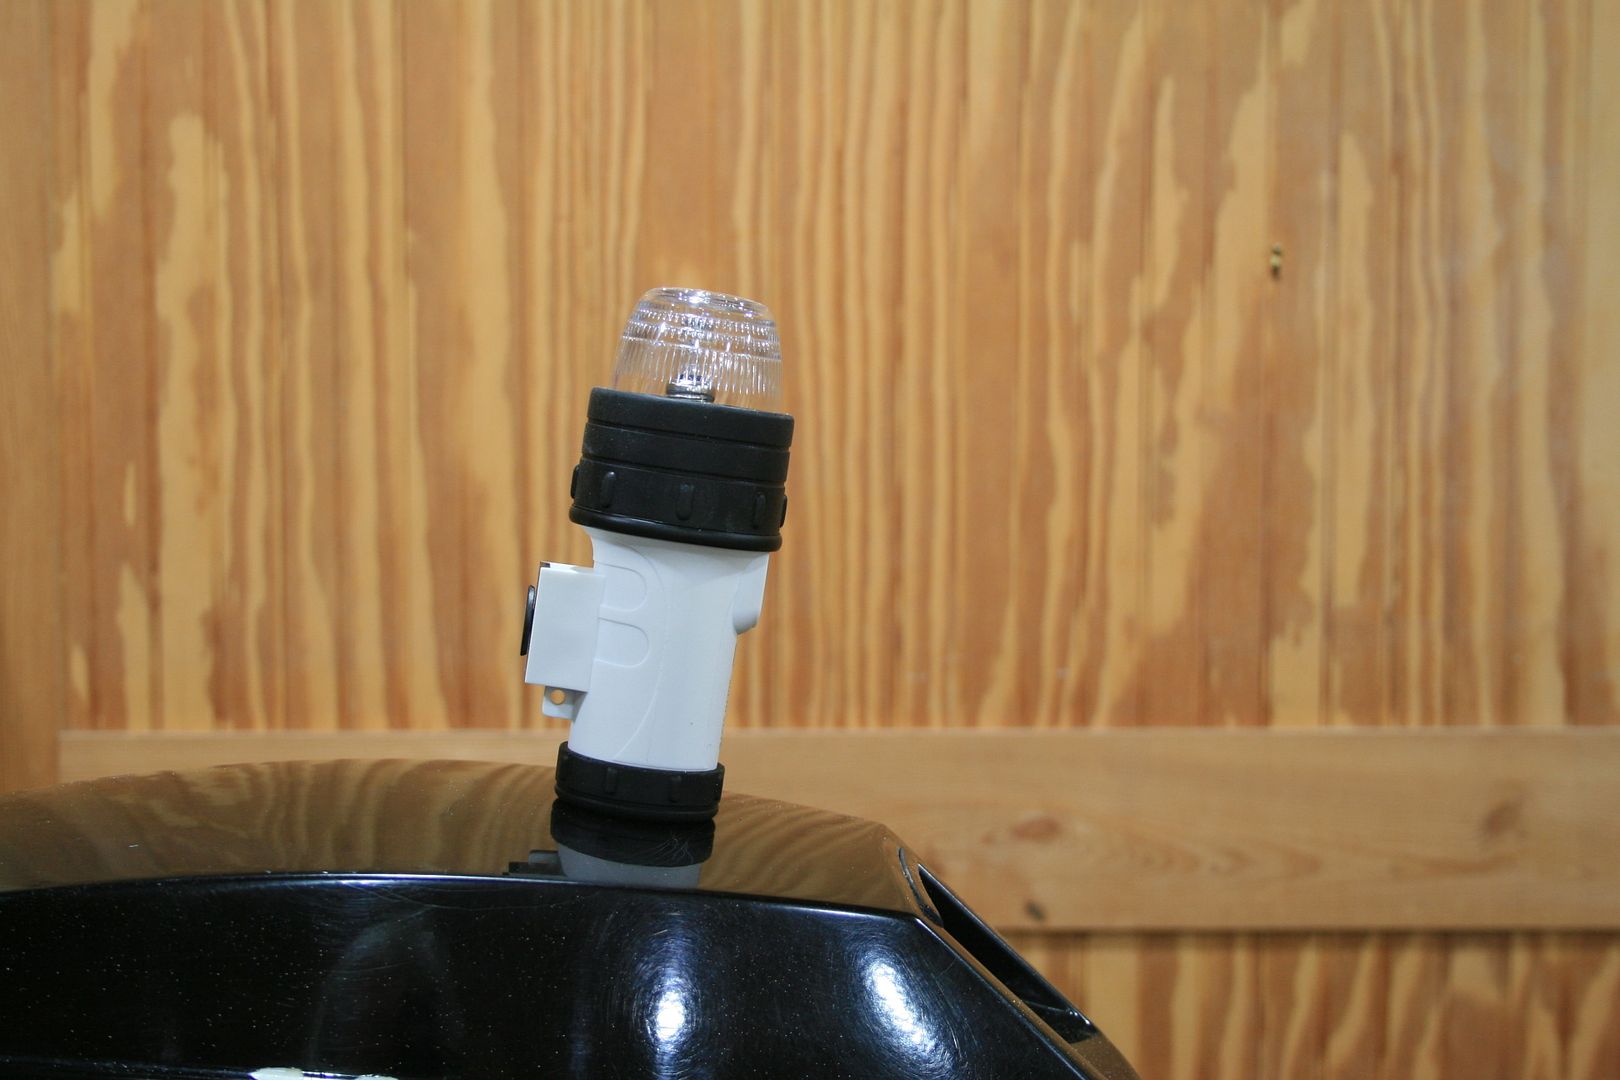
Bill wants this cowling taller.
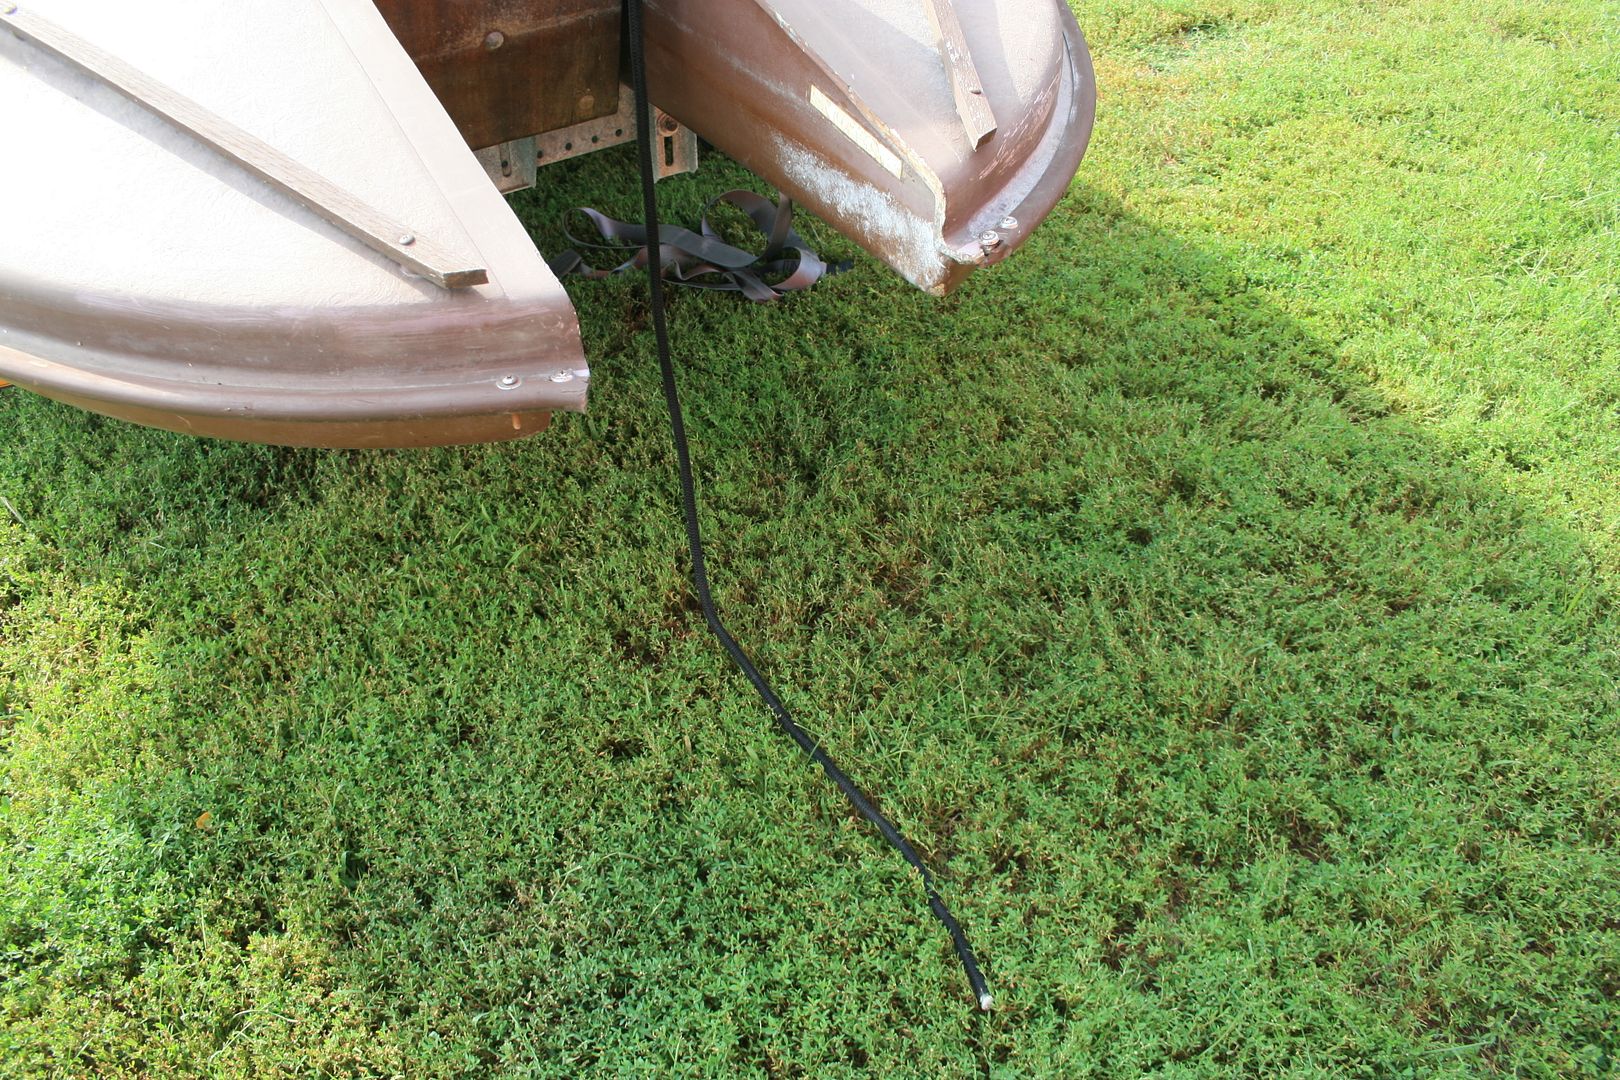
The bow painter will be replaced - with something I can splice.
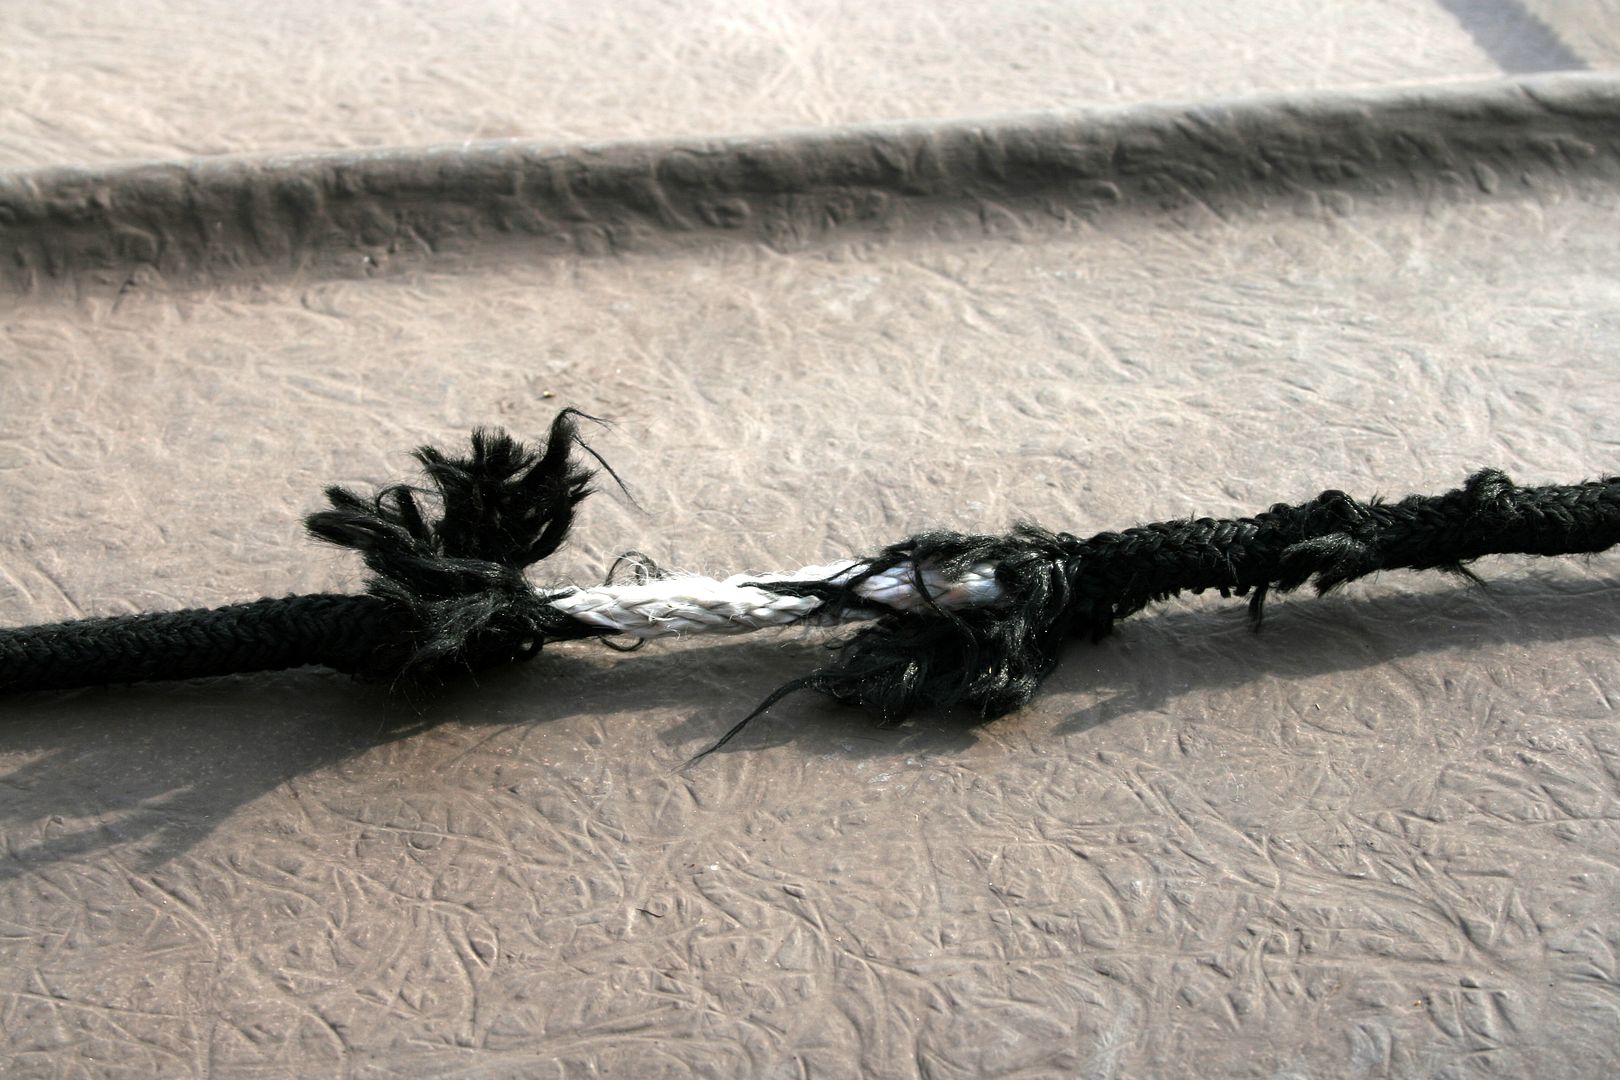
AND - it will be just long (short?) enough so that it cannot reach the prop!
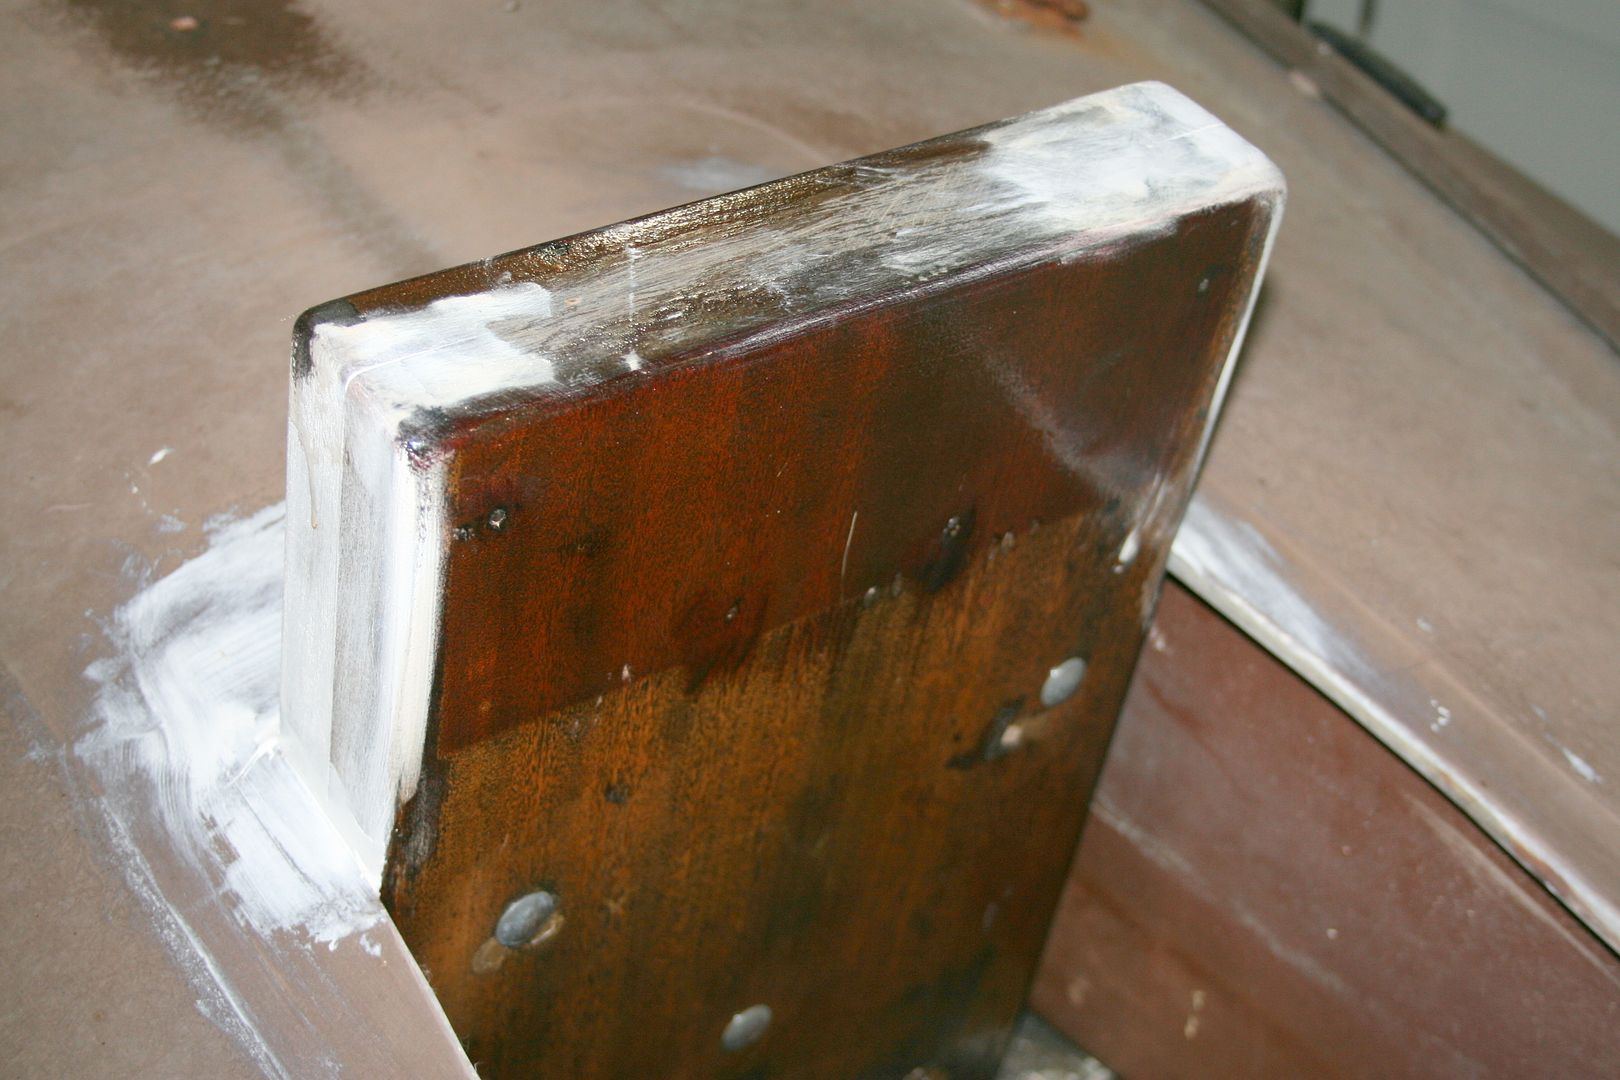
That stainless cover makes me nervous. Too slippery - and could allow that Merc to torque off the motor board in a turn. And, I do not like the non-stainless fasteners.
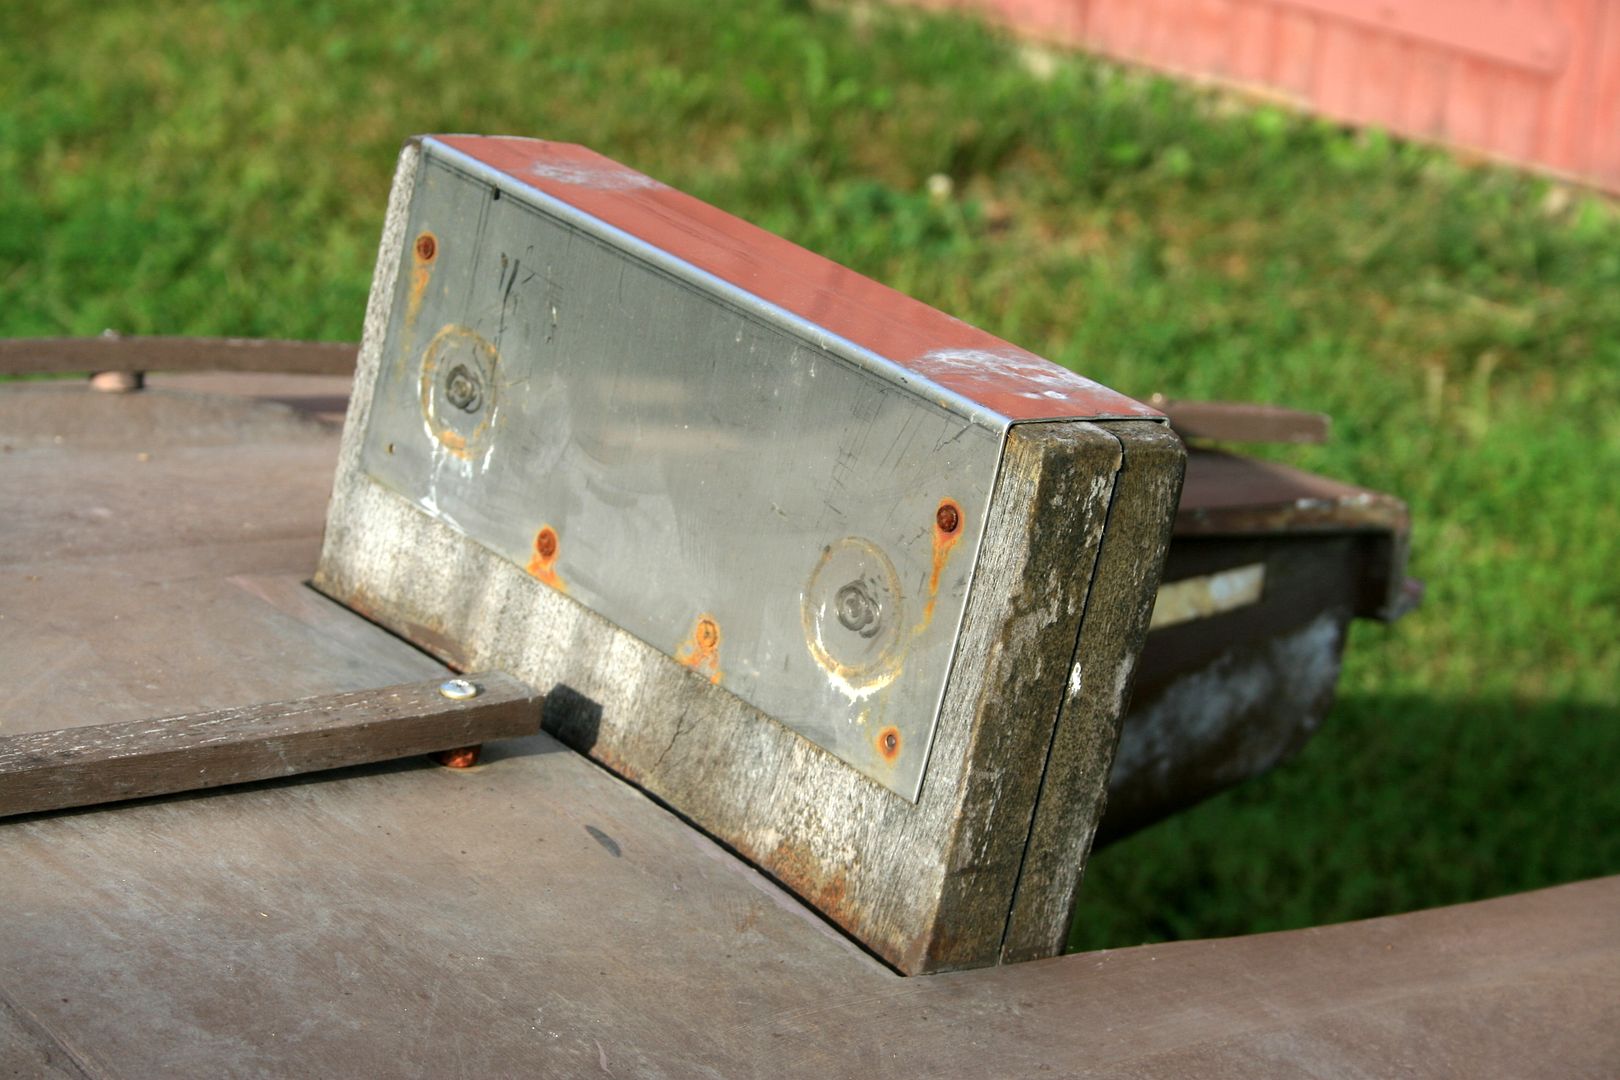
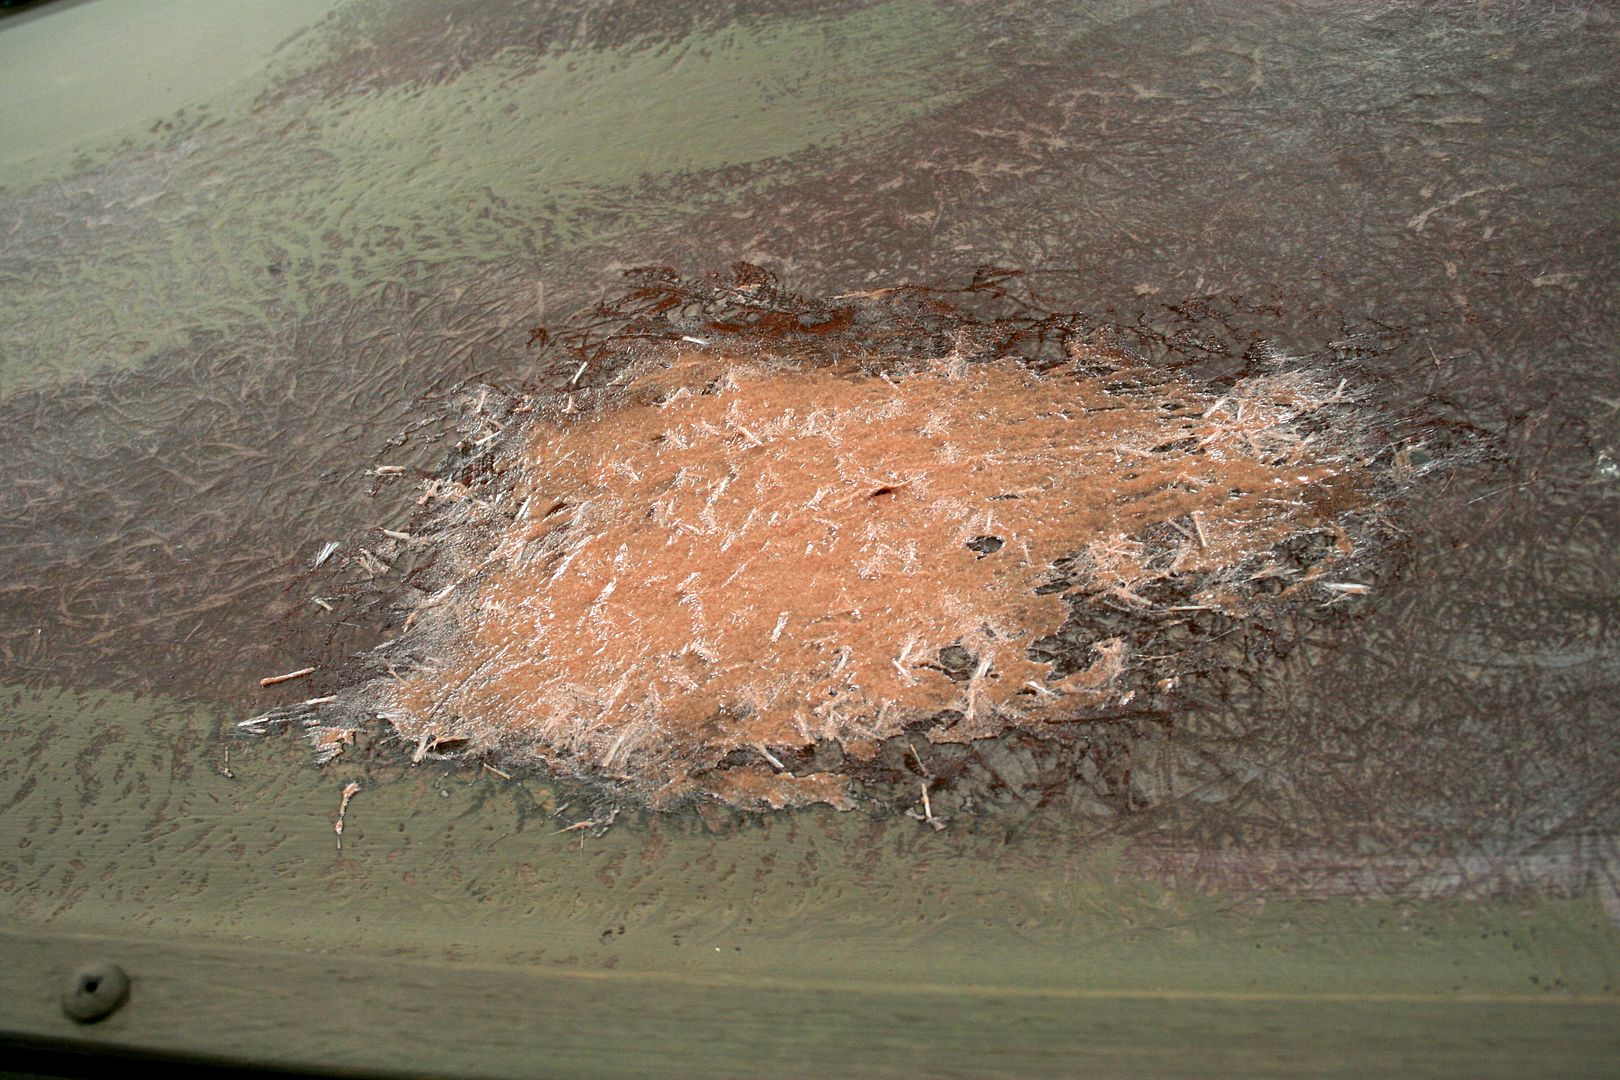
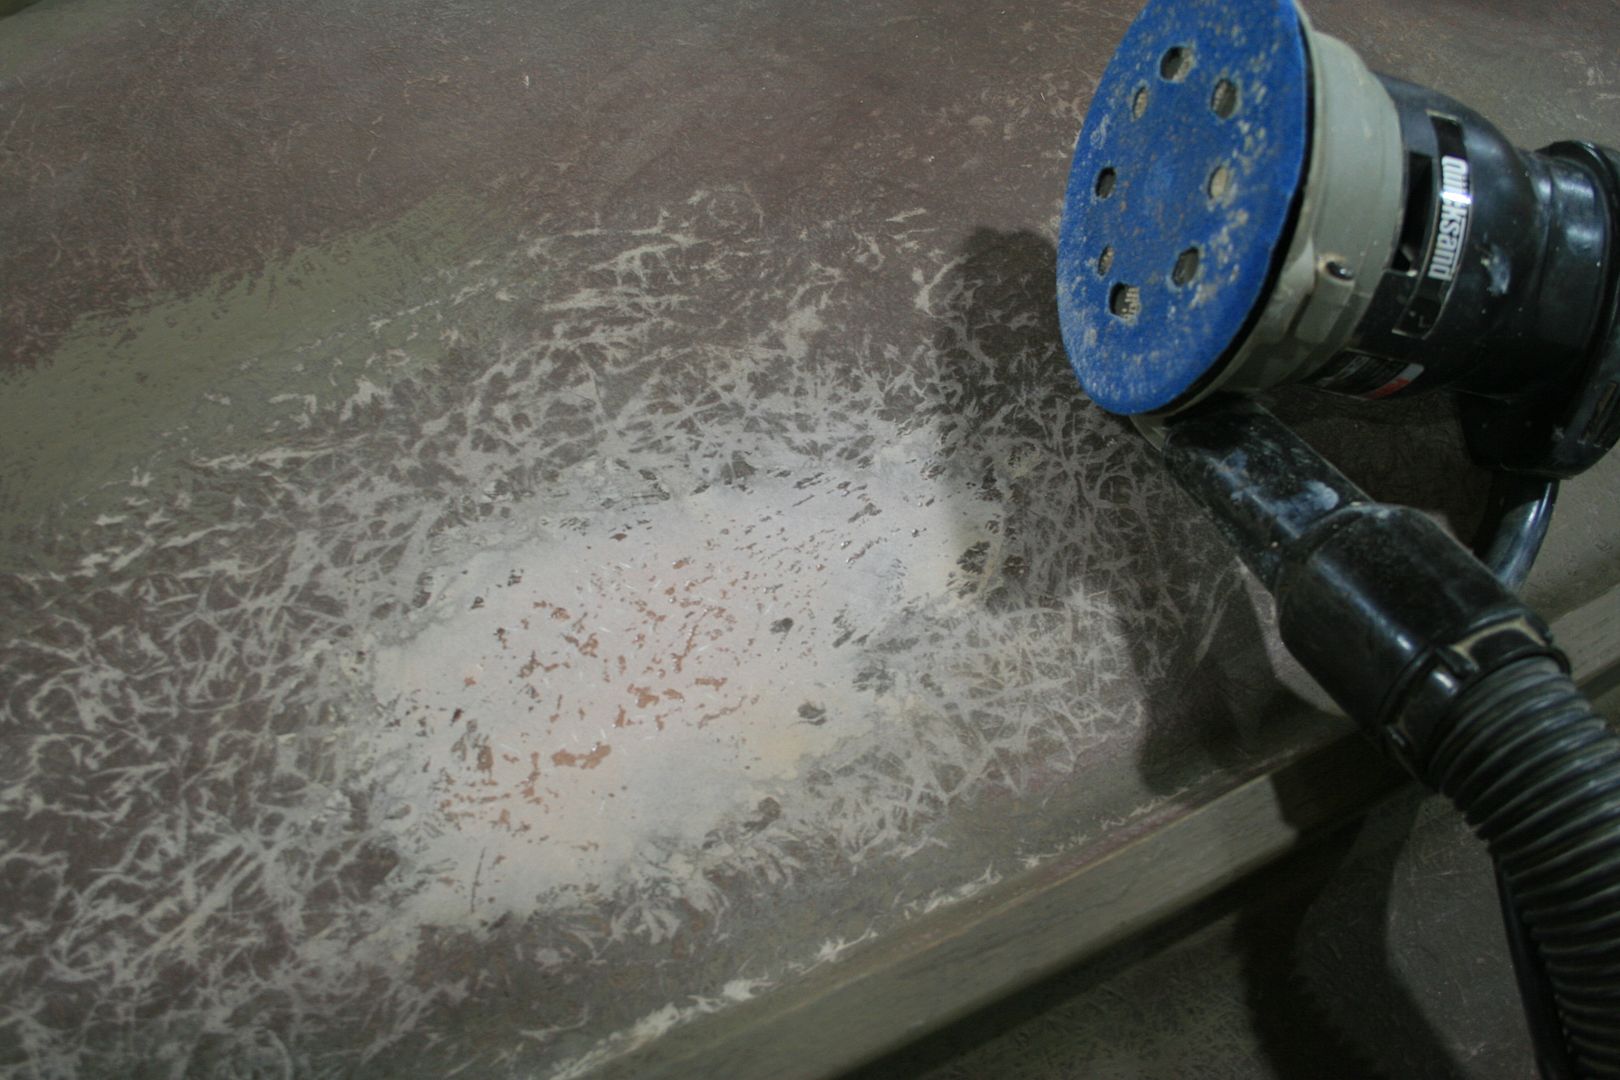
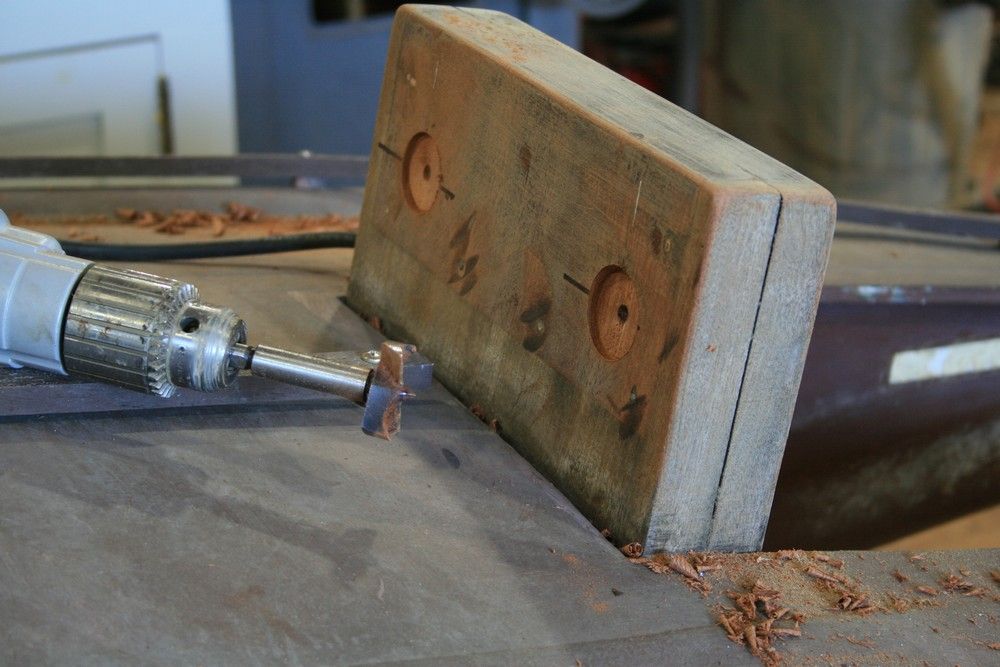
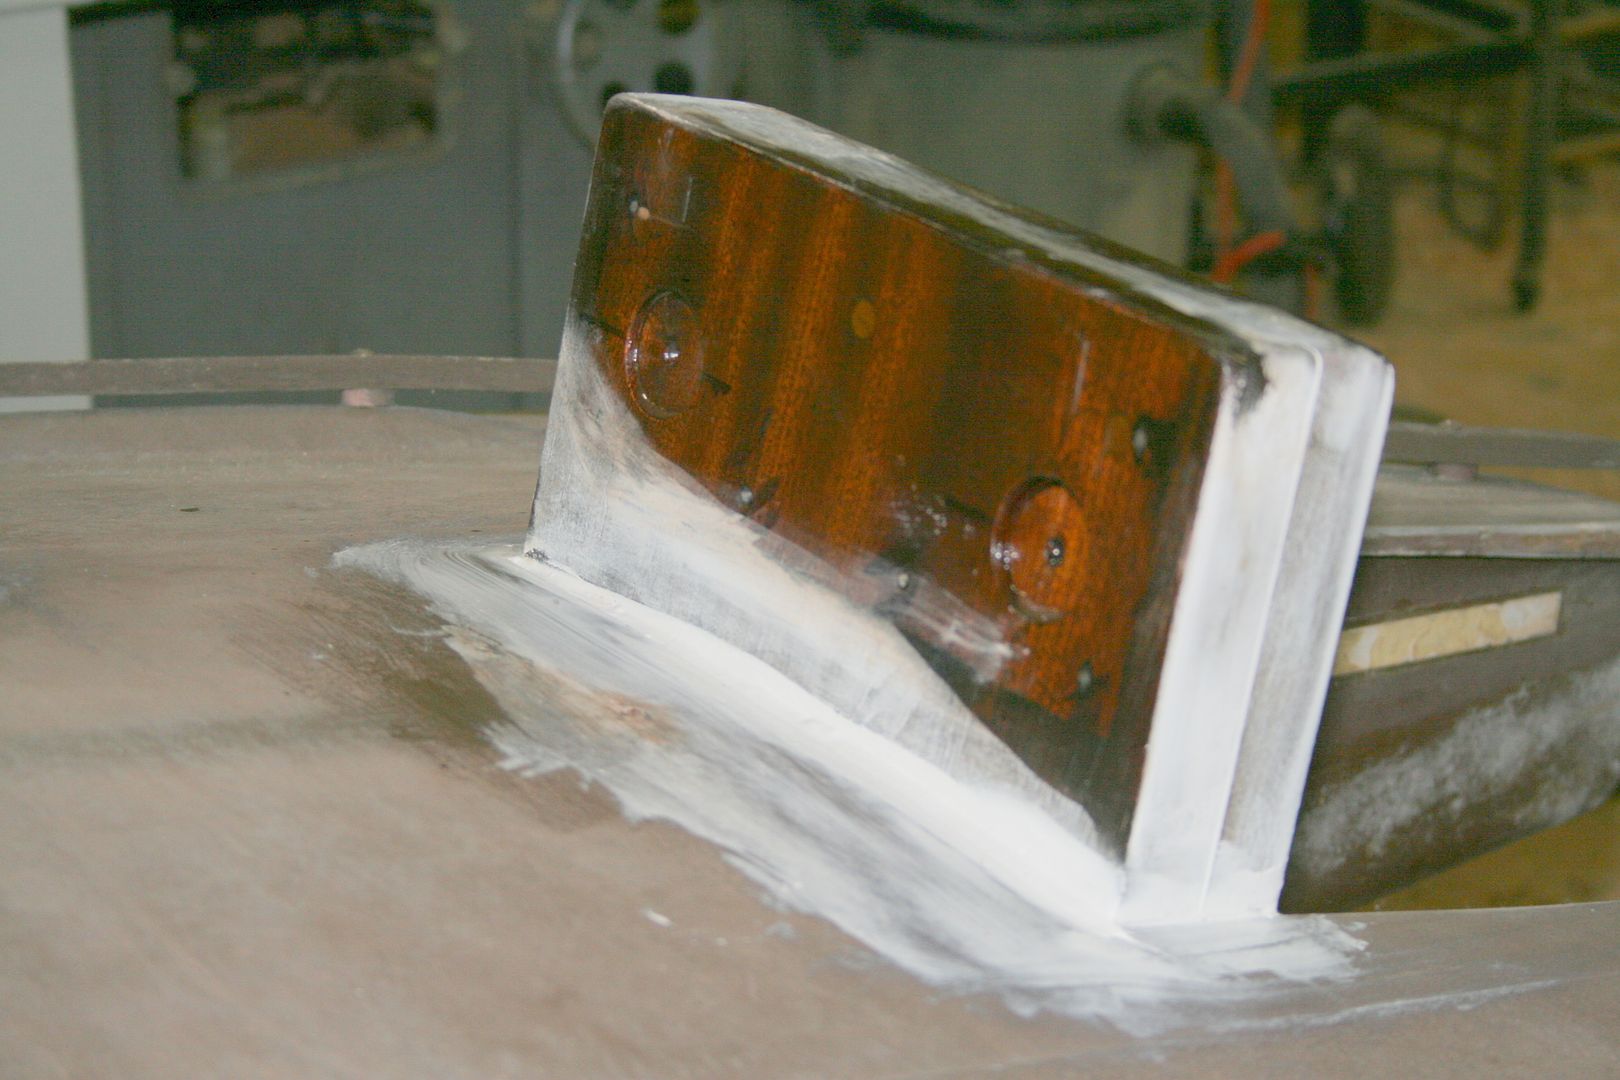
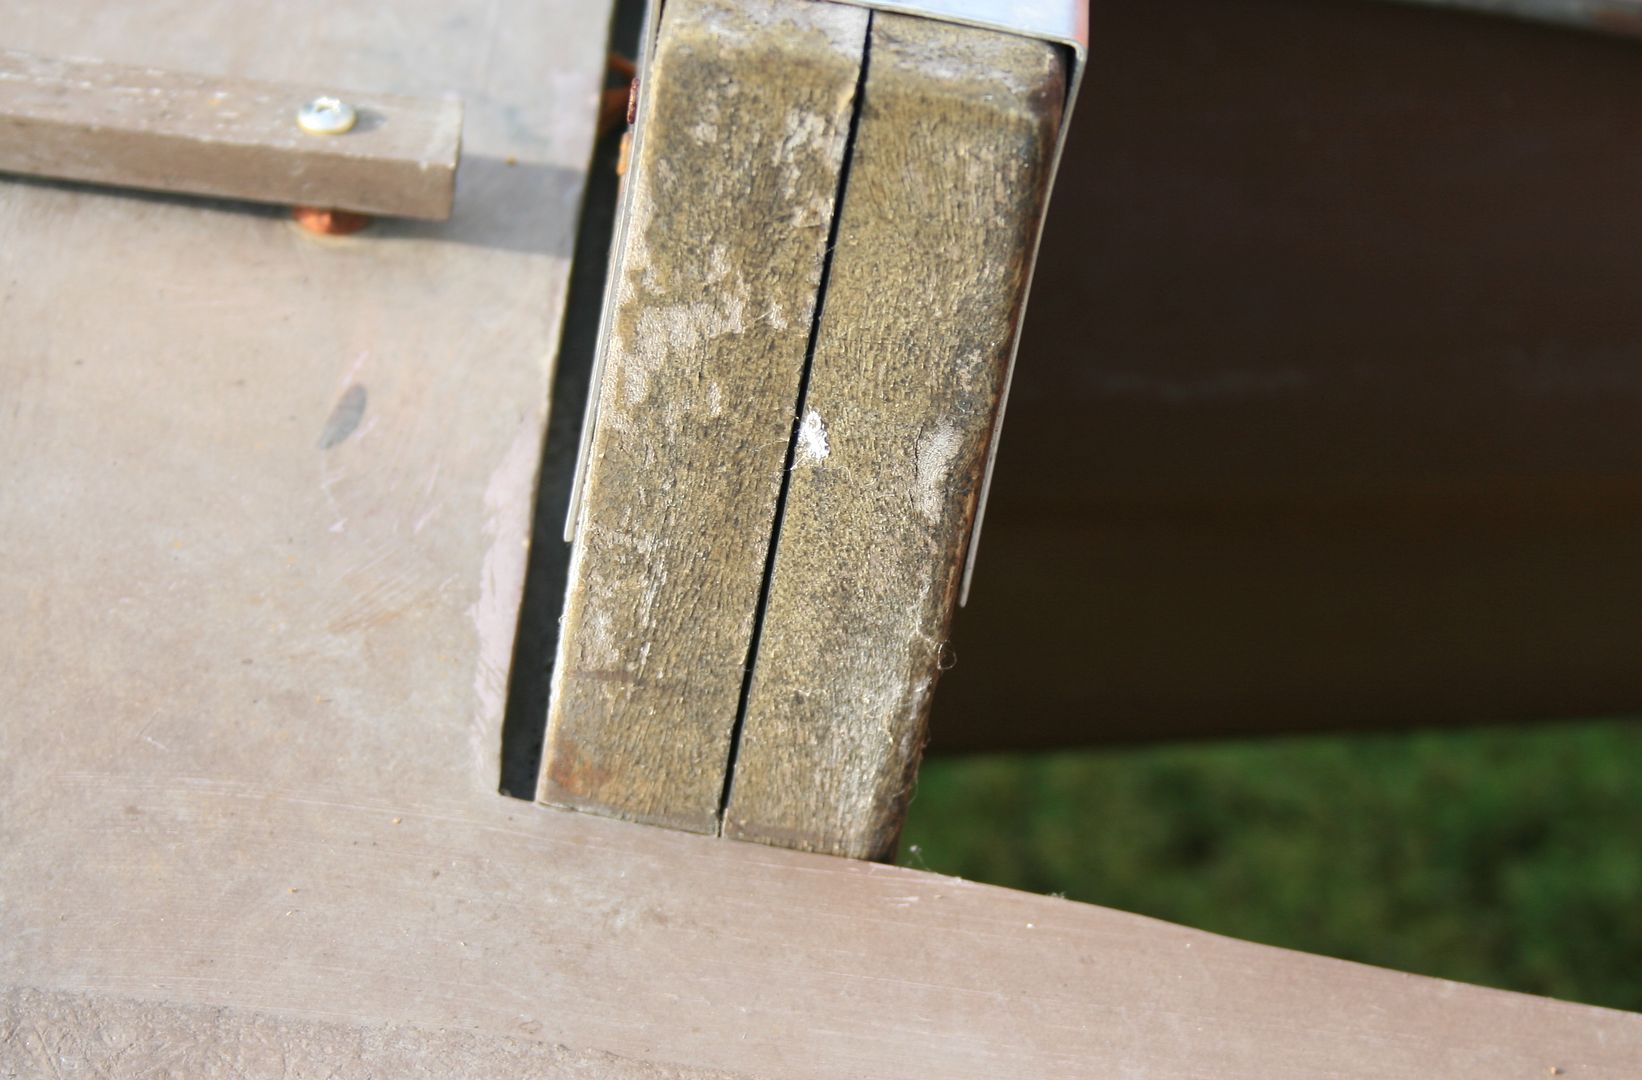
The motor board is made of 2 pieces of Philippine Mahogany (lauan). They are sound and well-fastened but that opening seam will cause problems down the road.
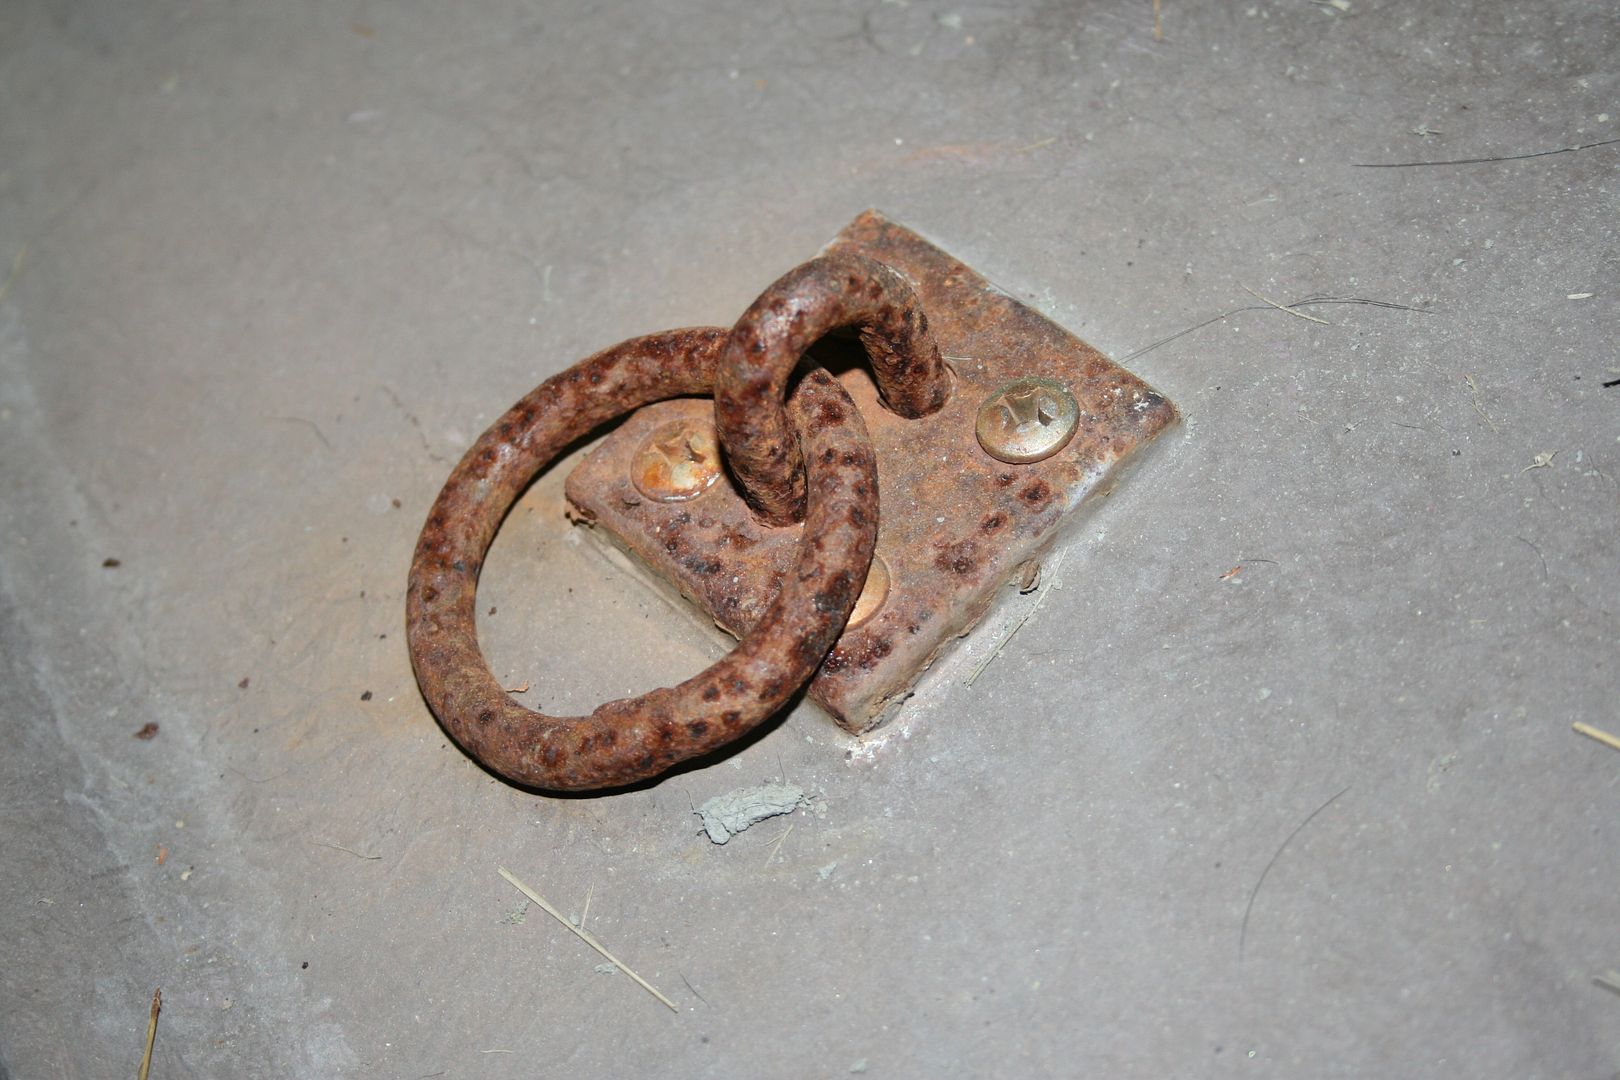
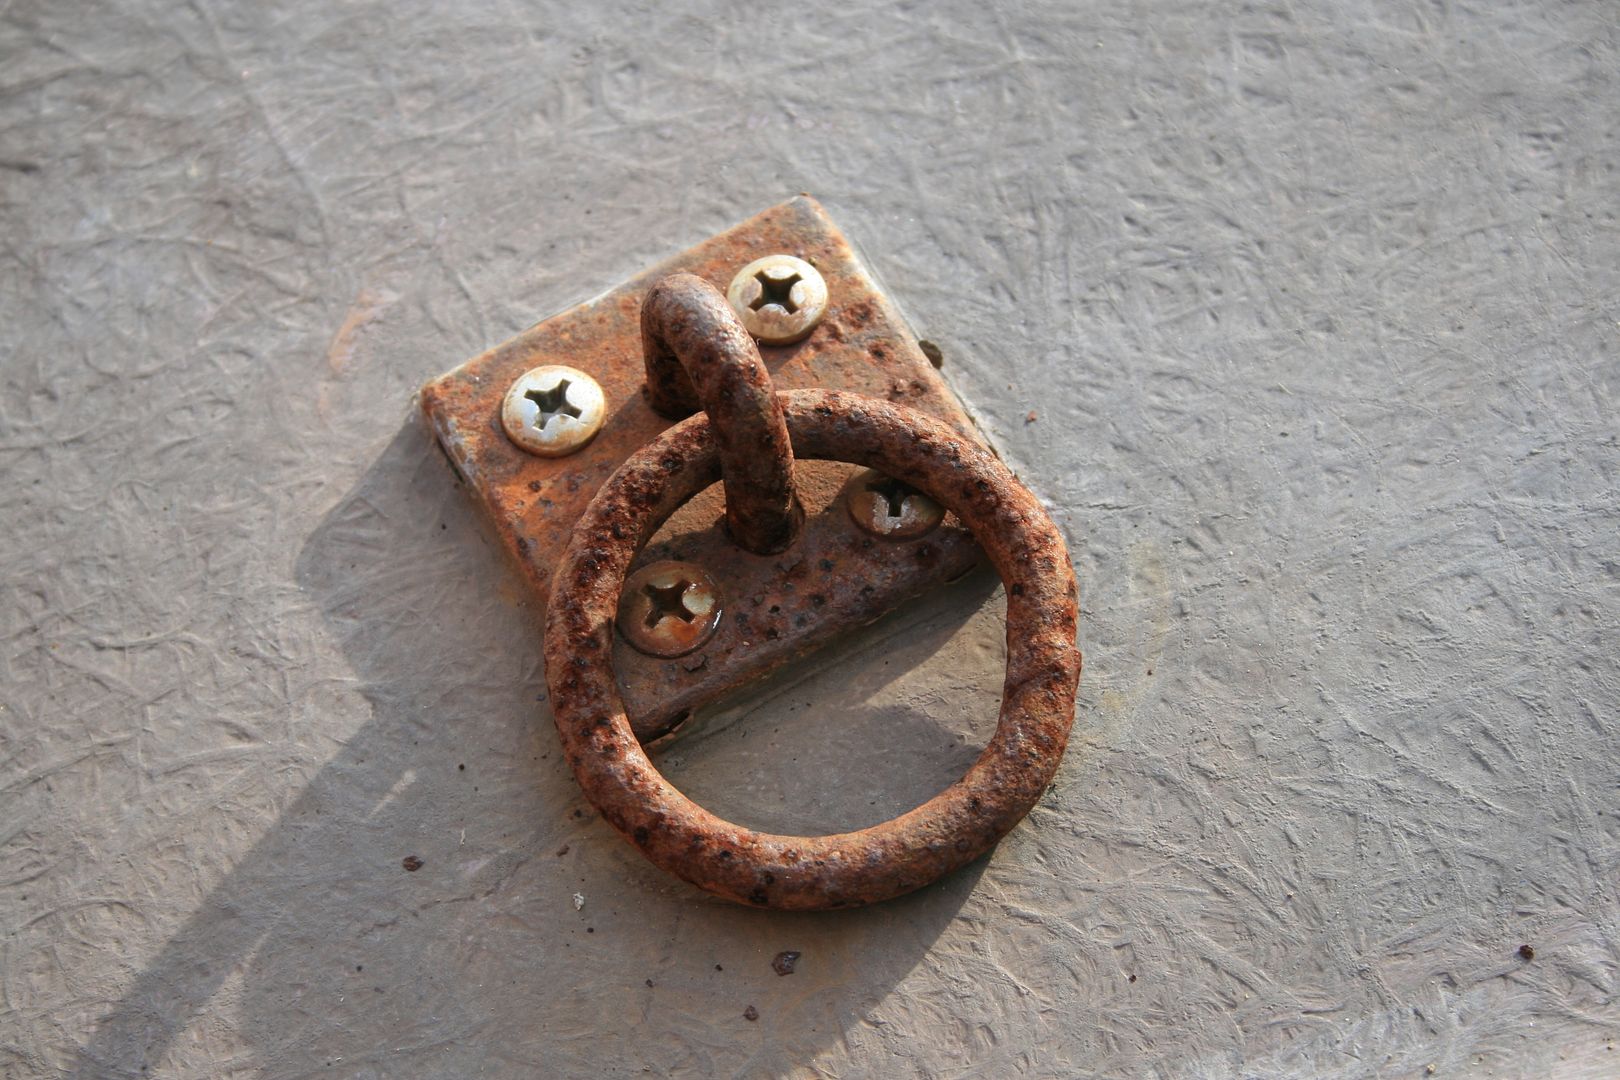
This rusty ring holds a cable - to secure the outboard in dire straits.
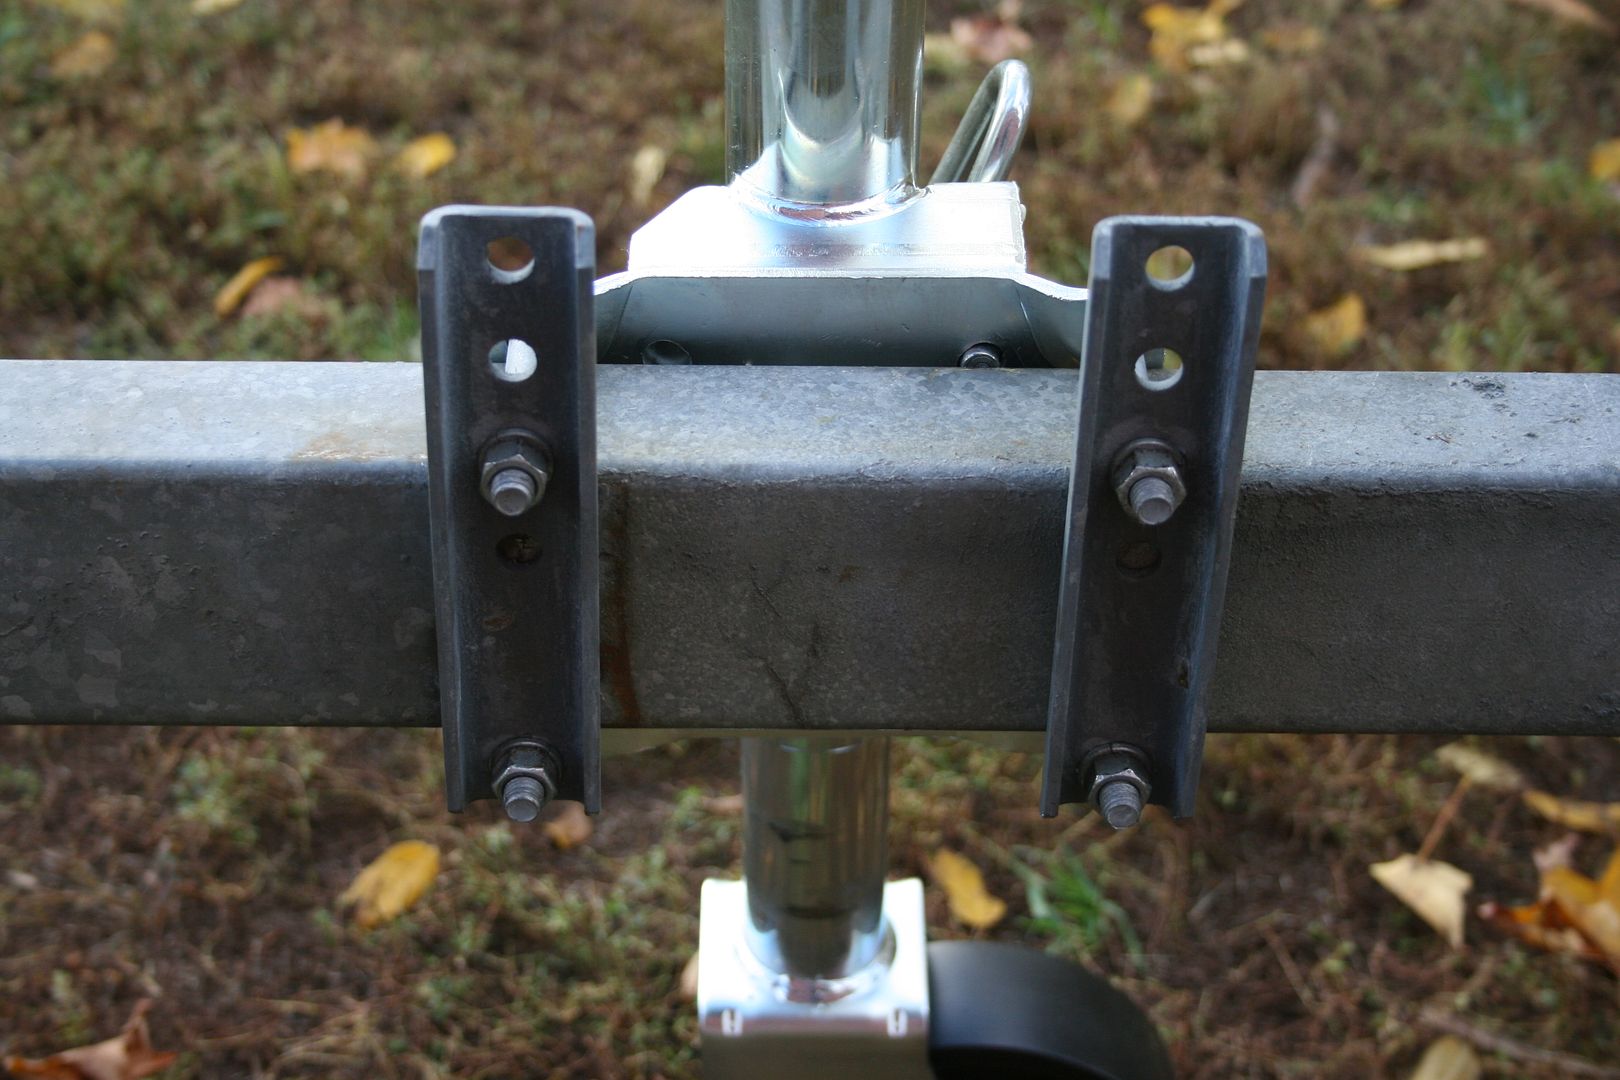
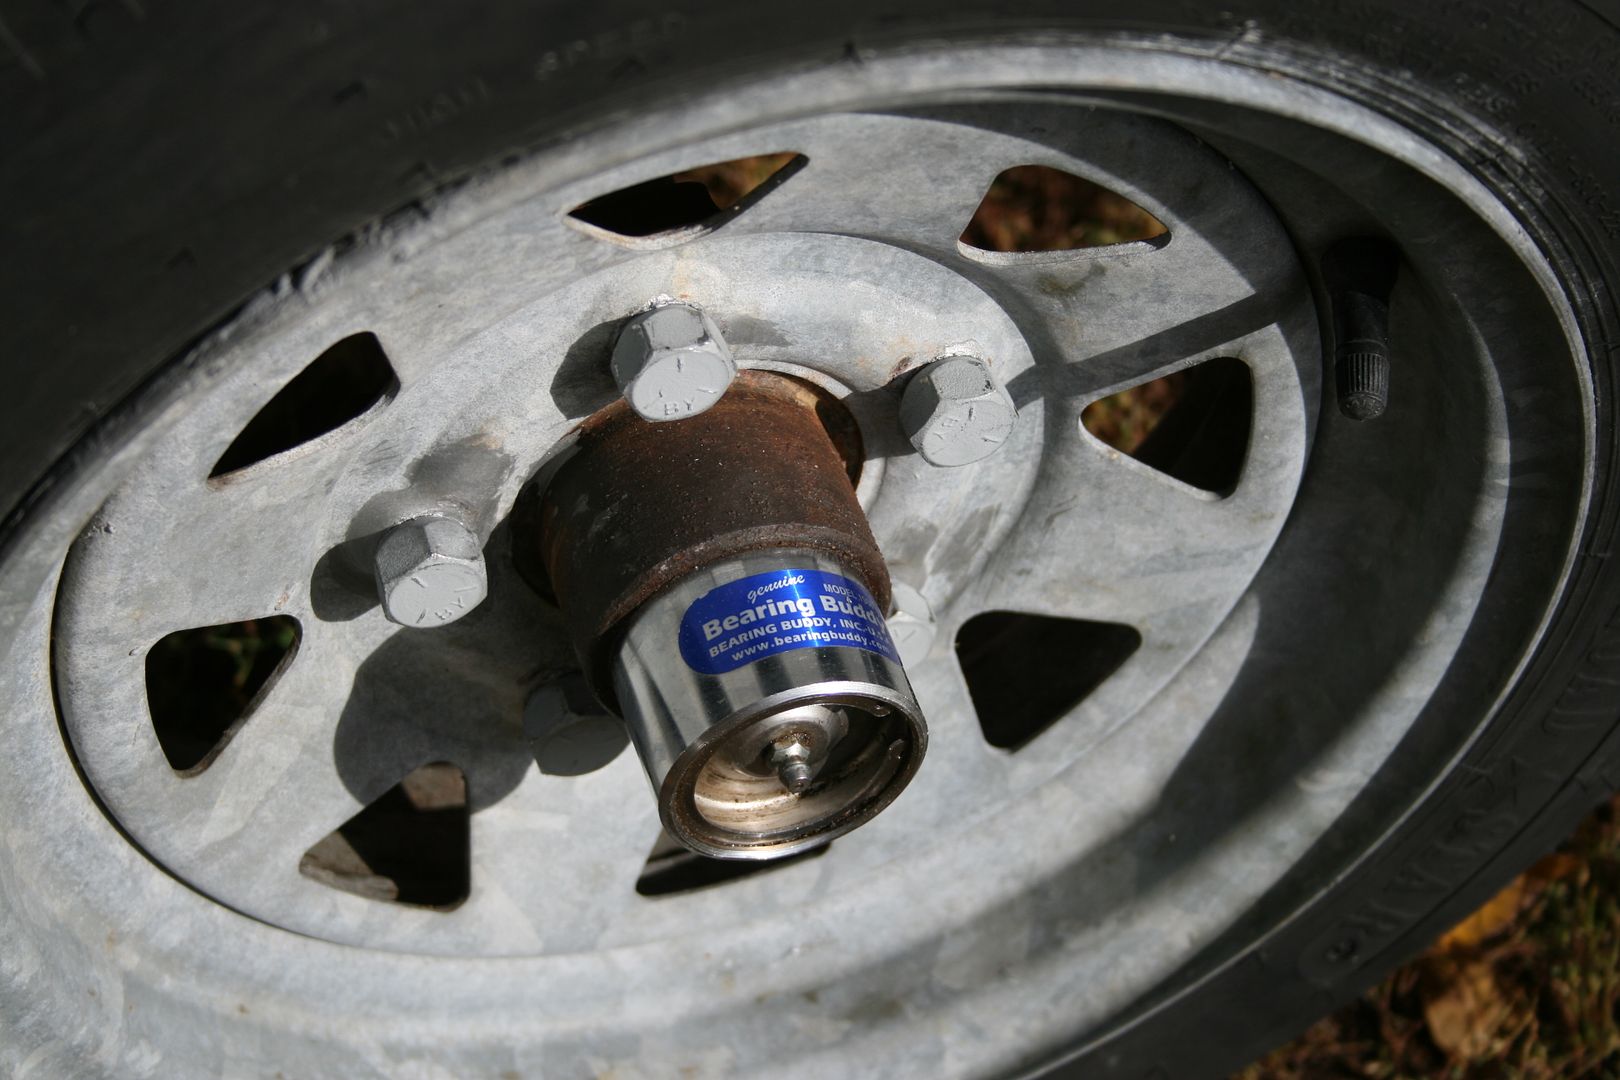
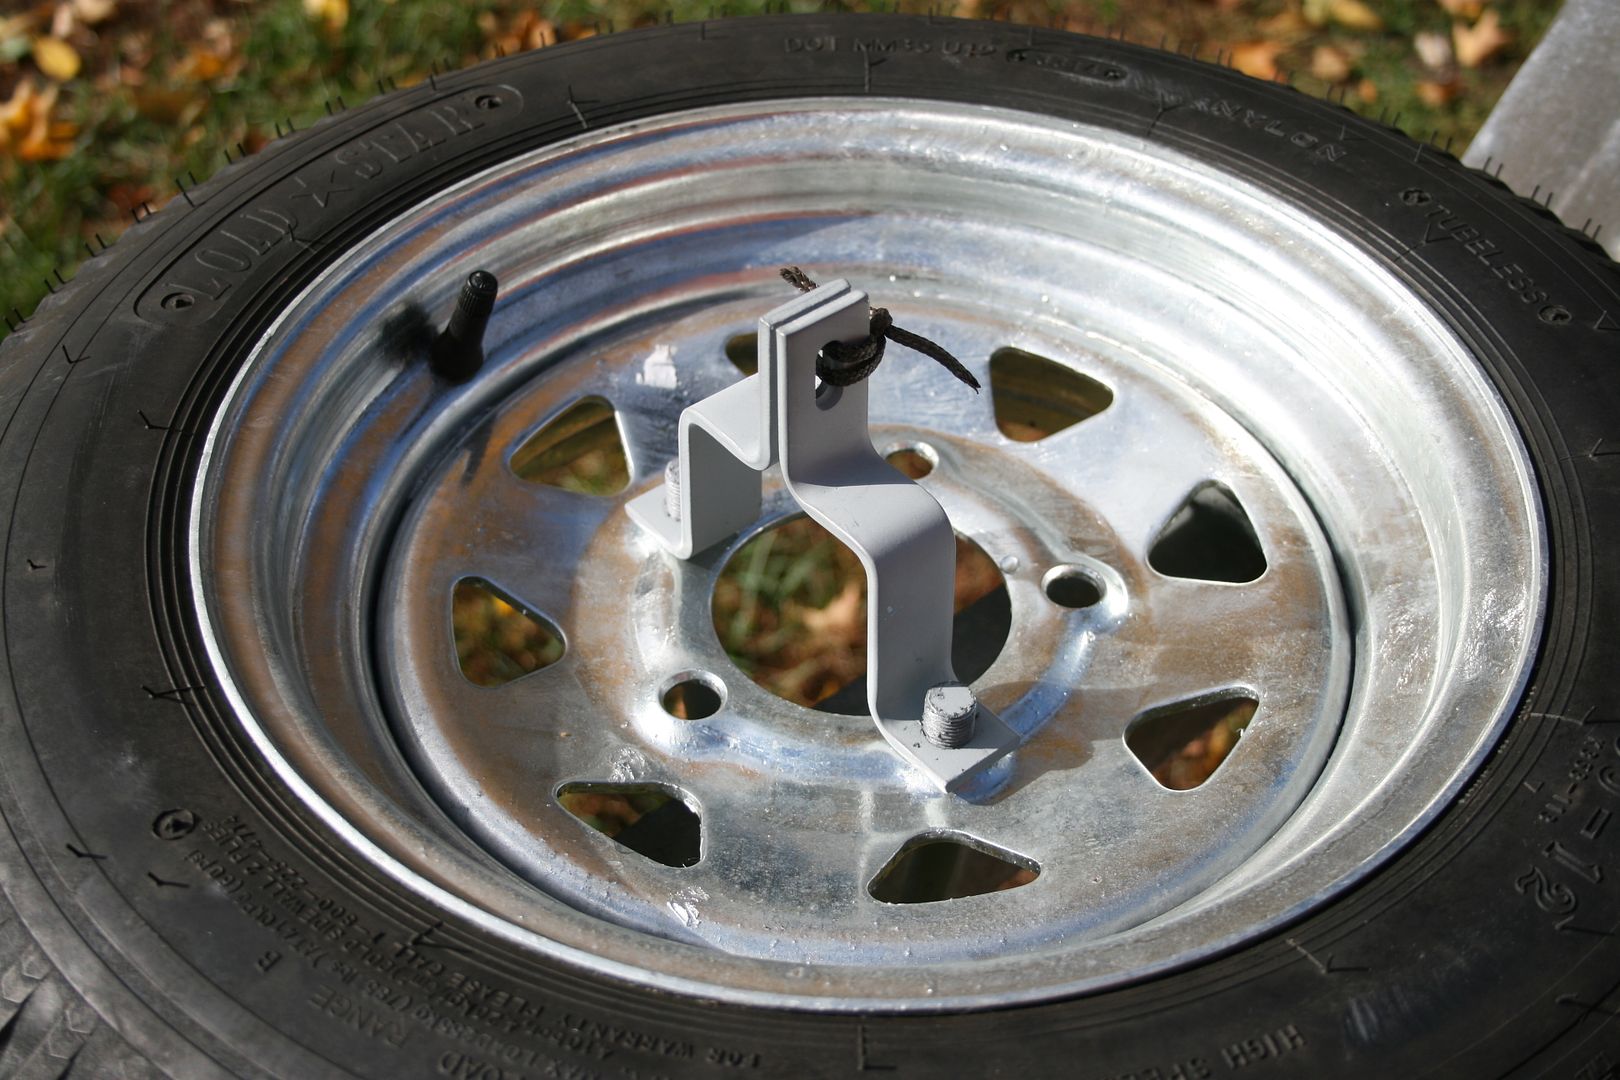
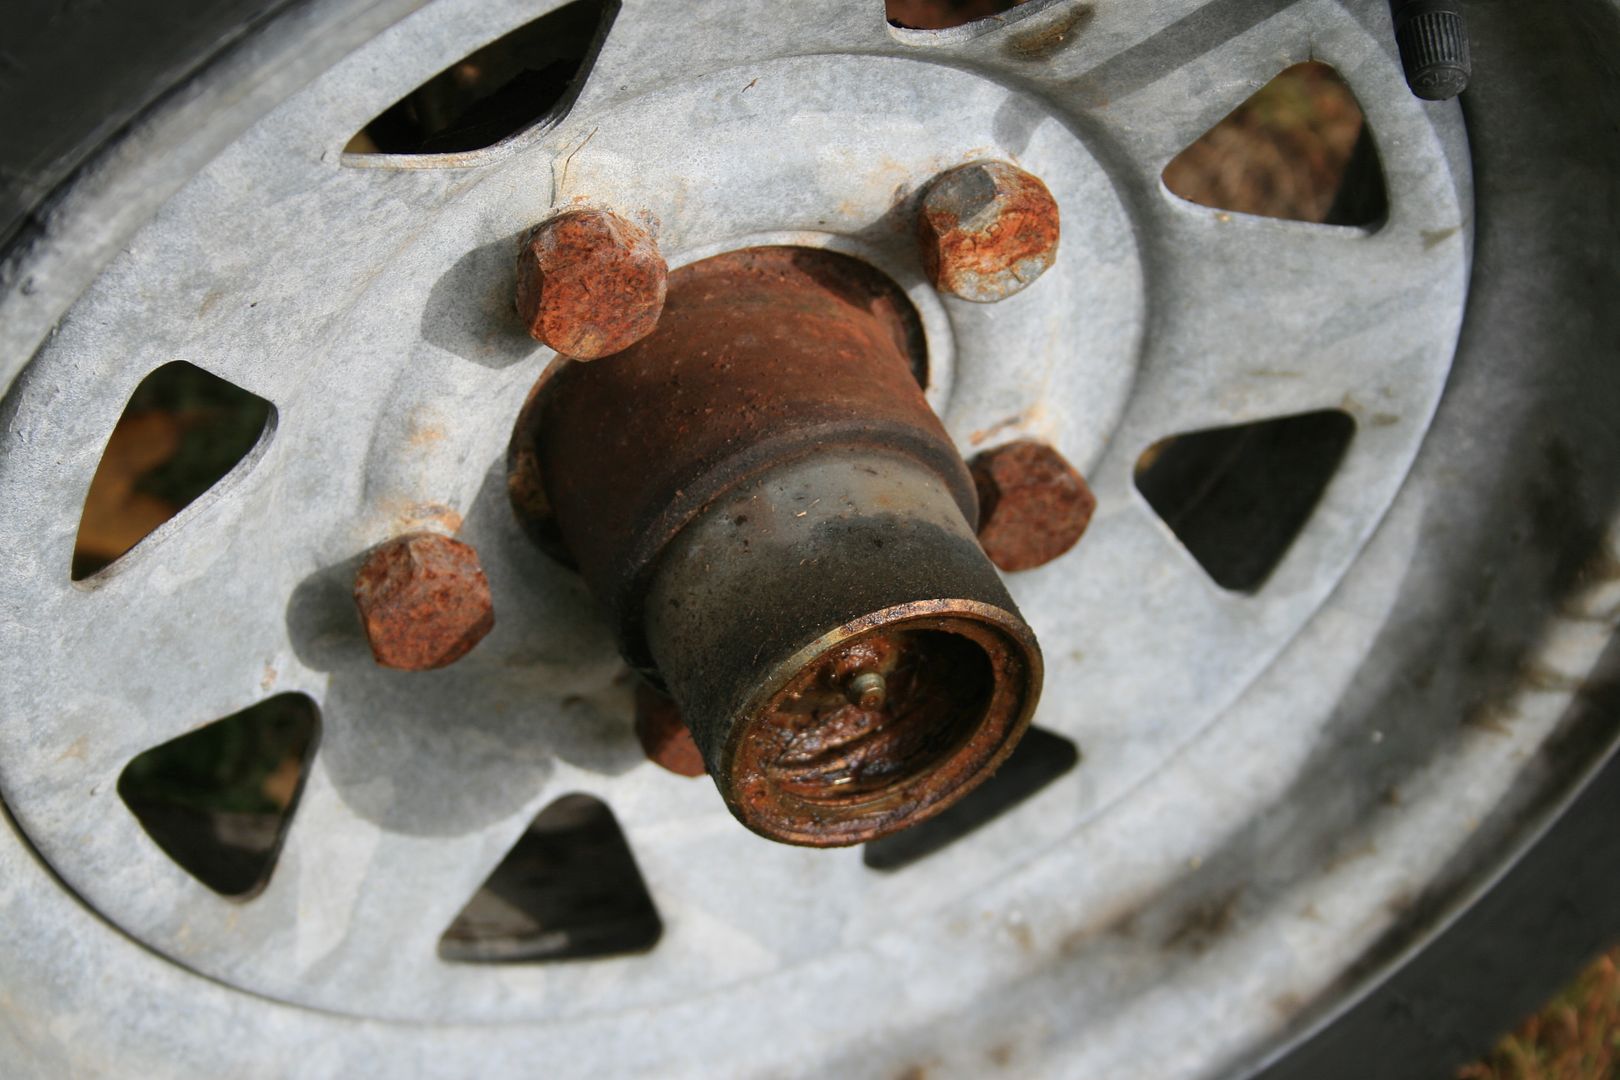
Bill had the bearings repacked last year. So, I will just make sure there is enough grease and the lugs can be removed if needed.
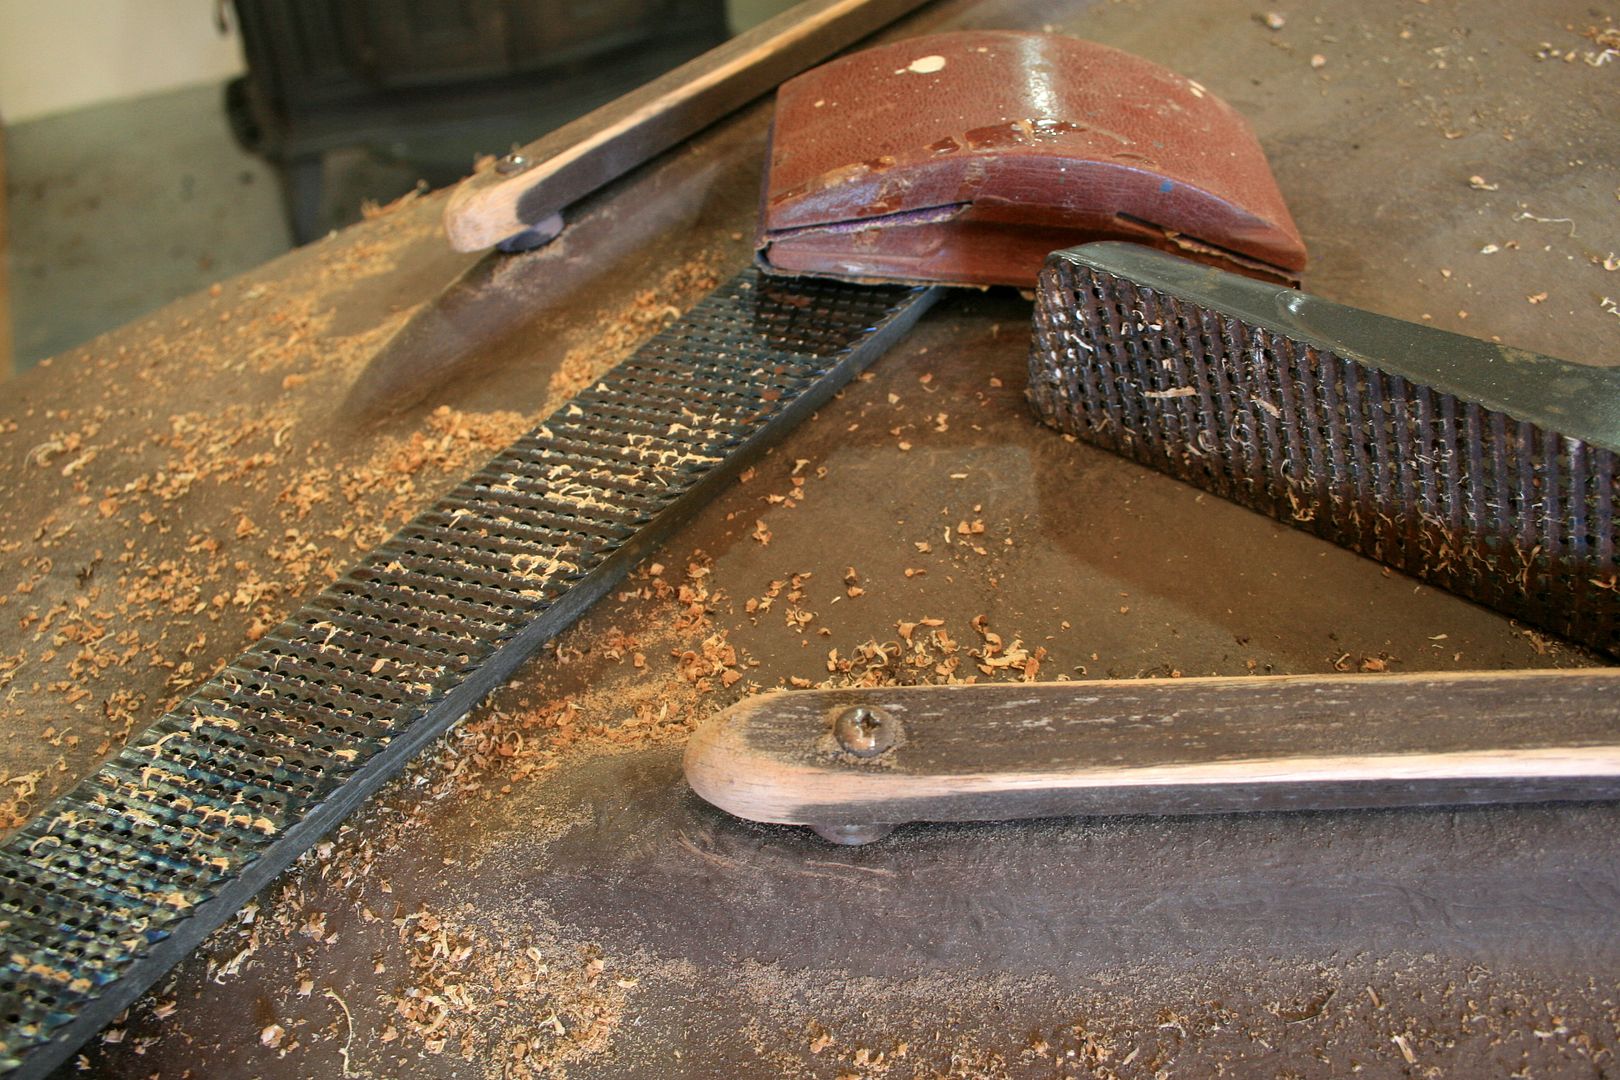
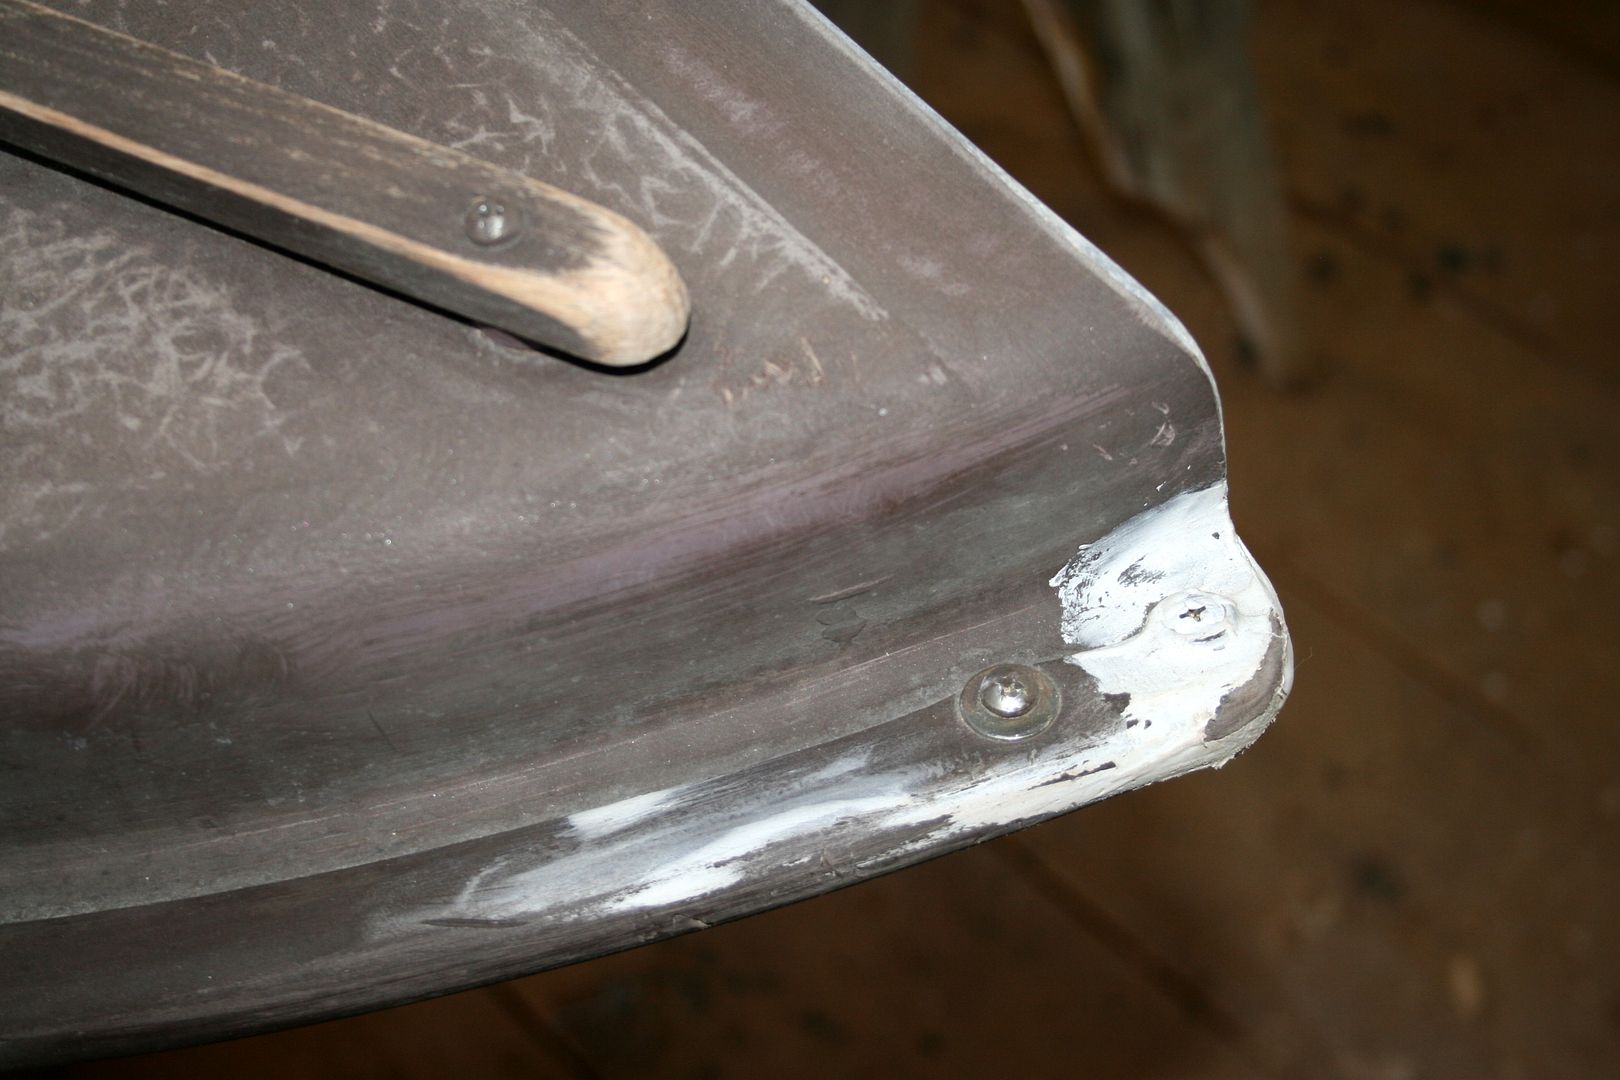
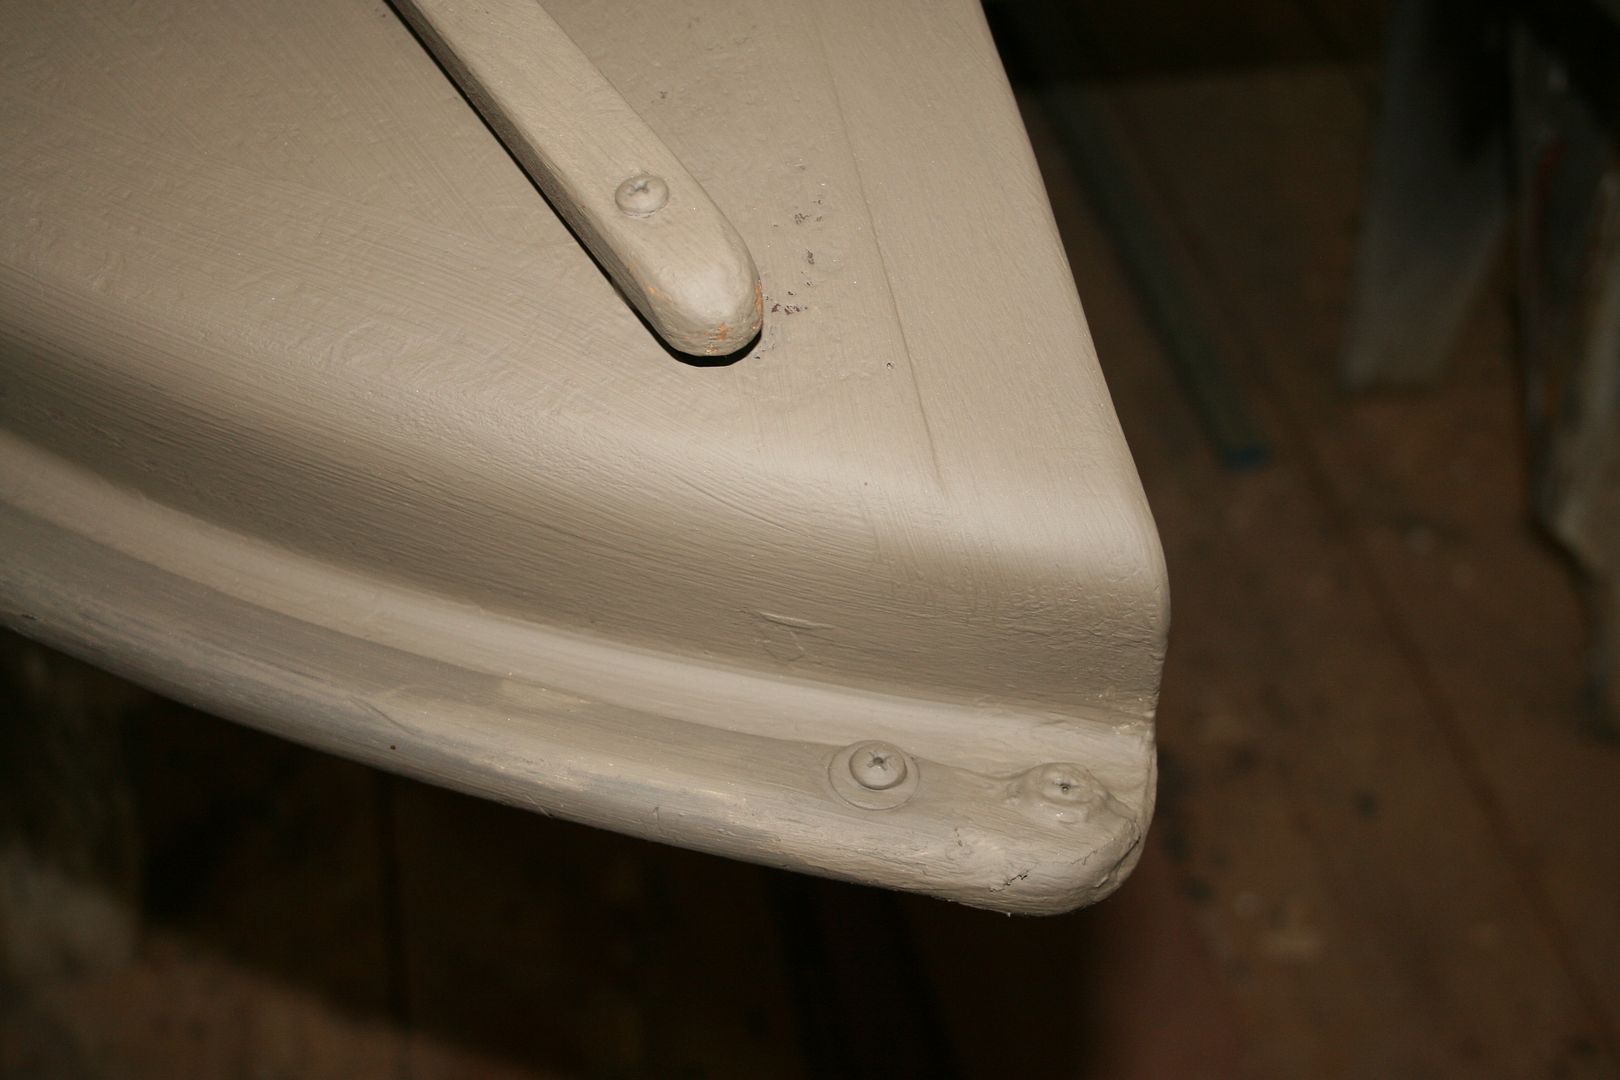
Lots of pointy ends and hard edges need some "softening".....
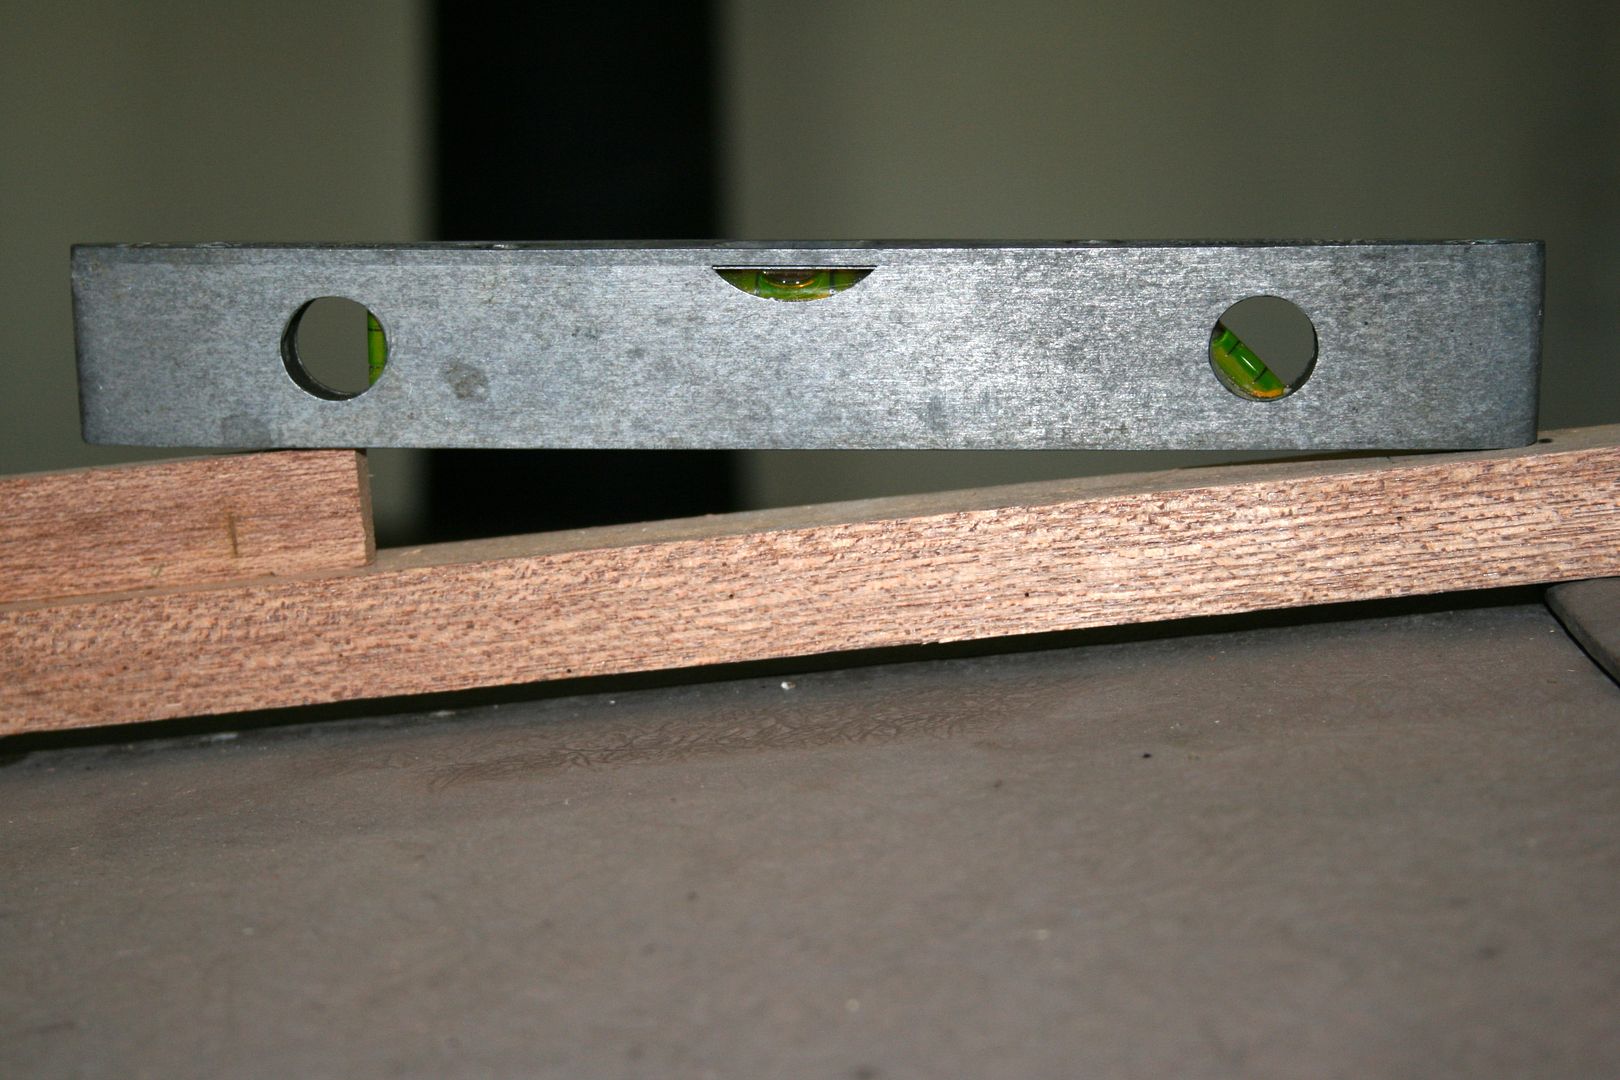
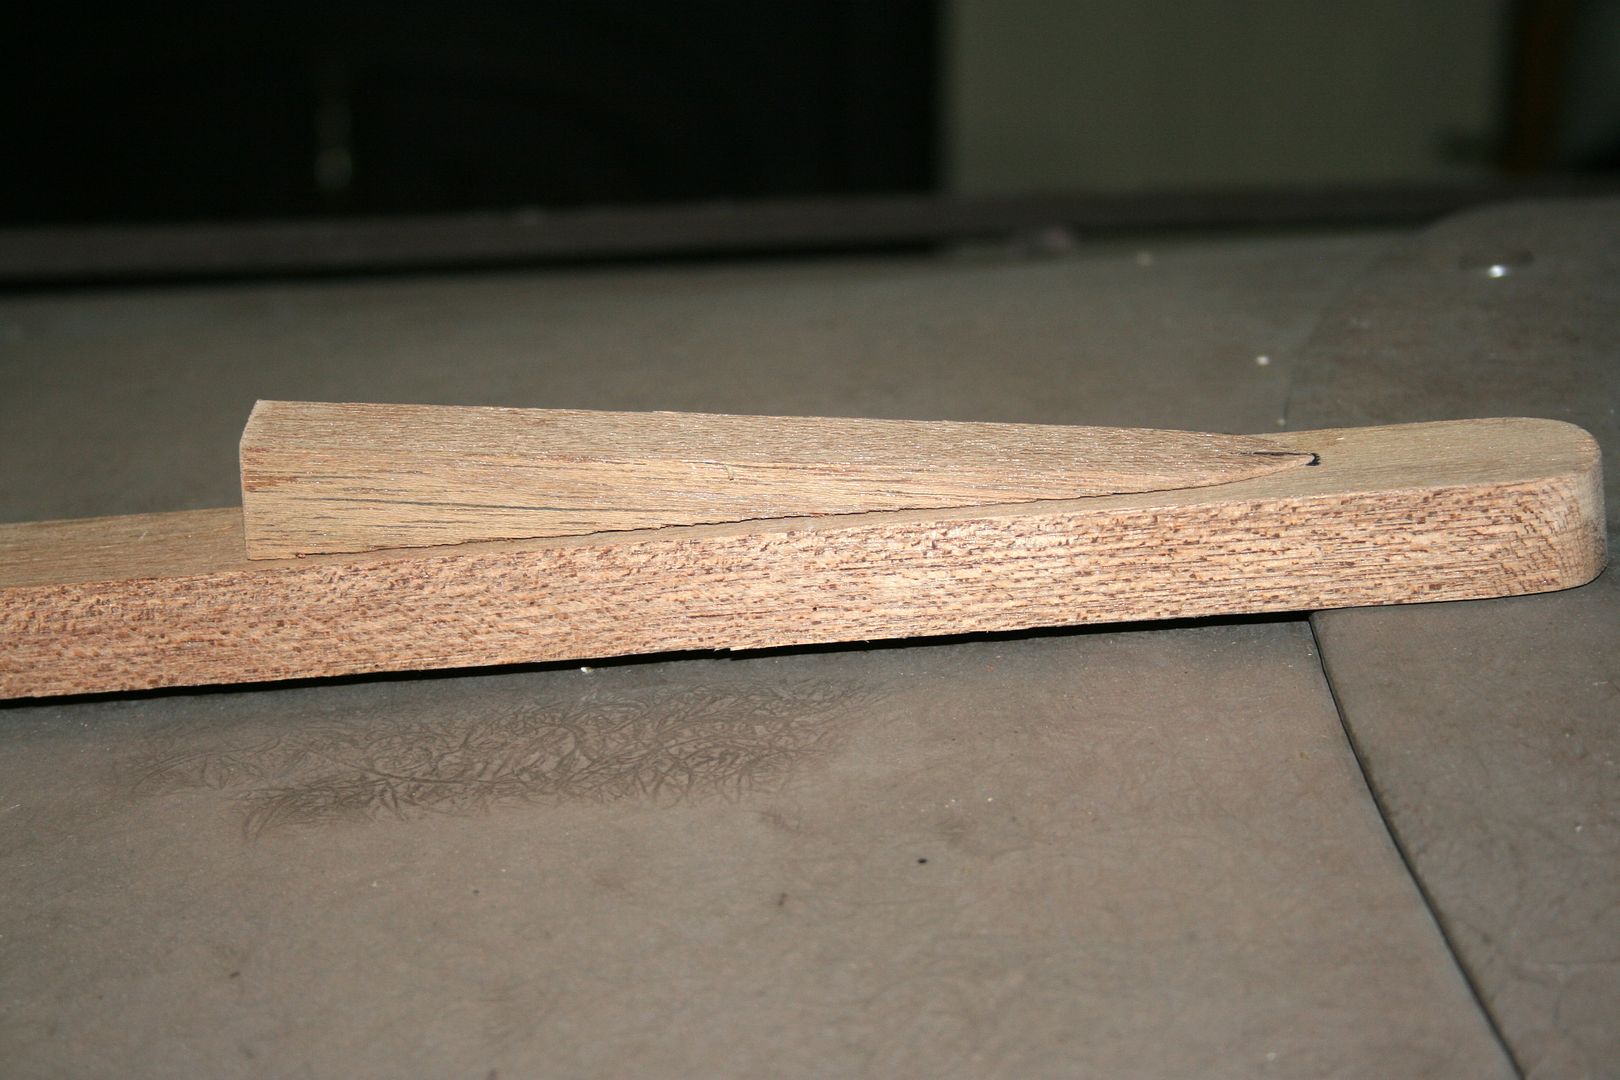
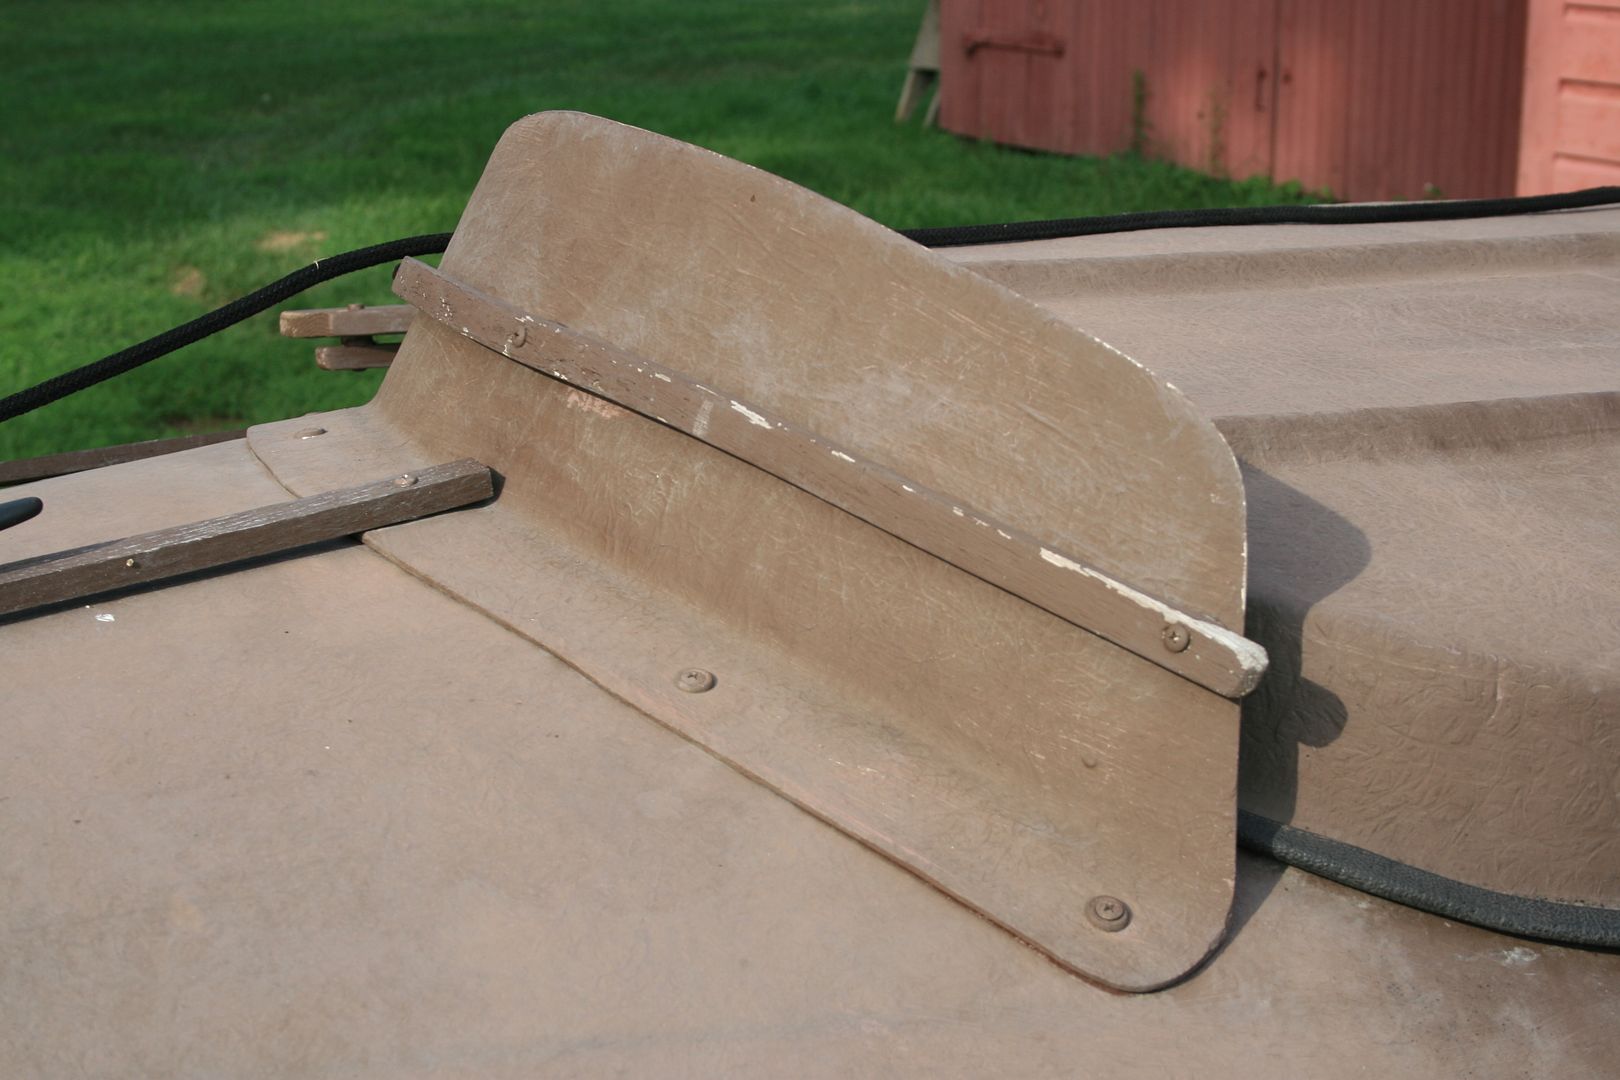
Bill wants taller flap boards - and ones that will lay flat - not tipped downward - when open - to hold decoys when setting or picking up the rig.
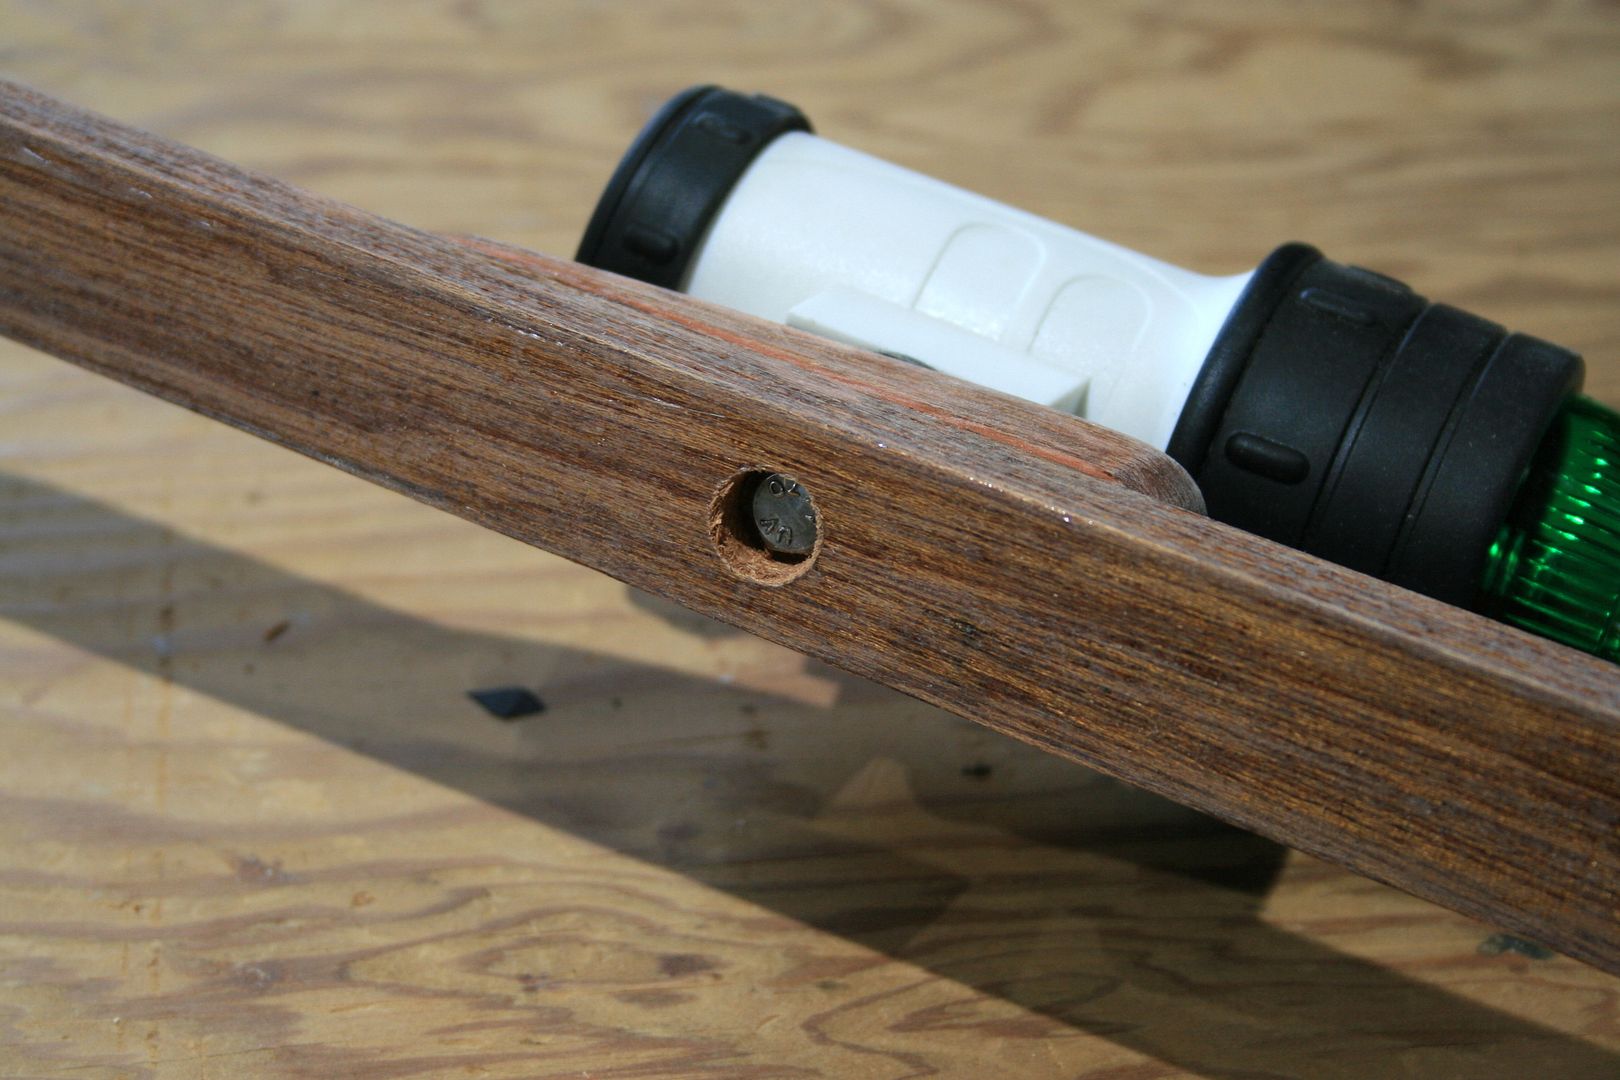
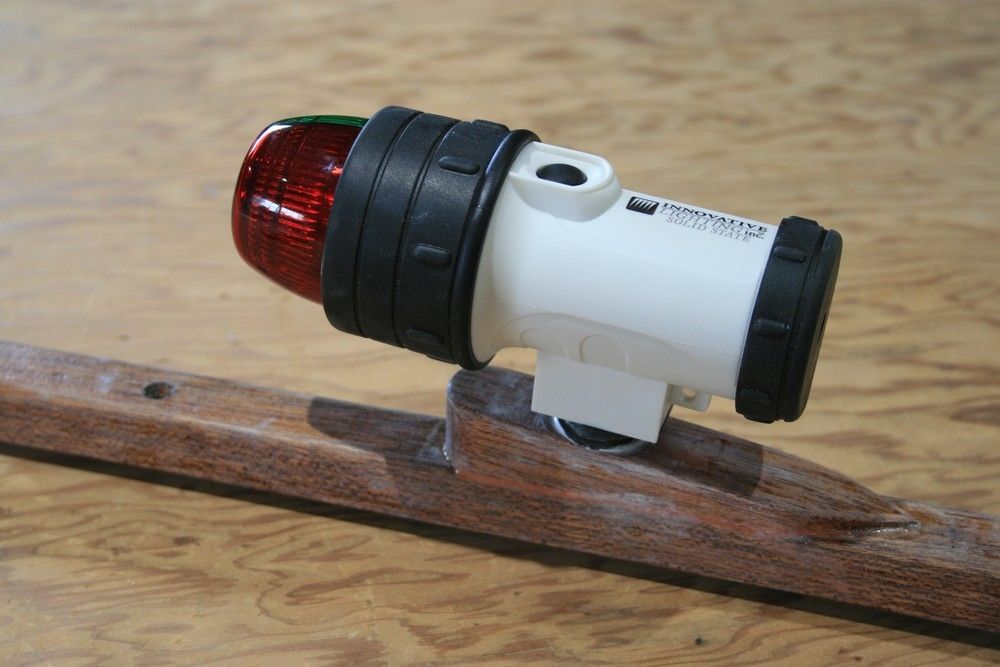
This hole in the floorboards allows access for a pump or sponge.
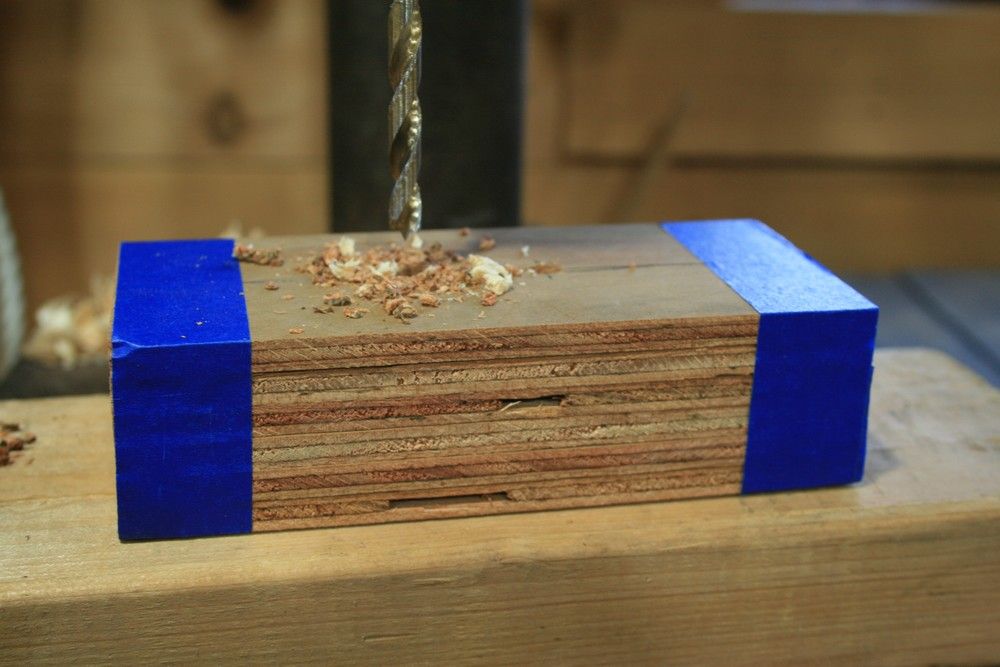
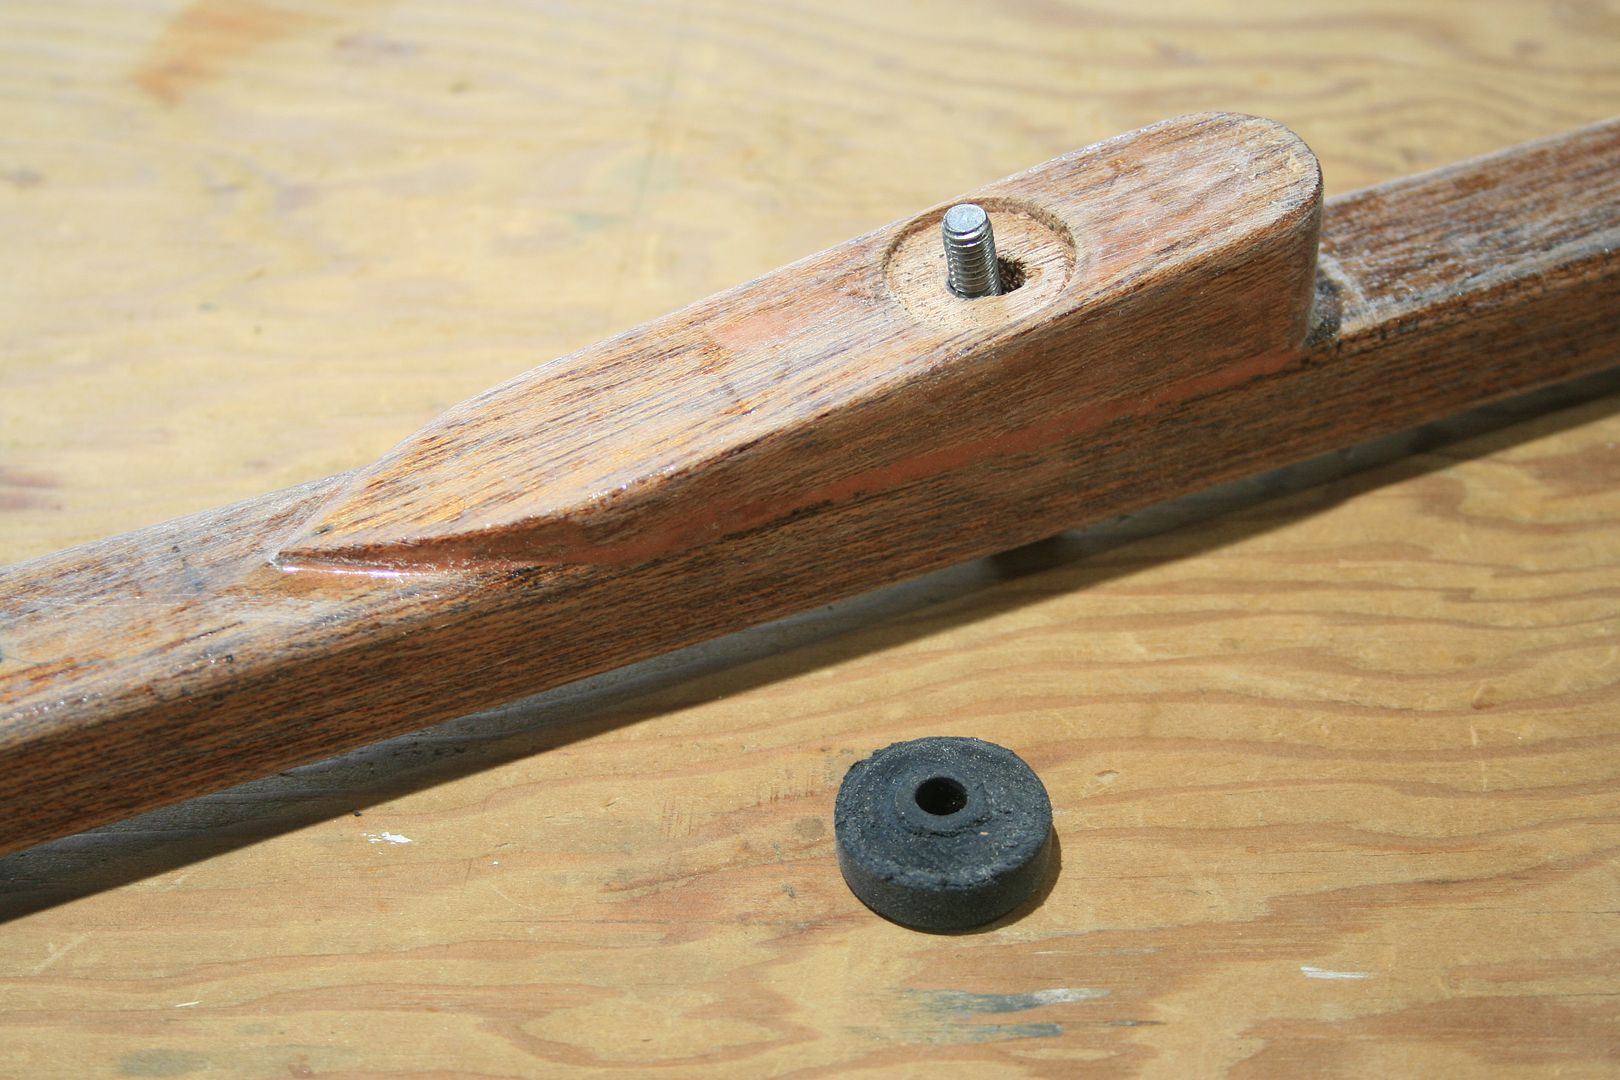
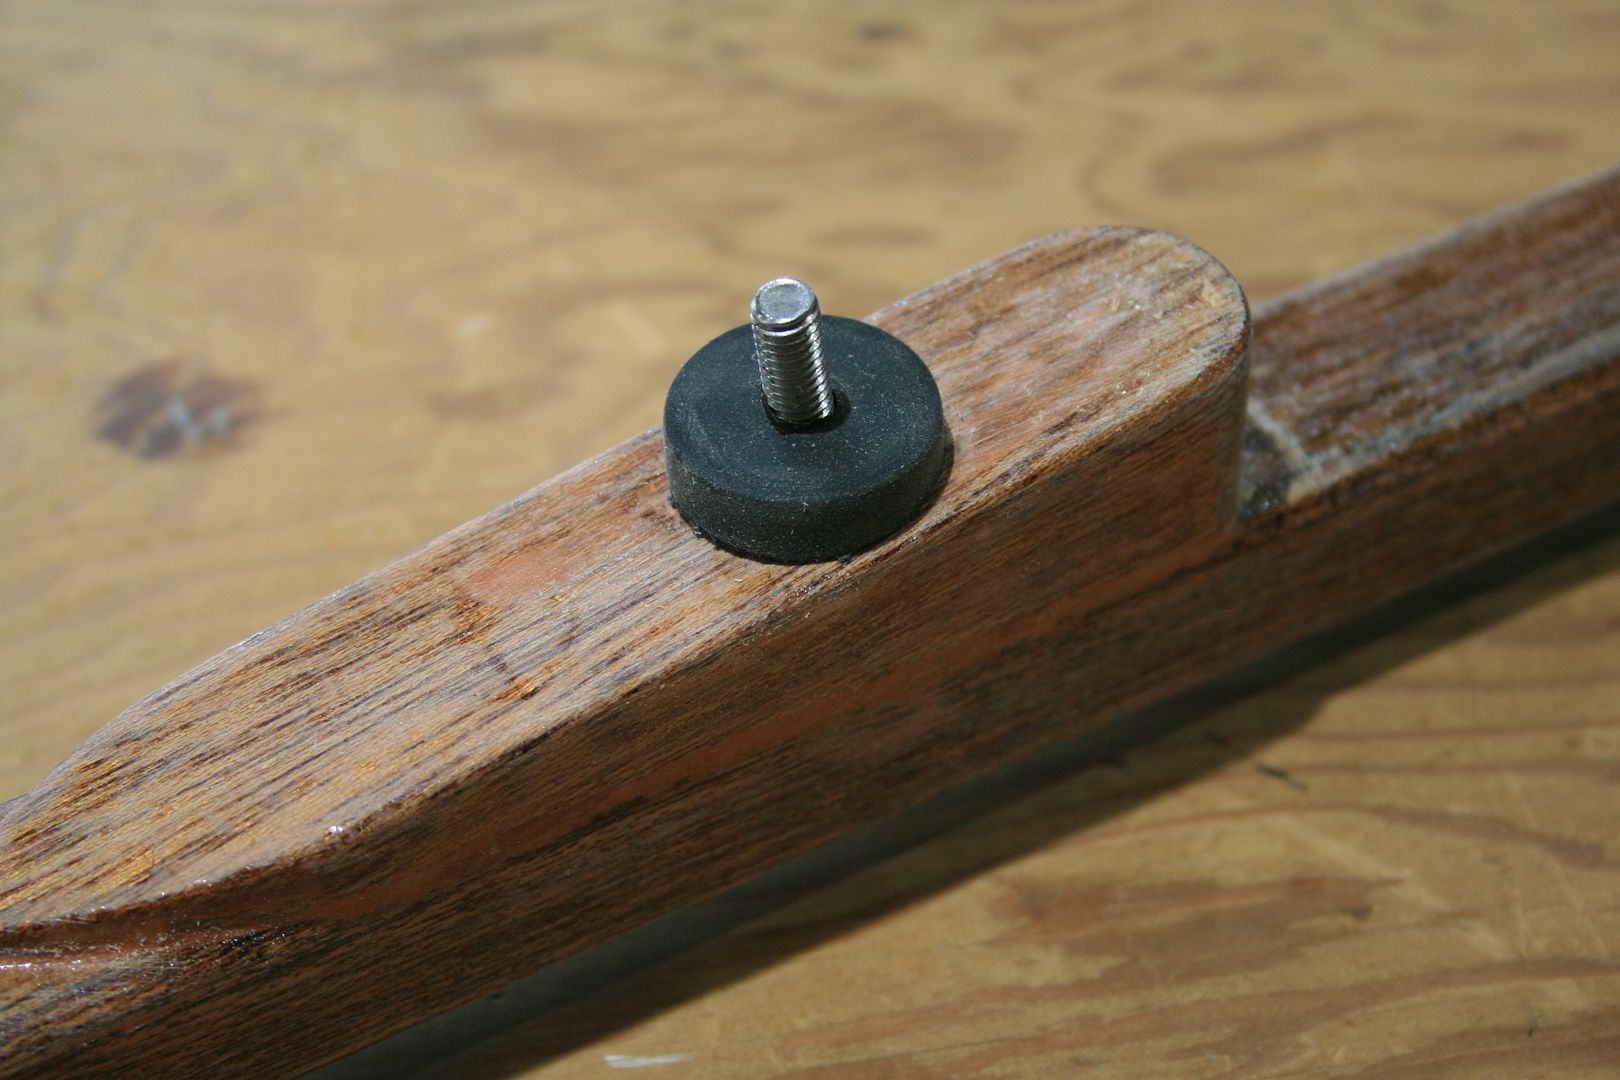
Here's a shot below - just to show the construction details.
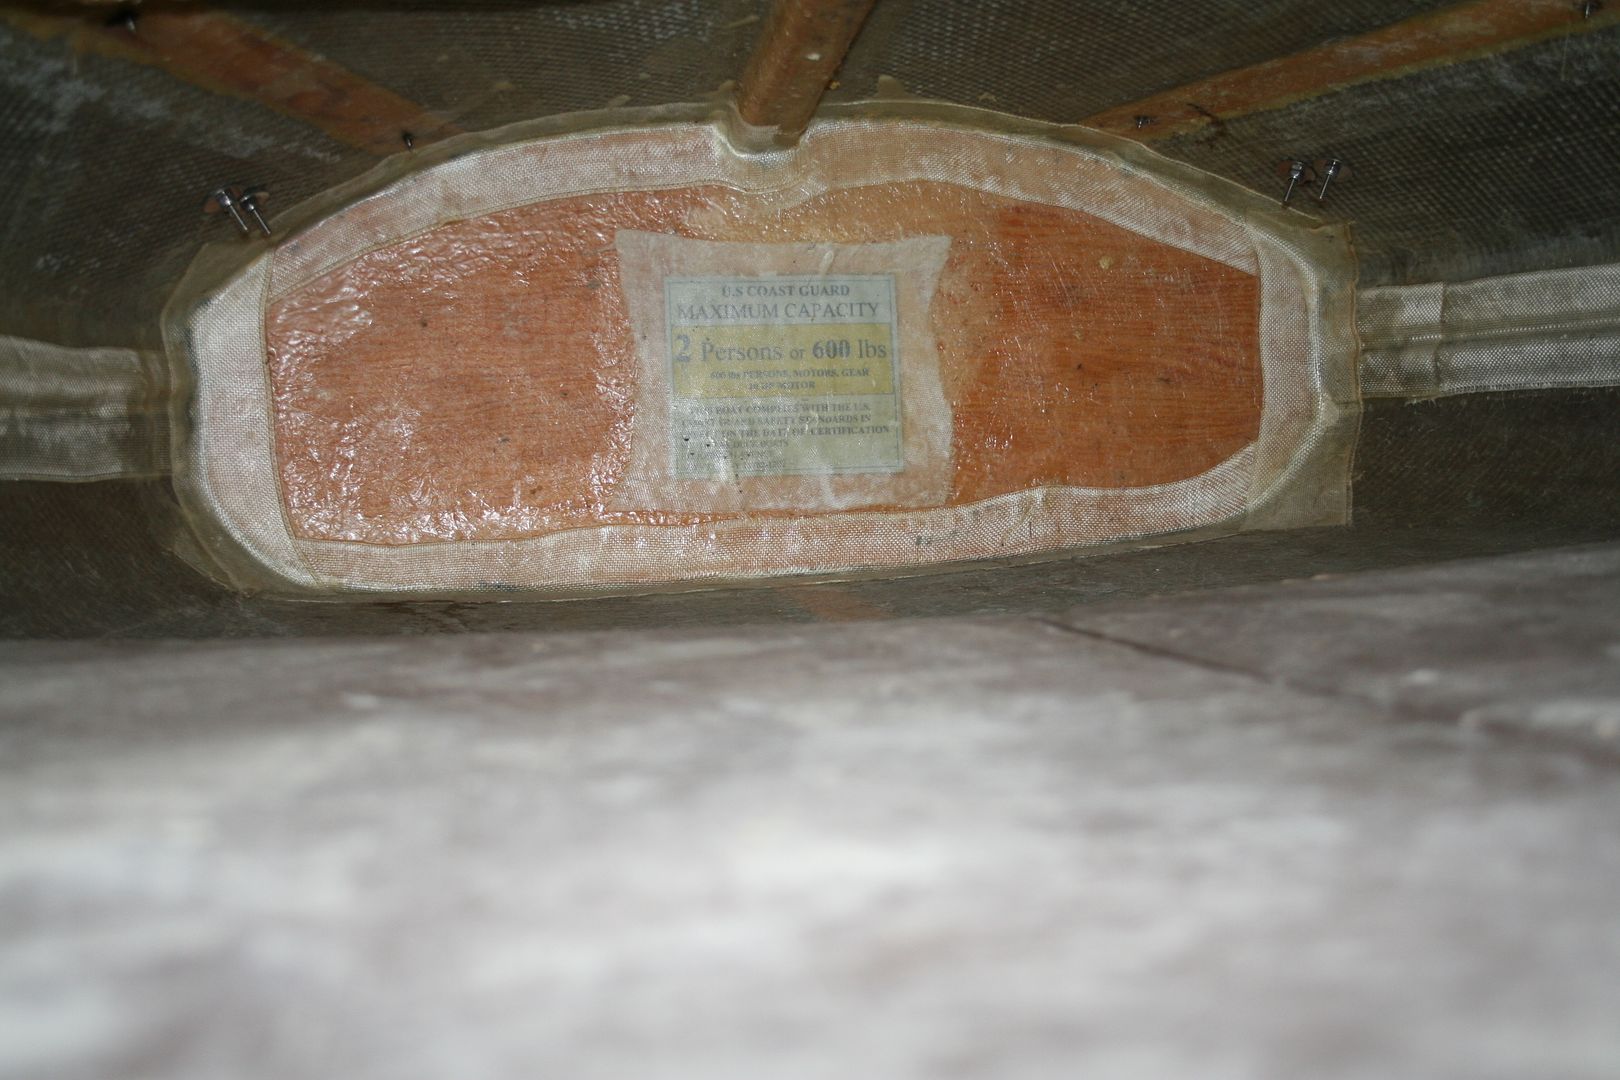
The forward bulkhead has the Capacity ratings.
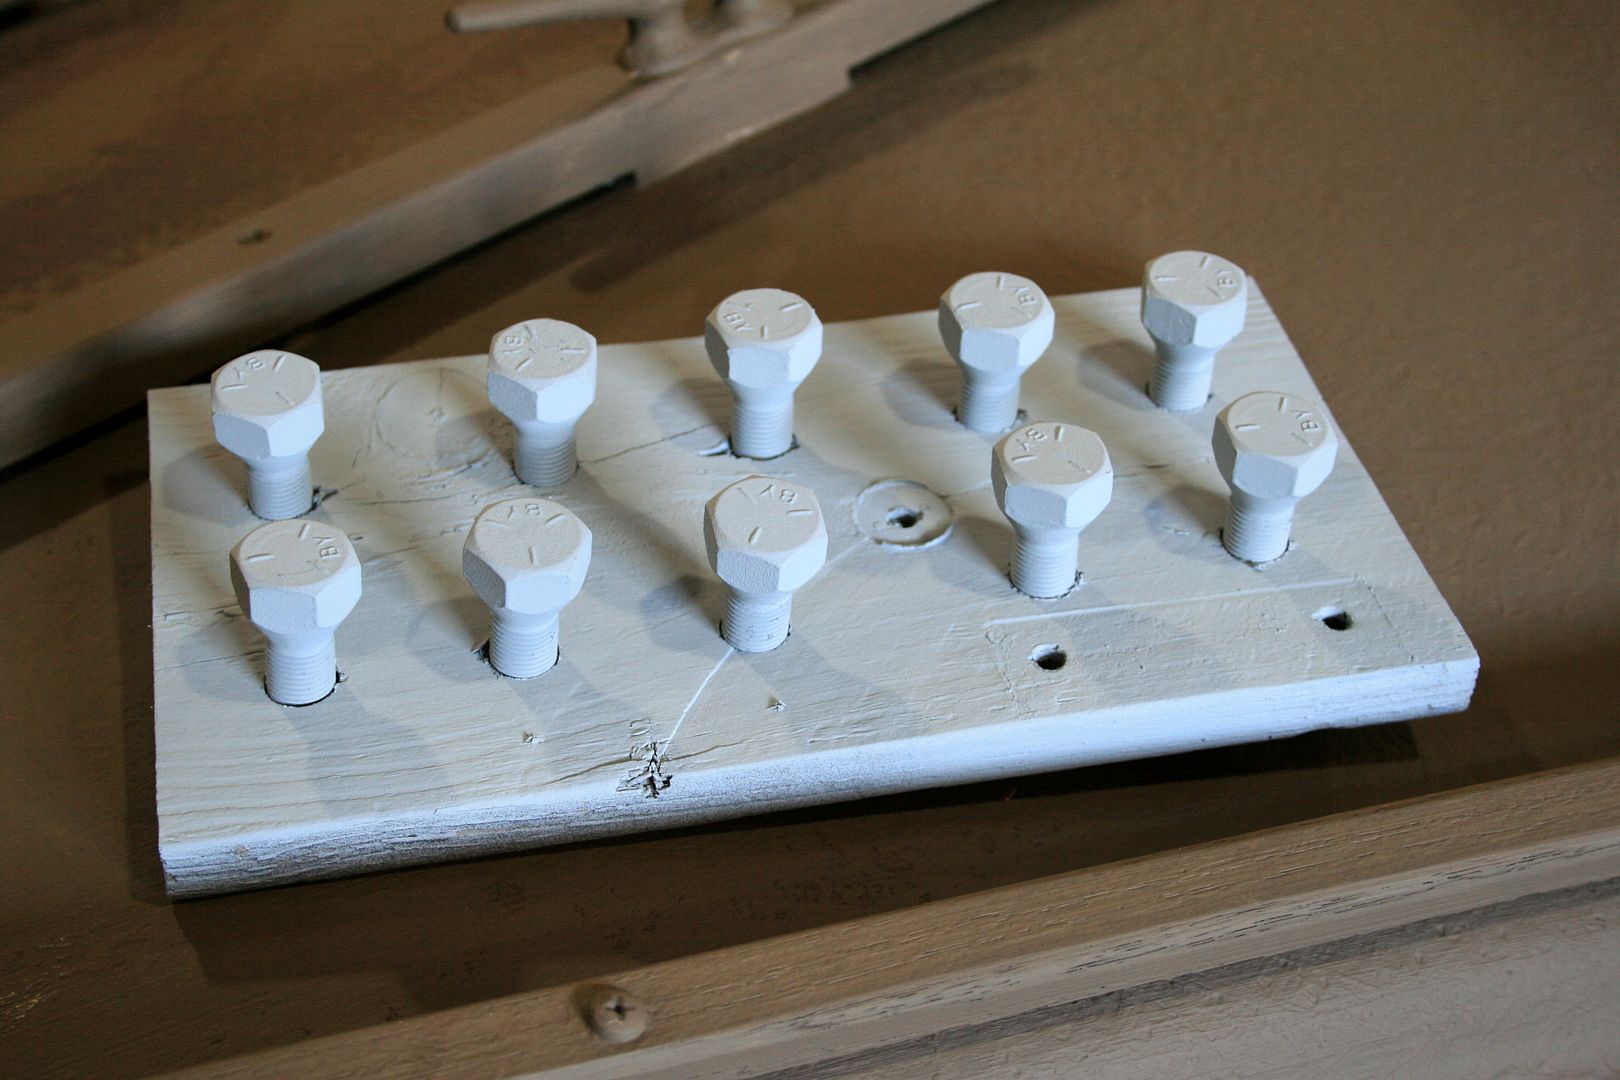
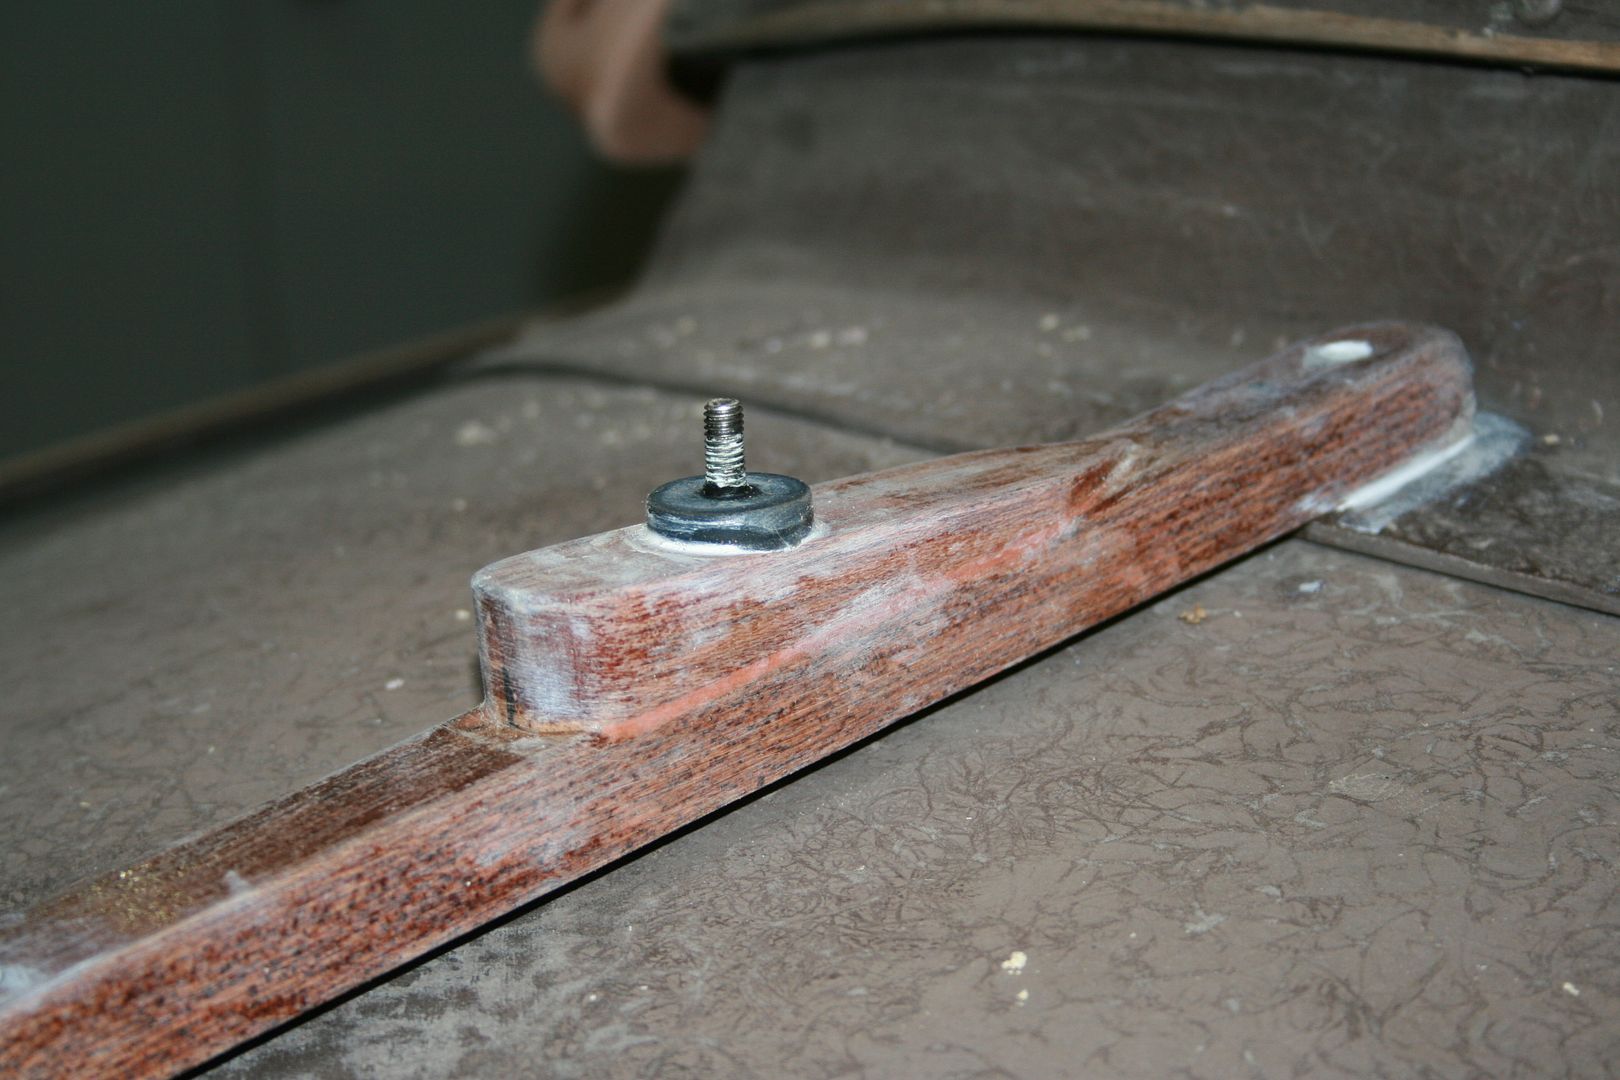
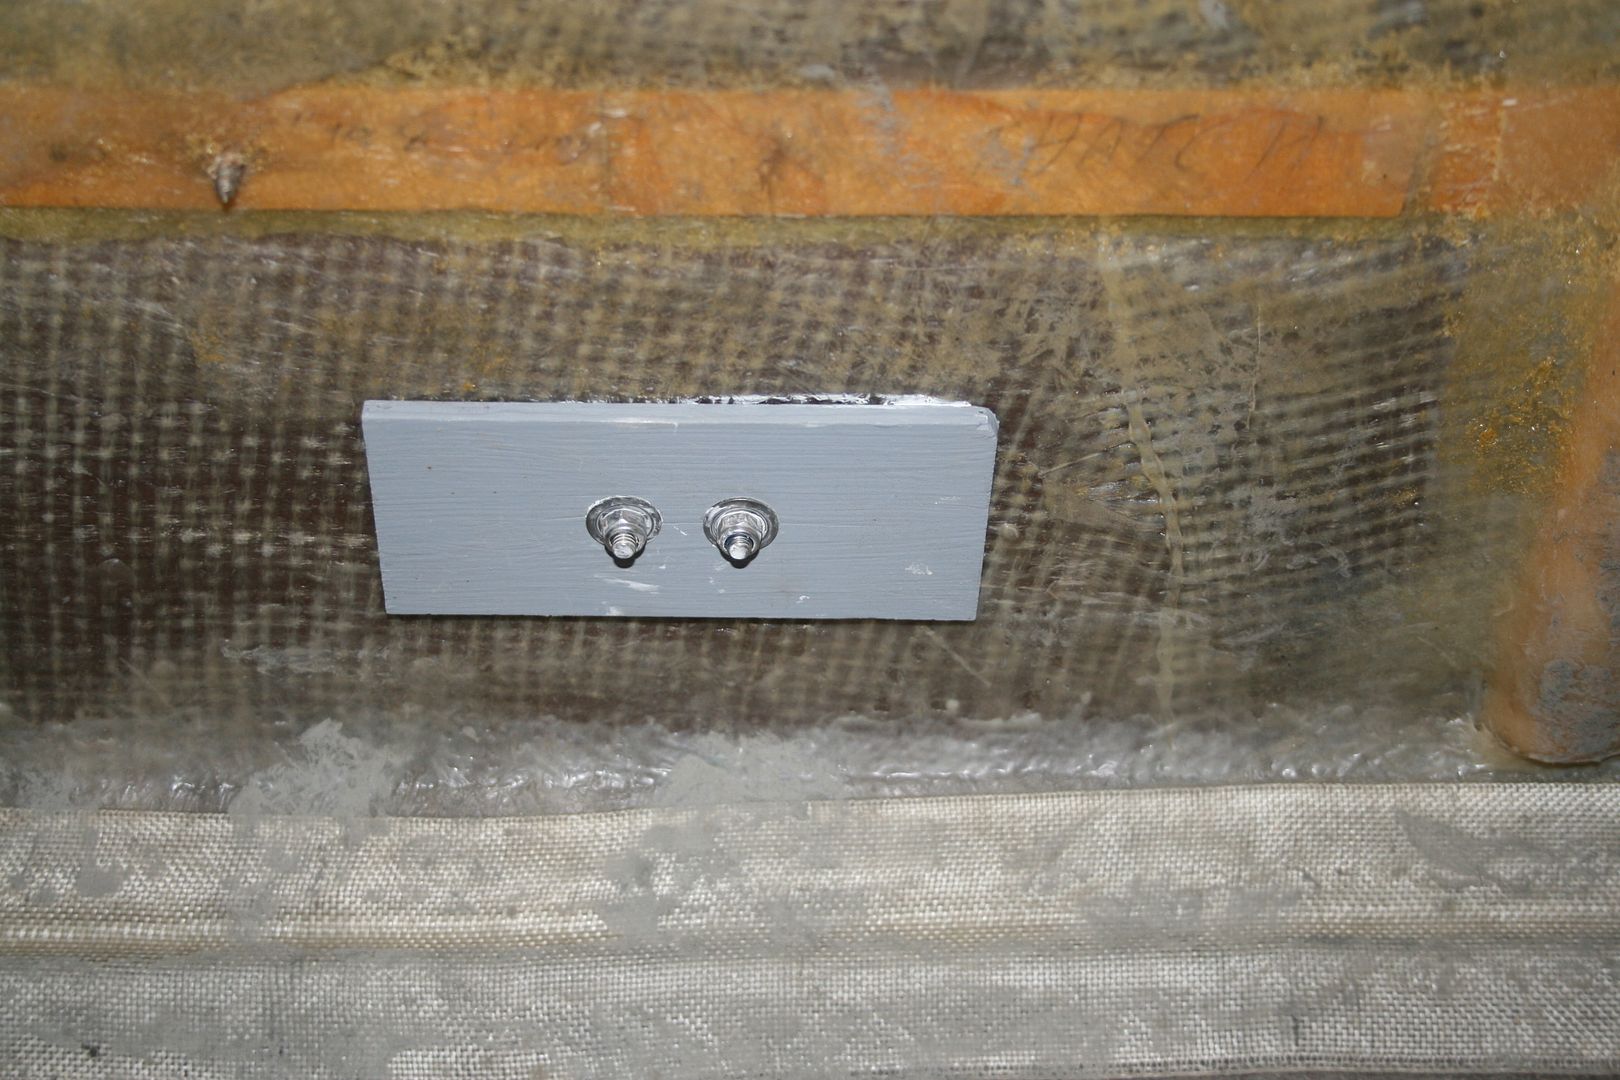
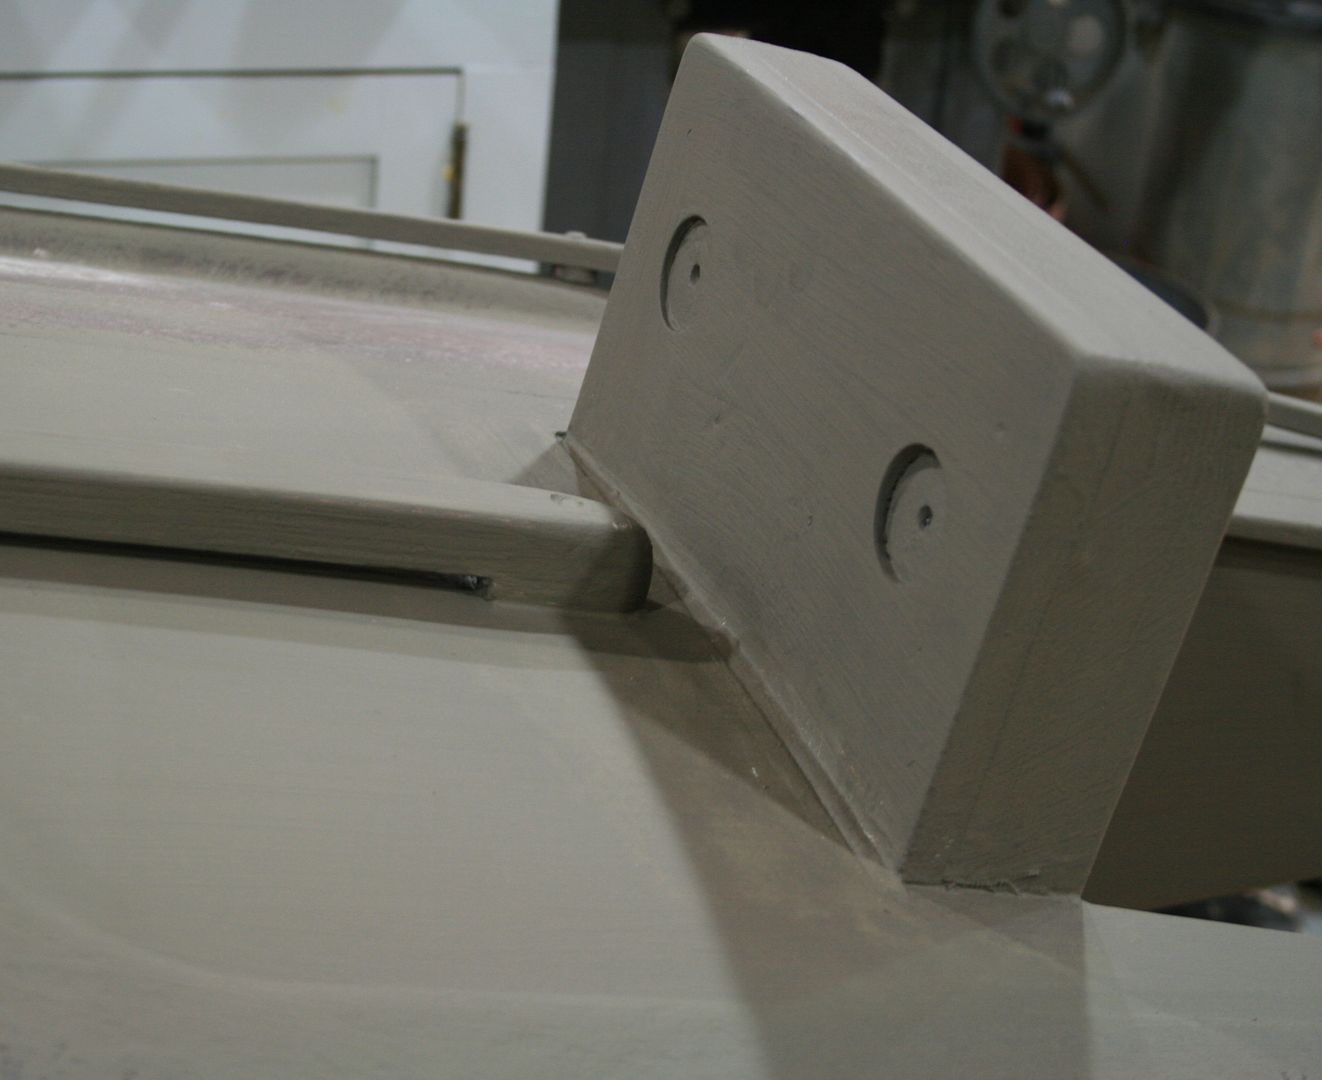
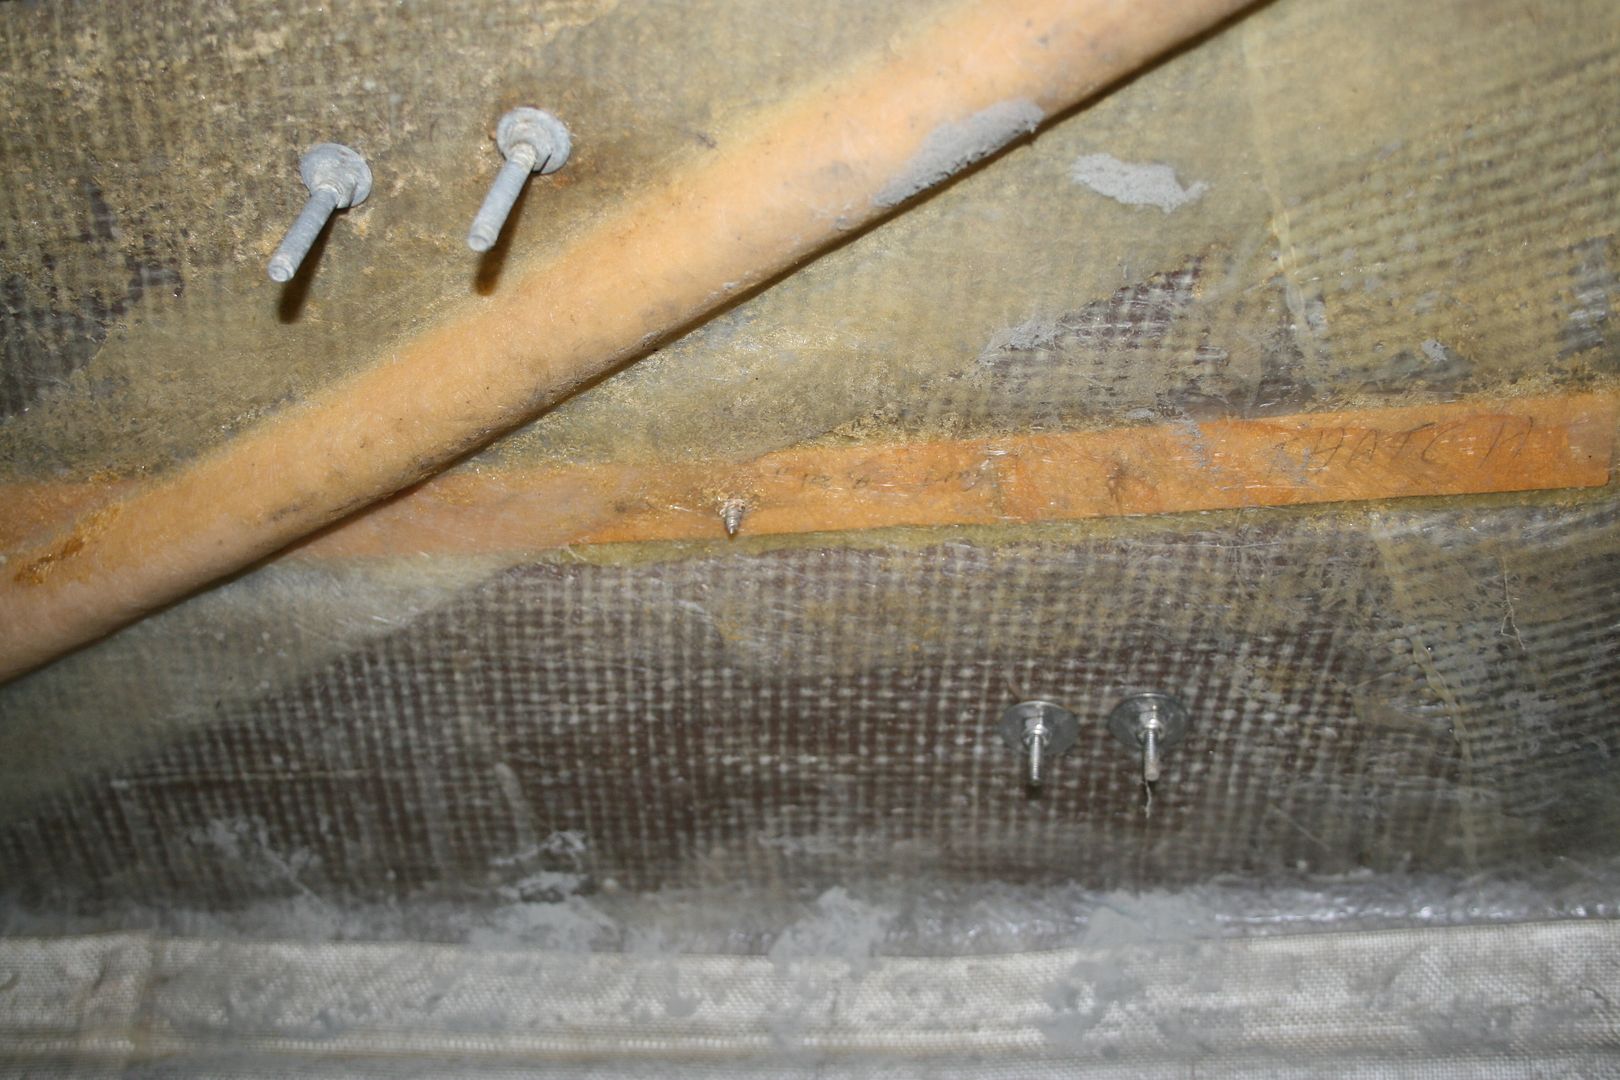
Many of the fasteners for the deck hardware were much longer than needed - I call them "stalactites" - and some needed more substantial backing.
Off to work.....right after my late-morning nap.
BTW: Between the time I began this post - in the middle of the night - and just now, I enjoyed a fine morning afield with friends AND a nice double on some fat, fully-plumed drake Mallards.
All the best,
SJS
Member Bill Abbate hauled his rig up to Pencil Brook Boatworks earlier this summer. It came with a long list of to-dos, and a general instruction to do anything that needs some attention. At about the same time, Bill purchased some nice E. Allen Brant from member Dwight Flanders - who lives near me. The Brant also needed some TLC.
I worked on the Brant first - and posted my progress - and process - here at: http://www.duckboats.net/cgi-bin/forum/gforum.cgi?post=270784;search_string=E%20Allen%20Brant;#270784
Bill had initially asked me to paint his 20 hp Merc - but I persuaded him that a motor cover - properly thatched - gave a better hide. Process was reported here at: http://www.duckboats.net/cgi-bin/forum/gforum.cgi?post=271050;search_string=Motor%20Cover;#271050
For this post, I thought I would just start with the "intake" process - an overview of the work ahead.
Here is how she arrived. The Merc and the flap boards were stowed inside for the journey north.
The jackstand had a couple of issues - handle was not connected and release pin was badly rusted. And a couple more surprises later on....
I really like that bow chock system - I've got to find one for my Sneakbox.
The thatch rails had overhanging ends - which could foul lines and such - and hard edges all around. Nylon spacers were used - I'm not sure about them yet.....
There is a nice bronze ring below the bow for towing and this heavy eye strap for the painter. Because the forward bulkhead prevents access to the eye strap fasteners, alas, I cannot find a reason to put a sleeping-duck bow handle here.....
Just like a buck you would not shoot - the foredeck cleat had dropped one horn.
Bill wants this cowling taller.
The bow painter will be replaced - with something I can splice.
AND - it will be just long (short?) enough so that it cannot reach the prop!
That stainless cover makes me nervous. Too slippery - and could allow that Merc to torque off the motor board in a turn. And, I do not like the non-stainless fasteners.
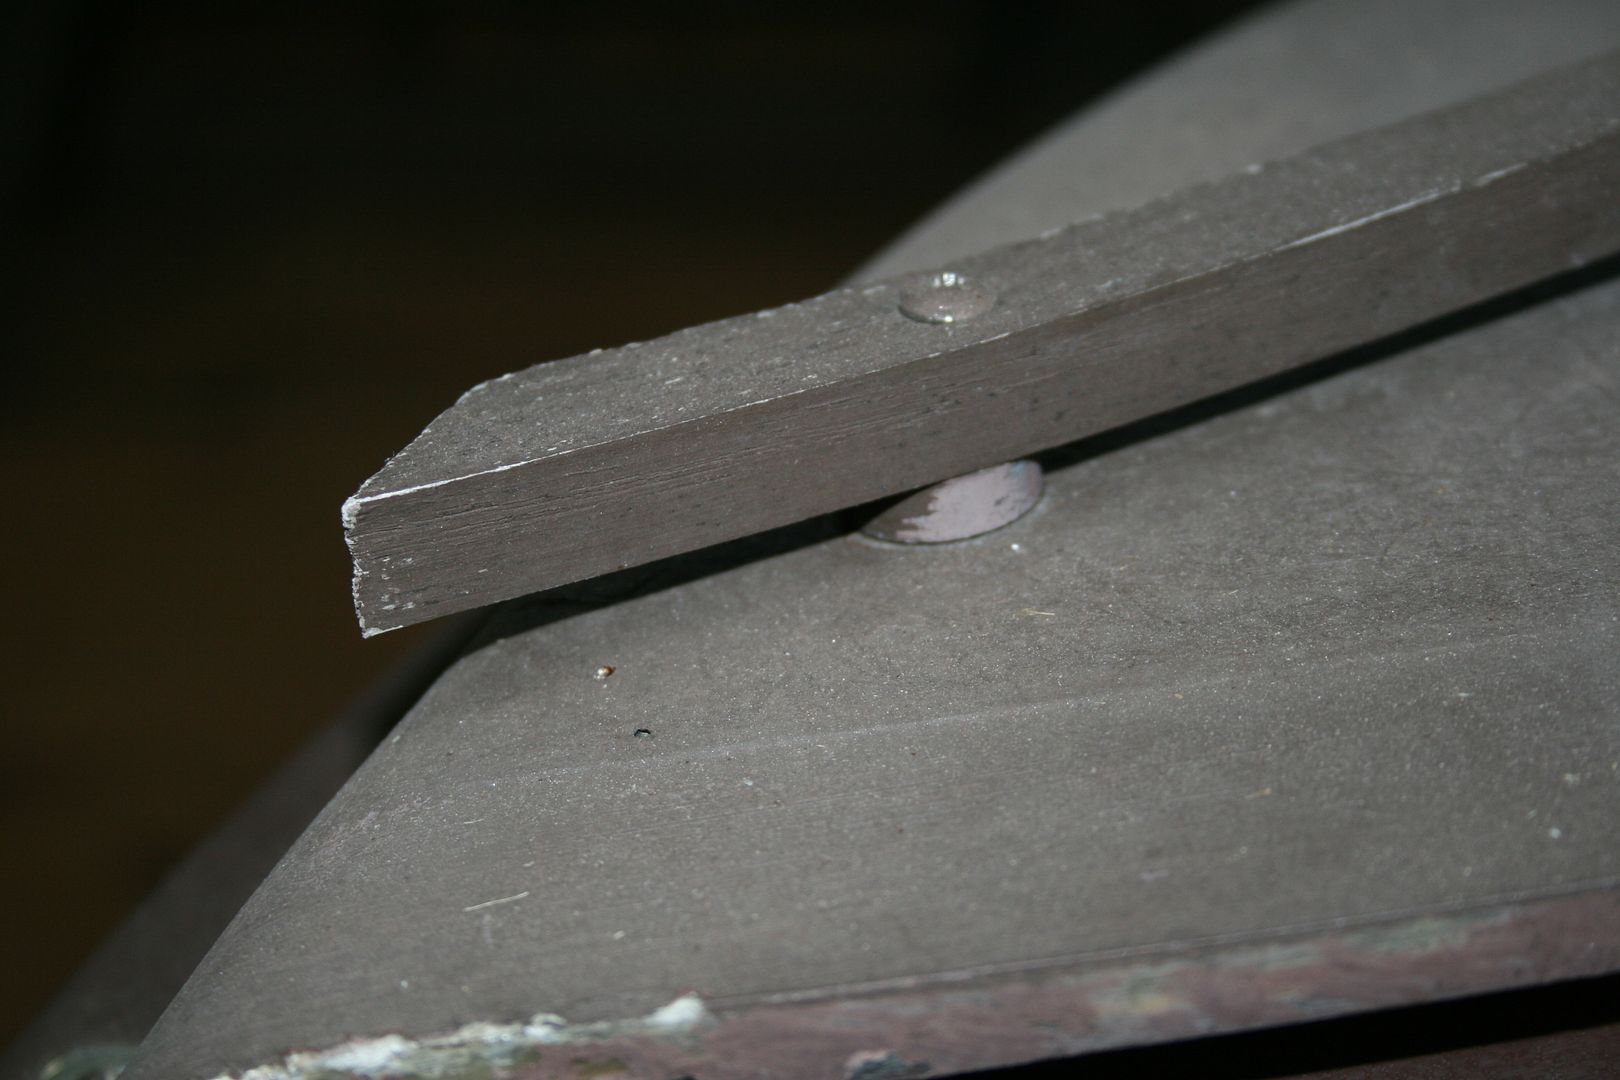
The motor board is made of 2 pieces of Philippine Mahogany (lauan). They are sound and well-fastened but that opening seam will cause problems down the road.
This rusty ring holds a cable - to secure the outboard in dire straits.
Bill had the bearings repacked last year. So, I will just make sure there is enough grease and the lugs can be removed if needed.
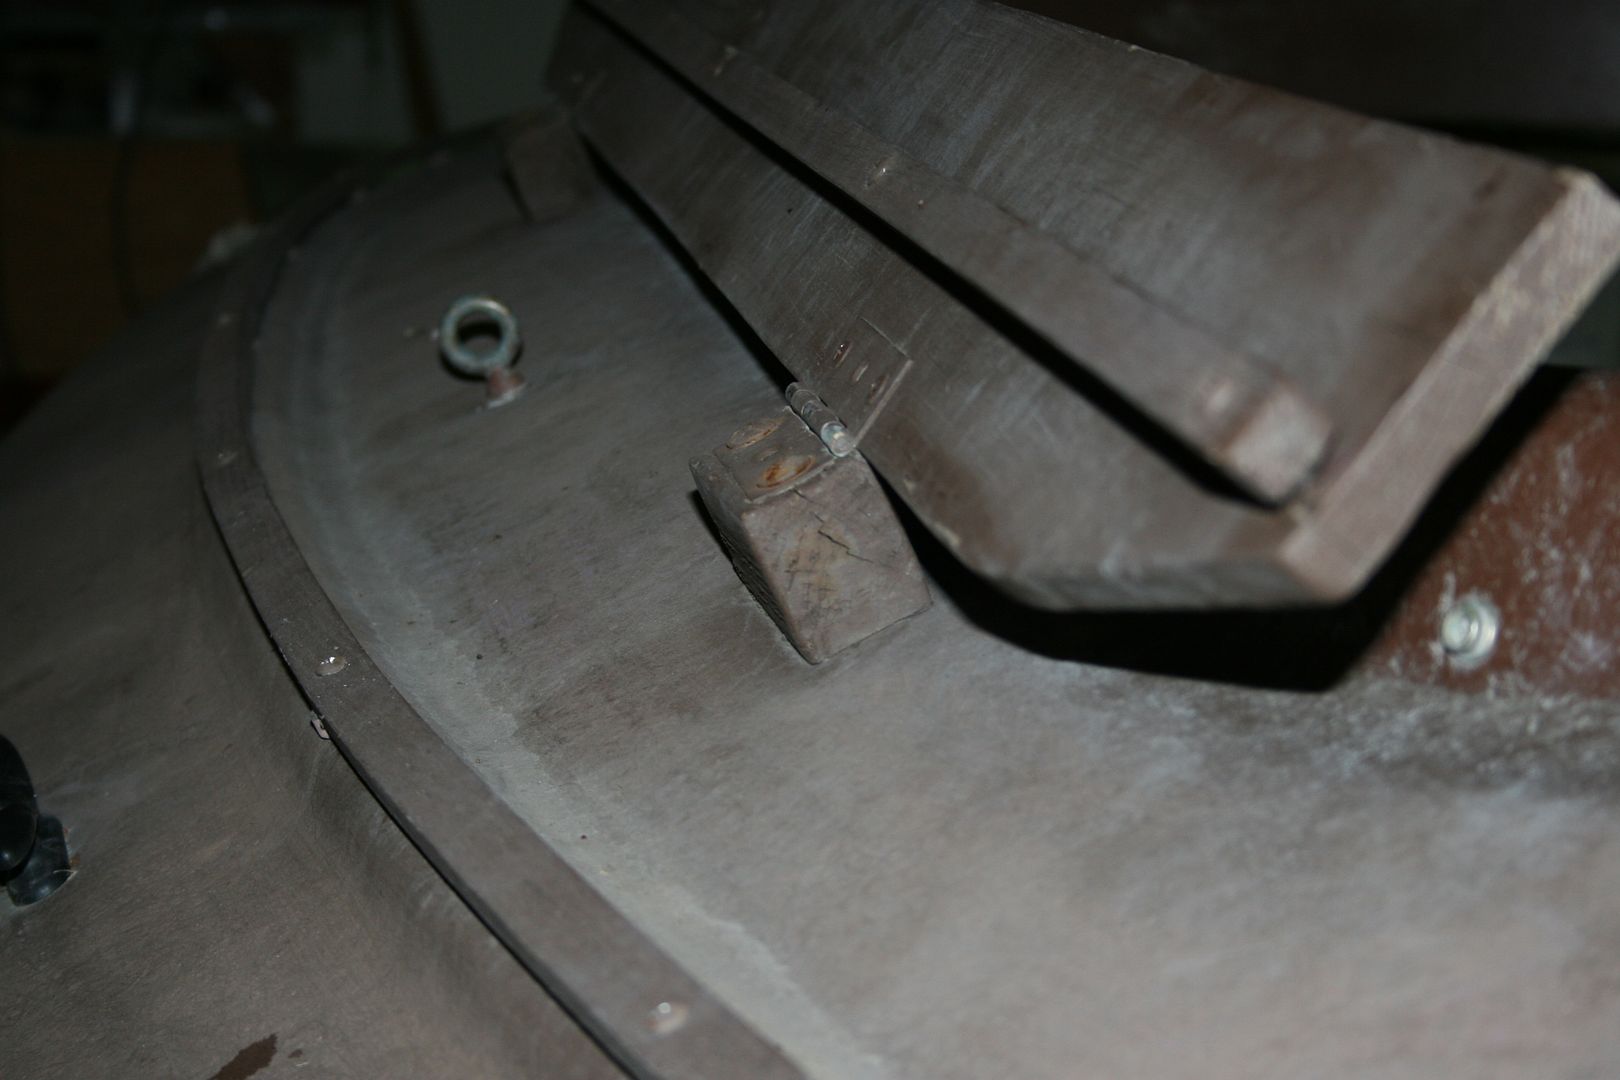
Lots of pointy ends and hard edges need some "softening".....
Bill wants taller flap boards - and ones that will lay flat - not tipped downward - when open - to hold decoys when setting or picking up the rig.
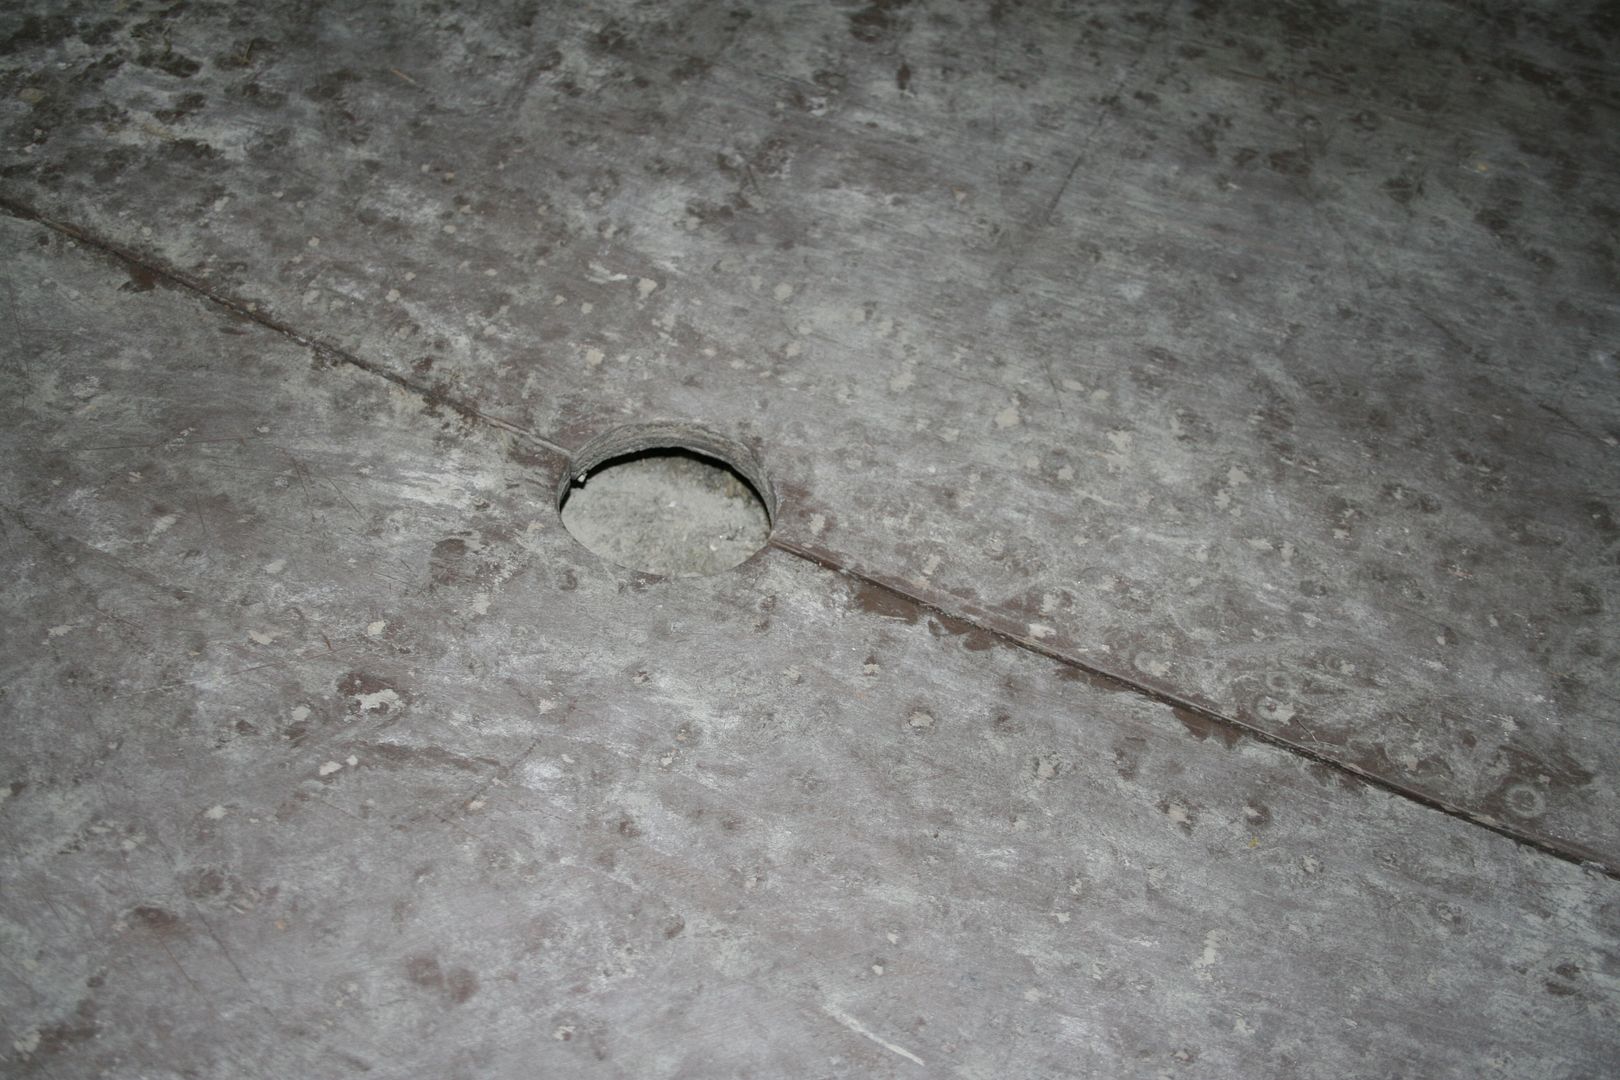
This hole in the floorboards allows access for a pump or sponge.
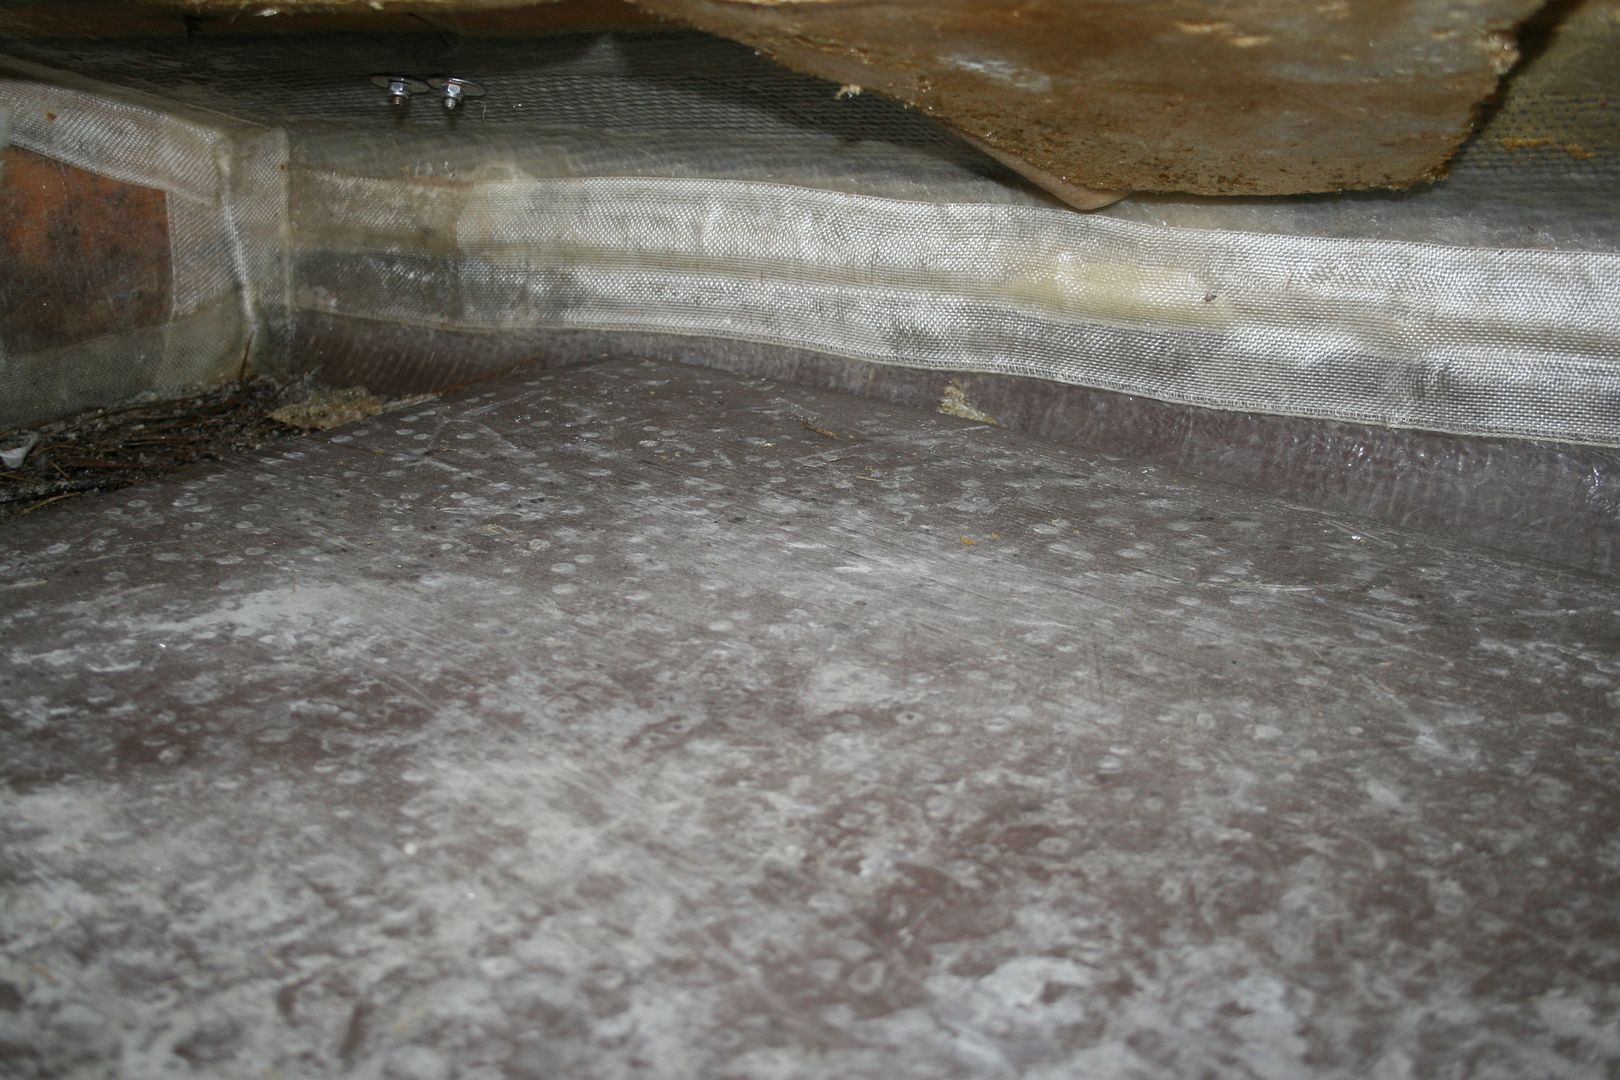
Here's a shot below - just to show the construction details.
The forward bulkhead has the Capacity ratings.
Many of the fasteners for the deck hardware were much longer than needed - I call them "stalactites" - and some needed more substantial backing.
Off to work.....right after my late-morning nap.
BTW: Between the time I began this post - in the middle of the night - and just now, I enjoyed a fine morning afield with friends AND a nice double on some fat, fully-plumed drake Mallards.
All the best,
SJS