Chuck J
Well-known member
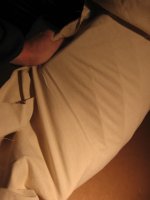
I have had a few questions lately about canvas decoys, since I was covering some, I thought I'd take some more pictures to show the steps. Sorry about some of the picture quality, I was trying to hold it and take pictures too.
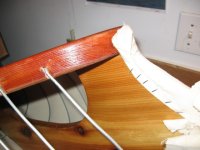
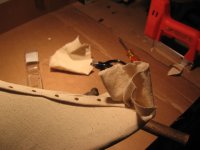
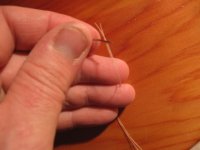
First off, tools:


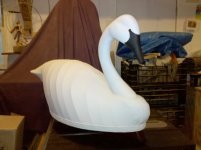
Frame:

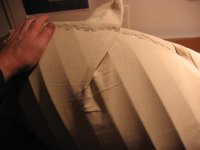
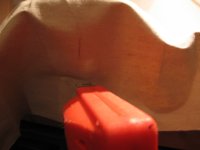
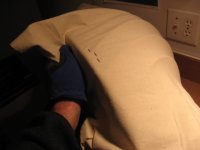
Center the canvas:

Tack down the front with a couple of staples:

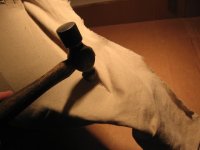
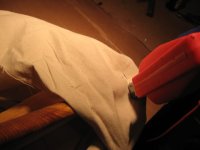
Stretch the canvas to the tail, keeping it centered:

Put a couple of staples under the tail (these will likely be removed later):

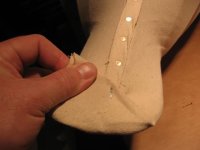
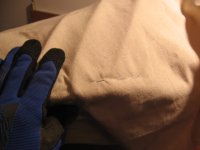
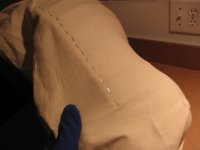
Put two or three staples on one side, just forward of halfway:

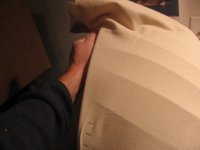
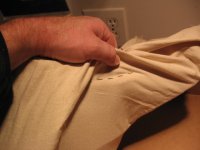
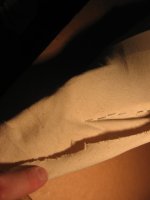
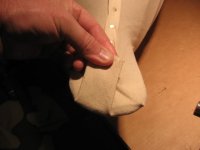
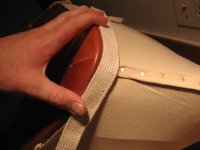
Stretch the cloth across the decoy:

Put two or three staples on this side as well:

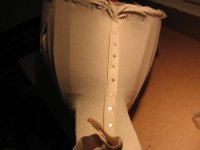
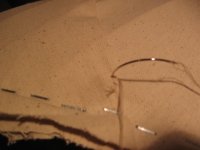
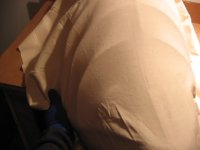
Alternating side to side, middle to front, two or three staples at a time, stretch the canvas down and forward and staple it in place:


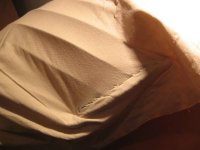
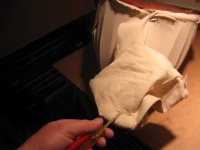
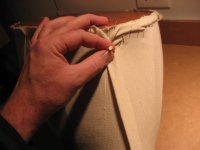
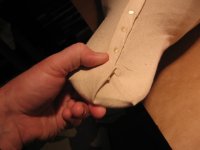
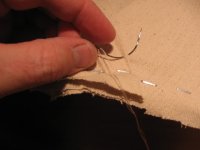
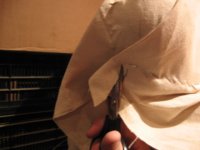
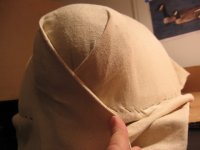
When you get to the front, you'll have to play with the angles some, but basically I fold one side, then the other to resemble a double breasted suit. First fold and staple one side:

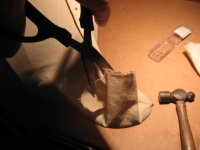
You may want to trim back some of the excess material to make it easier to make the second side fold:


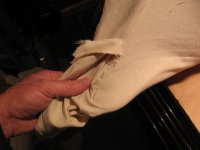
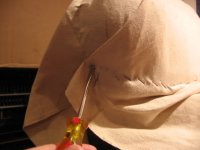
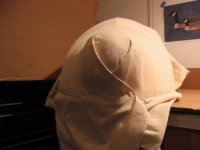
Fold the second side:

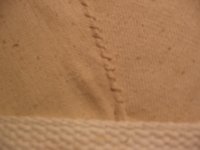
Staple it:

Trim it:

First off, tools:
Frame:
Center the canvas:
Tack down the front with a couple of staples:
Stretch the canvas to the tail, keeping it centered:
Put a couple of staples under the tail (these will likely be removed later):
Put two or three staples on one side, just forward of halfway:
Stretch the cloth across the decoy:
Put two or three staples on this side as well:
Alternating side to side, middle to front, two or three staples at a time, stretch the canvas down and forward and staple it in place:
When you get to the front, you'll have to play with the angles some, but basically I fold one side, then the other to resemble a double breasted suit. First fold and staple one side:
You may want to trim back some of the excess material to make it easier to make the second side fold:
Fold the second side:
Staple it:
Trim it:
Attachments
-
 1702548521379.jpeg28 KB · Views: 1
 -
 1702548597158.jpeg30.1 KB · Views: 11
 -
 1702548628514.jpeg38.7 KB · Views: 10
 -
 1702548639010.jpeg44.8 KB · Views: 10
 -
 1702548671896.jpeg31.5 KB · Views: 9
 -
 1702548682754.jpeg31.2 KB · Views: 9
 -
 1702548701926.jpeg50.8 KB · Views: 9
 -
 1702548711738.jpeg35.1 KB · Views: 9
 -
 1702548723969.jpeg34.6 KB · Views: 9
 -
 1702548733926.jpeg43.4 KB · Views: 9
 -
 1702548785355.jpeg35.5 KB · Views: 9
 -
 1702548811961.jpeg45.1 KB · Views: 9
 -
 1702548824854.jpeg44.4 KB · Views: 9
 -
 1702548833777.jpeg32.9 KB · Views: 9
 -
 1702548860525.jpeg36.4 KB · Views: 9
Last edited: