
Cody Williams
Well-known member
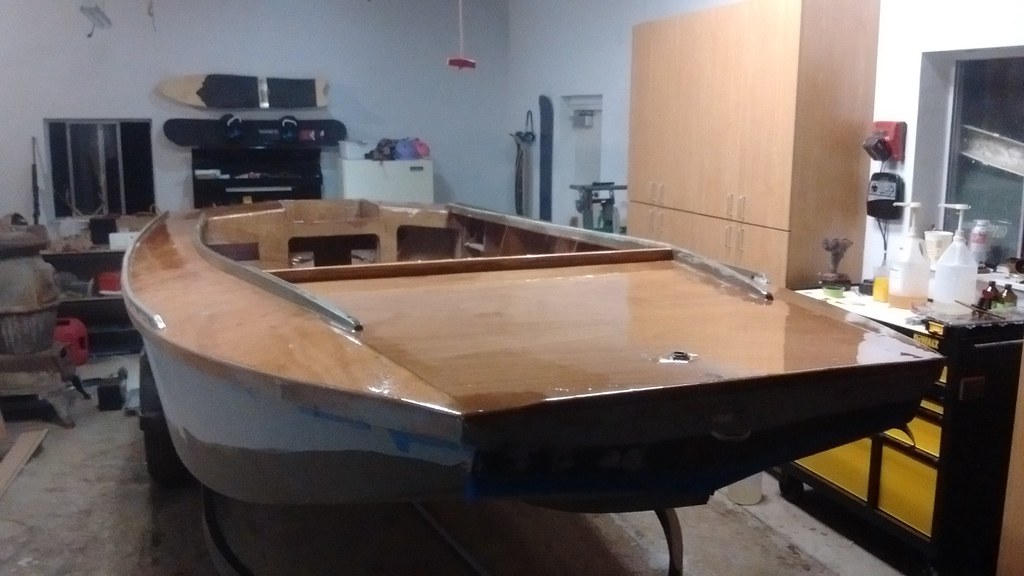
I've been working as much as I can on getting this new boat in the water, things have really come together over the last week or so! I had a 4-day weekend last week that really let me get some work done. After I had the cockpit soles cut to fit, I attached them to the floor supports with a good bead of 5200 and plenty of stainless screws. Then they were filleted and taped to the hull sides and bottom, and the whole hull interior was given 2 thick coats of epoxy-
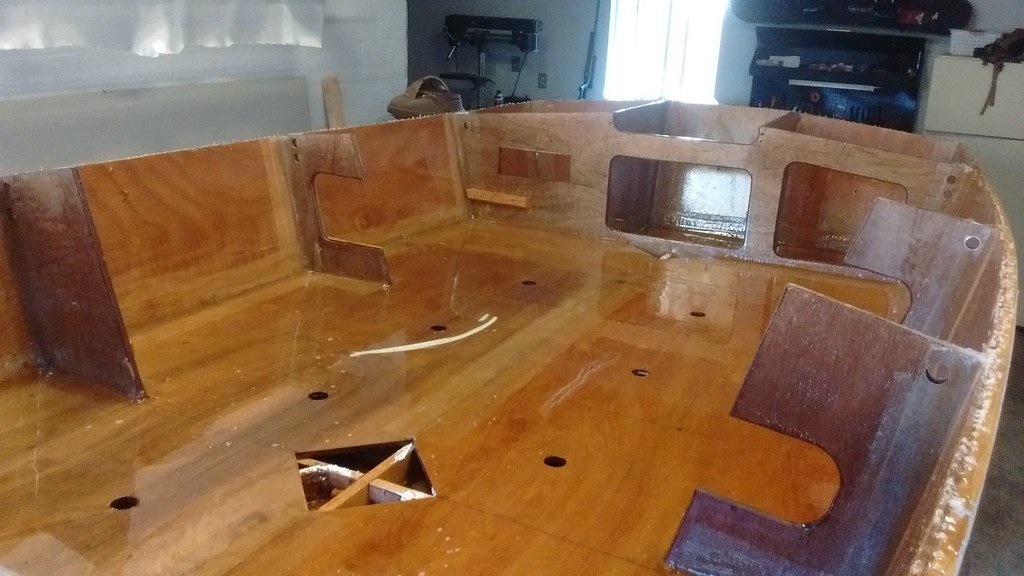

I wanted as much drainage and access to the bilge as possible so I left 2 large cutouts in the floor, there are hatches that fit over them to allow access to the inside.
Next came a LOT of work of making all the custom shelves and fittings-2 battery shelves that go under the motor well, a shelf that runs along the starboard side of the cockpit, a fuel tank shelf for the front compartment, a cover/mount for the front LED light bar and navigation light, 2 floor hatches, a cubby that fits into the rear cockpit bulkhead, a box to hold the switch panel and bus bars, and a couple of other things I've forgotten about! They all got 2 coats of epoxy, along with the deck undersides. Also I made backer plates for the bow and 2 stern U-bolts out of 1/4" steel. No photos of this part-too busy working!
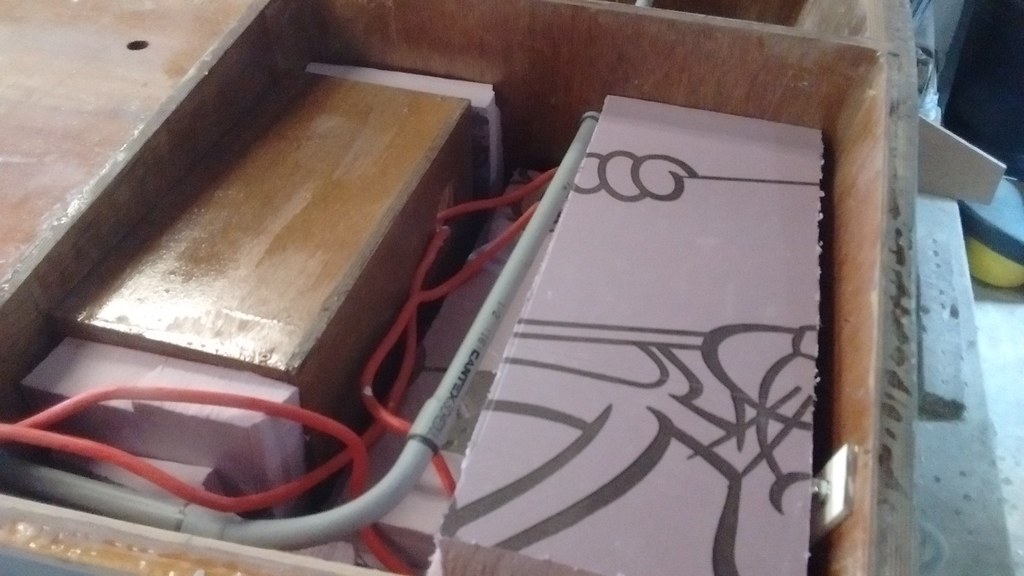
Then came "plumbing" all the floatation compartments that will be decked over with conduit for running electrical wires-I used PVC pipe. I then filled all the float compartments with 2" closed cell insulation foam, I figure if it's OK to be in contact with the ground in construction then it will be OK to act as floatation foam!
Port rear compartment with conduit and 4ga master battery cables, feeding from the battery to the master cutoff-
Port and starboard side-you can also make out the twin battery boxes and their rubber strap hold-downs under the motor well-
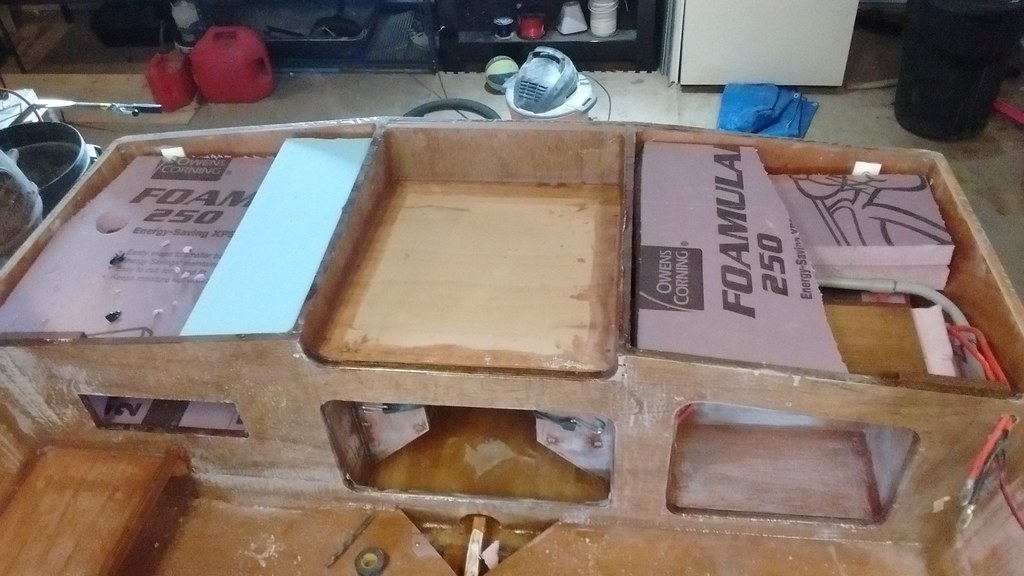
Front floatation compartment with plumbing for bow LED and nav lights, and fuel tank shelf in next compartment back-

Then came fitting the decks and glassing them-again no photos, sorry! I planed down a 16' piece of Trex decking to 7/8" thick and used it to make the cockpit coamings and grass rails. I attached them to the decks again with 5200 and stainless screws, and then gave the decks 2 good coats of epoxy as well.
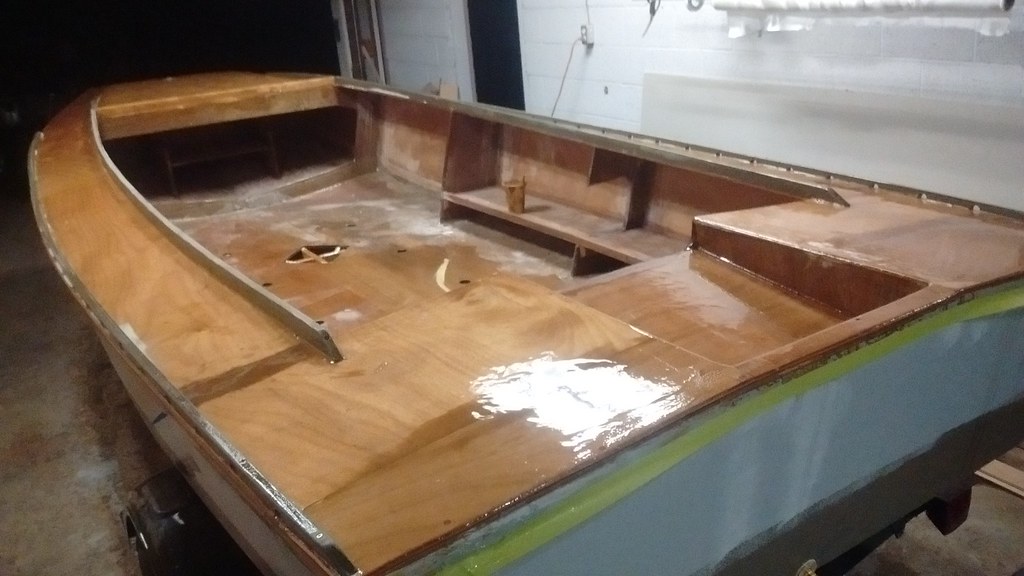
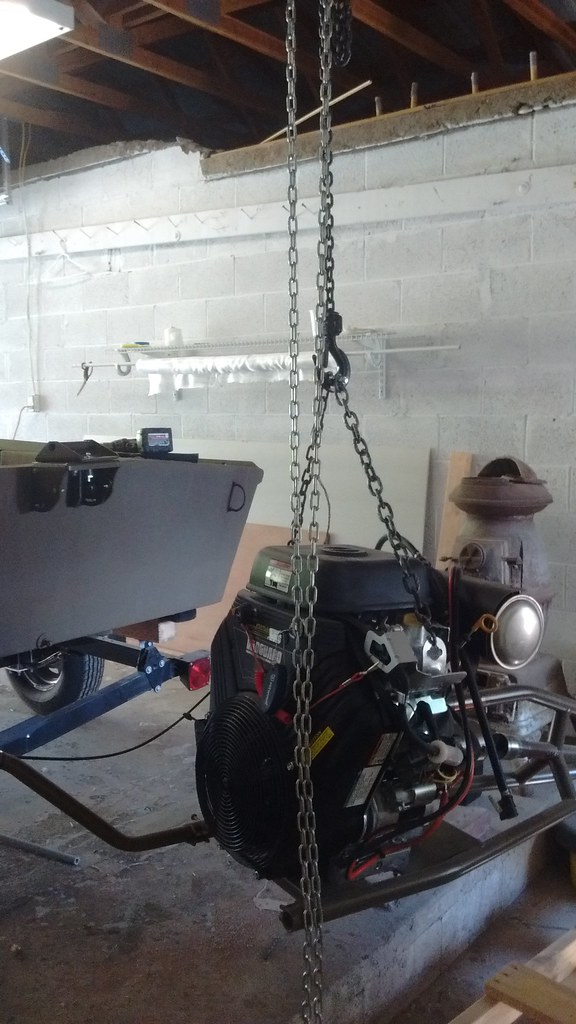
The next day or two was a blur of sand, prime, sand, fill, sand, reprime, and paint.....not much to say about that other than that's when the real grunt work of building boats happens! Mounting the motor was an interesting operation-I operated the chain hoist and had my wife help me get everything lined up and put together.
I then spent nearly all the next day getting all the electrical work done-lots of running wire, soldering, heat shrink, and crimping. I have front and rear nav lights hardwired, a bow LED headlight, and interior cockpit LED's. Also the electrical panel has a voltmeter, 12V outlet, and USB charger. I will take a photo with everything lit up soon!
Today was the big day......I have a rule that every new boat launch is a solo endeavor. That way you can concentrate 100% on what's going on with the boat. I backed the trailer down the ramp slid her in the water, and was immediately pleased with how she sat, plenty of width to float all the heavy batteries, motor, fuel tank, etc. After firing up the motor, we were underway! I had to make a few quick stops to adjust the cavitation plate angle, finally I got it dialed in and we were up and running! I GPS'ed the full throttle speed with just me in the boat at 21mph. Later on my wife, kids and dog came and joined me-with all 4 of us in the boat+the dog we were getting about 18mph in deep water. Not bad for such a wide boat! I can't wait to see how she does with a full hunting load.....

That's all for now, I will post some more underway pictures when I get them. It was really satisfying to see a boat that started as a foam model and a hand-drawn plan come together!
I wanted as much drainage and access to the bilge as possible so I left 2 large cutouts in the floor, there are hatches that fit over them to allow access to the inside.
Next came a LOT of work of making all the custom shelves and fittings-2 battery shelves that go under the motor well, a shelf that runs along the starboard side of the cockpit, a fuel tank shelf for the front compartment, a cover/mount for the front LED light bar and navigation light, 2 floor hatches, a cubby that fits into the rear cockpit bulkhead, a box to hold the switch panel and bus bars, and a couple of other things I've forgotten about! They all got 2 coats of epoxy, along with the deck undersides. Also I made backer plates for the bow and 2 stern U-bolts out of 1/4" steel. No photos of this part-too busy working!
Then came "plumbing" all the floatation compartments that will be decked over with conduit for running electrical wires-I used PVC pipe. I then filled all the float compartments with 2" closed cell insulation foam, I figure if it's OK to be in contact with the ground in construction then it will be OK to act as floatation foam!
Port rear compartment with conduit and 4ga master battery cables, feeding from the battery to the master cutoff-
Port and starboard side-you can also make out the twin battery boxes and their rubber strap hold-downs under the motor well-
Front floatation compartment with plumbing for bow LED and nav lights, and fuel tank shelf in next compartment back-
Then came fitting the decks and glassing them-again no photos, sorry! I planed down a 16' piece of Trex decking to 7/8" thick and used it to make the cockpit coamings and grass rails. I attached them to the decks again with 5200 and stainless screws, and then gave the decks 2 good coats of epoxy as well.
The next day or two was a blur of sand, prime, sand, fill, sand, reprime, and paint.....not much to say about that other than that's when the real grunt work of building boats happens! Mounting the motor was an interesting operation-I operated the chain hoist and had my wife help me get everything lined up and put together.
I then spent nearly all the next day getting all the electrical work done-lots of running wire, soldering, heat shrink, and crimping. I have front and rear nav lights hardwired, a bow LED headlight, and interior cockpit LED's. Also the electrical panel has a voltmeter, 12V outlet, and USB charger. I will take a photo with everything lit up soon!
Today was the big day......I have a rule that every new boat launch is a solo endeavor. That way you can concentrate 100% on what's going on with the boat. I backed the trailer down the ramp slid her in the water, and was immediately pleased with how she sat, plenty of width to float all the heavy batteries, motor, fuel tank, etc. After firing up the motor, we were underway! I had to make a few quick stops to adjust the cavitation plate angle, finally I got it dialed in and we were up and running! I GPS'ed the full throttle speed with just me in the boat at 21mph. Later on my wife, kids and dog came and joined me-with all 4 of us in the boat+the dog we were getting about 18mph in deep water. Not bad for such a wide boat! I can't wait to see how she does with a full hunting load.....
That's all for now, I will post some more underway pictures when I get them. It was really satisfying to see a boat that started as a foam model and a hand-drawn plan come together!
Last edited: