Brandon Yuchasz
Well-known member
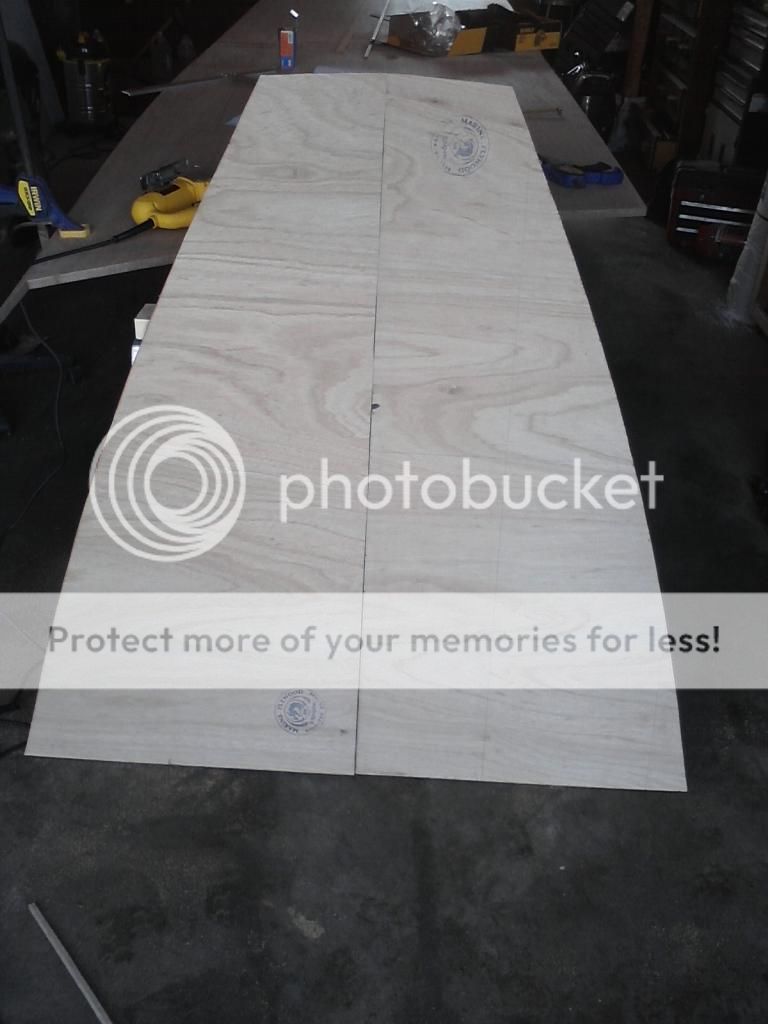
Wahoo finally a boat build thread!!!
Keep us updated.
Keep us updated.
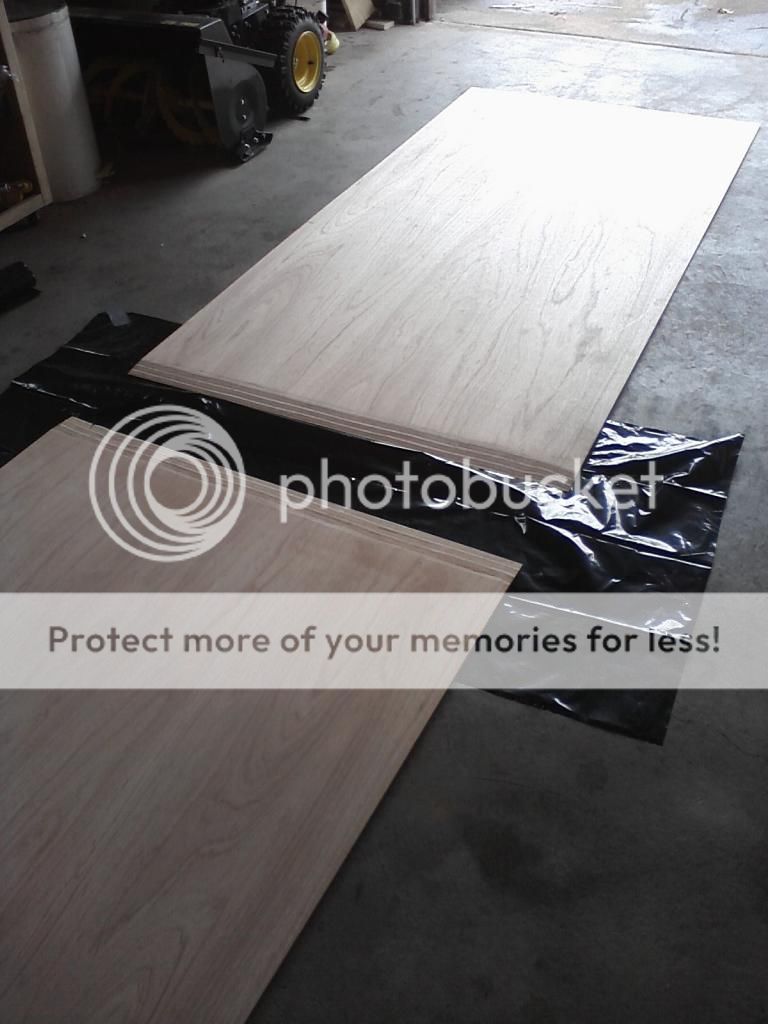
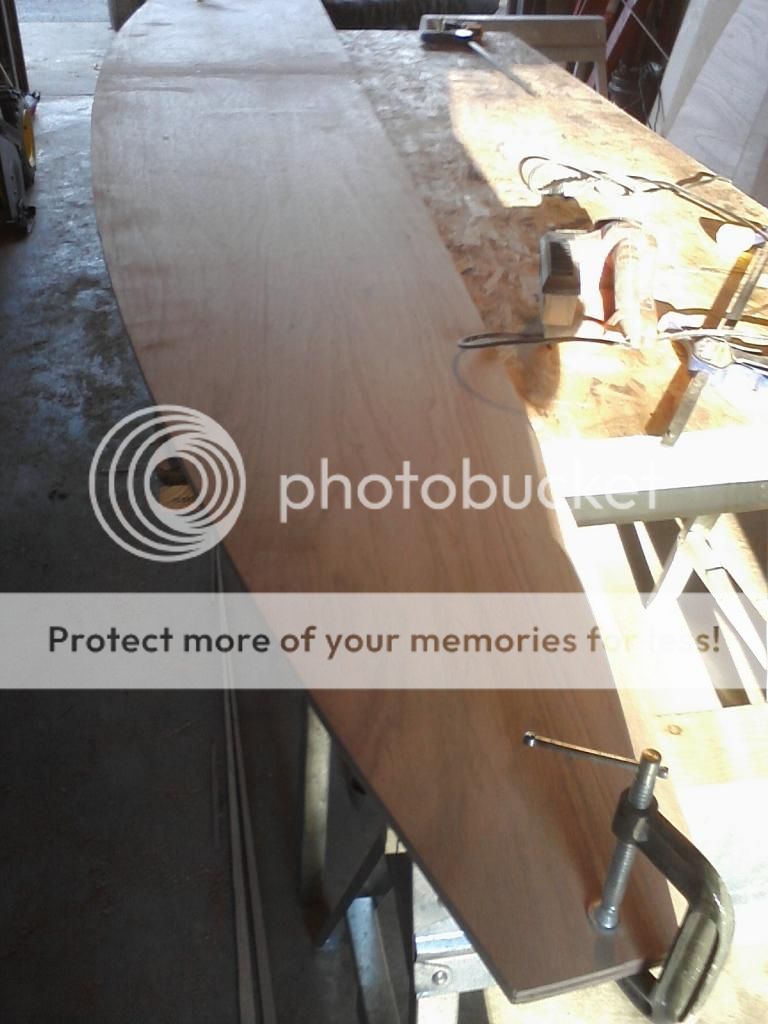
Very exciting. You can test those scarfs after you cut the hull out you will have some nice leftovers to convince yourself that your work was good.
Paul~
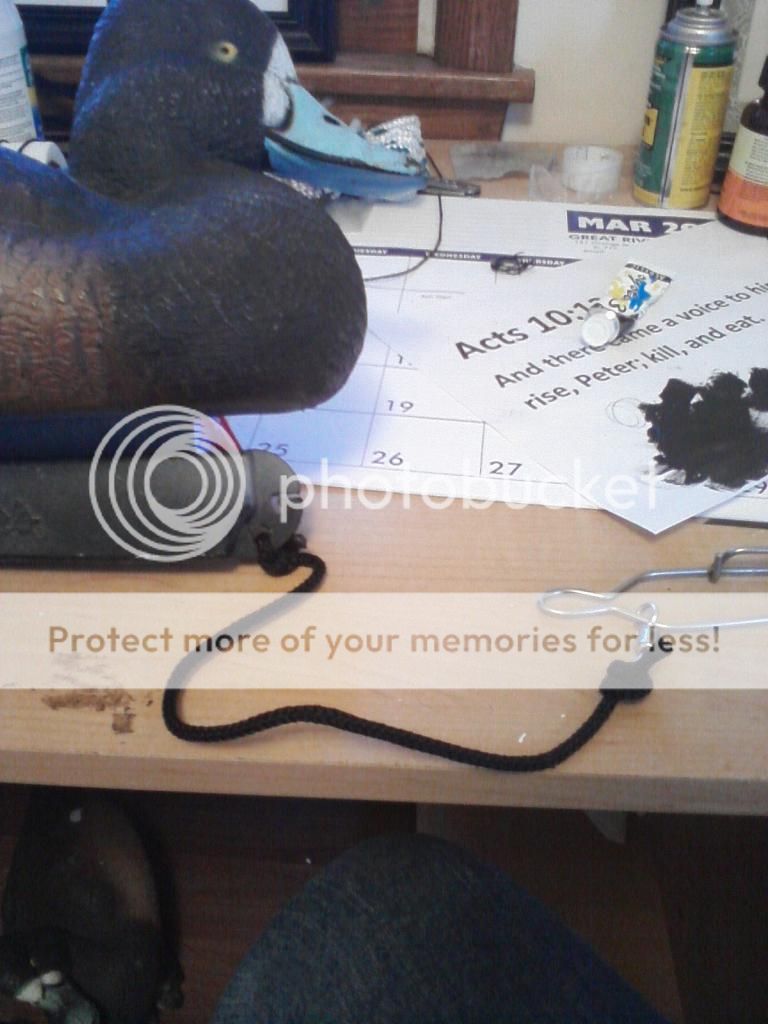
Great work - and great documentation - especially your Support Group.....
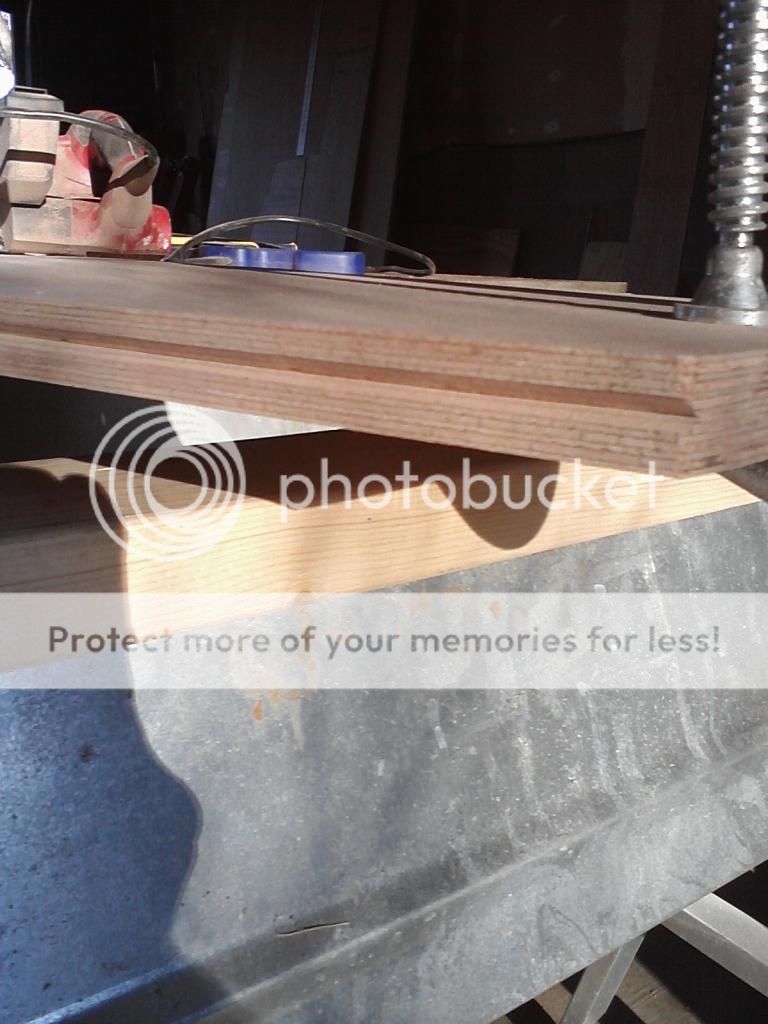
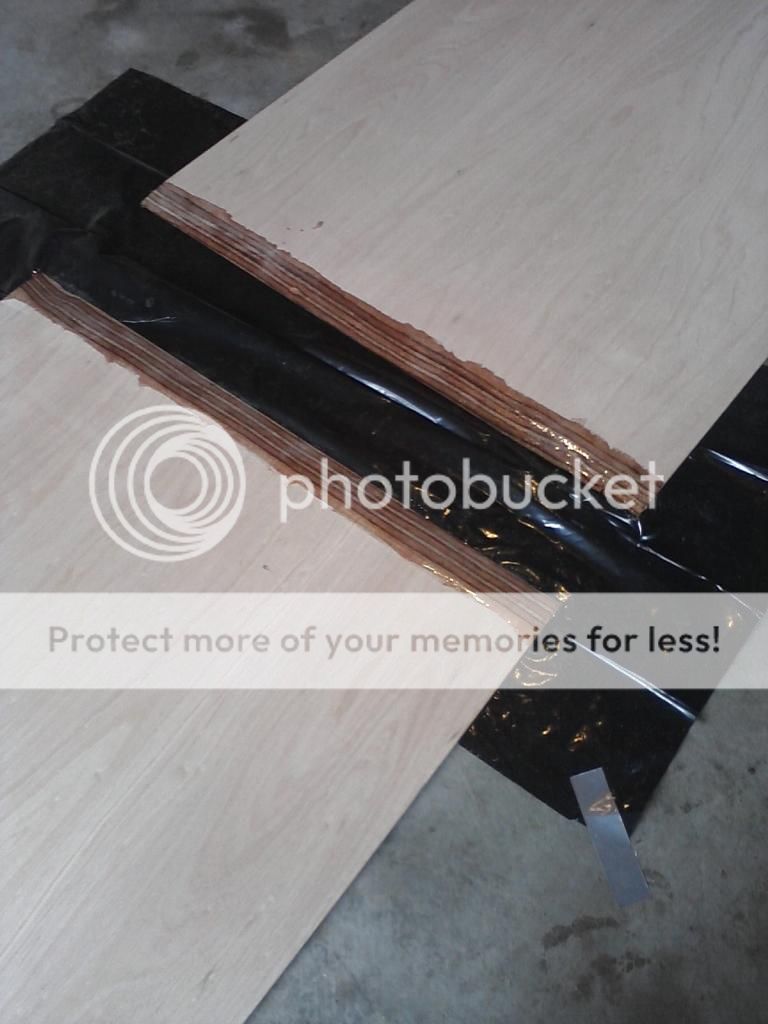
Regarding the SS staples - I would pull them once the epoxy is fully-cured. Any metal can attract moisture and also heats and cools differently from the wood and epoxy.
BTW: Some builders use deck screws and wood above and below scarph - isolated with sheet poly - as a clamp. The screws are driven not through the scarph itself but either side of it. Then, just fill the holes with thickened epoxy later in the process. (It's just like pulling the stitching wire out of chines, etc.)
All the best,
SJS
Paul~
For removing staples - if you do not have a Tack Puller in your toolbox, it's $6 well-spent:
http://www.homedepot.com/p/Husky-Tack-Puller-74349/100034526
Also, you may enjoy reading of how my young daughter "helped" me paint my first duckboat:
http://stevenjaysanford.com/a-one-man-grassboat-my-first-duckboat-build/ The story is in the final paragraph....
All the best,
SJS